Manual and Automated Localization Testing Explained
What is localization testing?
Localization testing verifies whether an application, software, or website functions as intended in a specific locale. The tested areas are text, numbers, date and time formats, currencies, measurement units, UI/UX, and functionality.
Note that localization (l10n) testing and internationalization (i18n) testing are often used interchangeably. For the sake of consistency, I’ll keep using the term localization testing.
⛈️ Warning: A bullet point storm incoming—shield your eyes and brace for impact!
Do you need localization testing?
I’ll start at the end and just say that you do.
Localization testing is time-consuming, expensive, and complicated. On top of that, you may uncover a host of issues requiring significant development time. Nevertheless, you really need localization testing.
Of course, I can’t leave you with just this simple answer. So let me walk you through the benefits of localization testing:
- Save time and money: Uncover issues early to prevent costly fixes down the road.
- Reduce customer churn: A smooth localized experience translates into satisfied users who don’t leave your digital product.
- Boost customer trust: A well-tested product demonstrates that you care about your users.
- Ensure compliance: Test early to ensure legal and regulatory compliance.
Types of localization testing
Before we dig further, let’s lay out the key types of localization testing:
Pseudo-localization testing
Pseudo-localization testing (aka localization-reading testing) helps to verify that a product can be localized without breaking its functionality.
Under pseudo-localization, two types of tests are performed:
-
Pseudo-translation testing
In pseudo-translation testing, the strings are replaced with pseudo-strings that differ from the source text in several ways:
- larger font glyphs to check if they fit horizontally and vertically
- diacritic marks to check if they aren’t cut off vertically
- Unicode characters to replace ASCII or ANSI characters and identify text truncation, overlapping, encoding, processing, and storing issues.
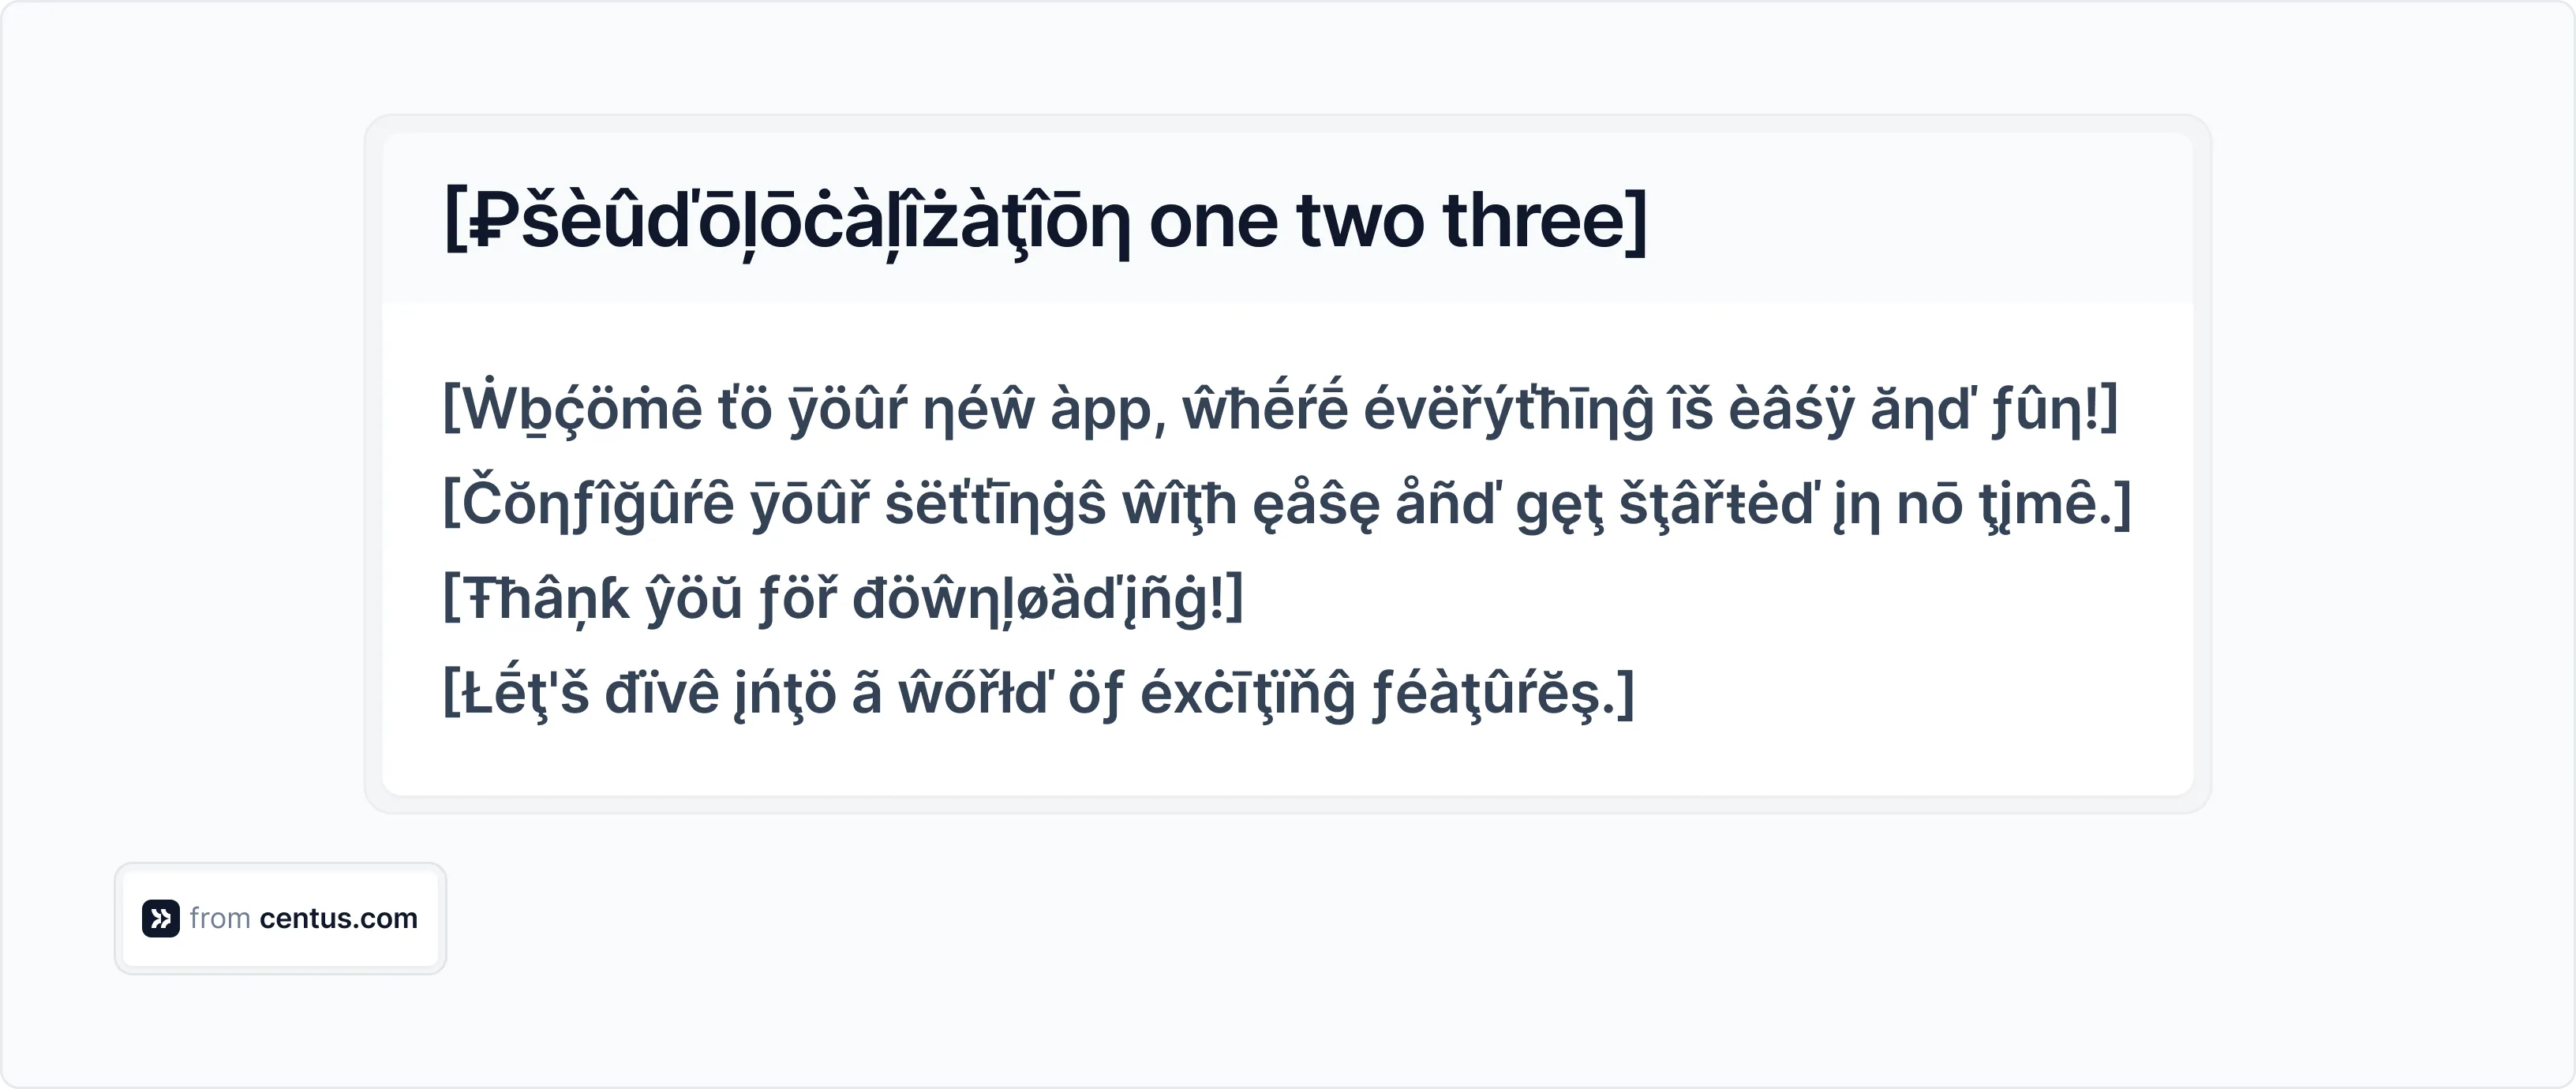
In addition to the localization issues detailed above, pseudo-translation testing helps to detect:
- non-localized text from hardcoded strings or an unlocalized database
- non-localized images that contain text
- mistakenly localized elements that shouldn’t be localized
- truncated strings — yes, really
Let’s linger on the last two points for a moment.
It’s not uncommon for inexperienced translators to mistakenly localize tags in HTML files or keys in JSON files. For example:
Source HTML
<strong>Hello!</strong>
Localized HTML
<fuerte>¡Hola!</fuerte>
In the example above, “fuerte” is Spanish for “strong,” which is not something a browser can render.
💡 Pro tip: To avoid unnecessary localization, keep your localization files free from tags. Alternatively, use a localization platform, like Centus, that hides structural elements of code, leaving only translatable text.
Okay, now let’s return to the pseudo-localization and how it can help you uncover truncated strings. In localization platforms, pseudo-localized strings usually end with the right bracket—]. Don’t see it at the end of a pseudo-localized string? It has been truncated.
💡 Pro tip: Add the right bracket at the end of pseudo-localized strings to detect truncation.
-
Pseudo-mirroring testing
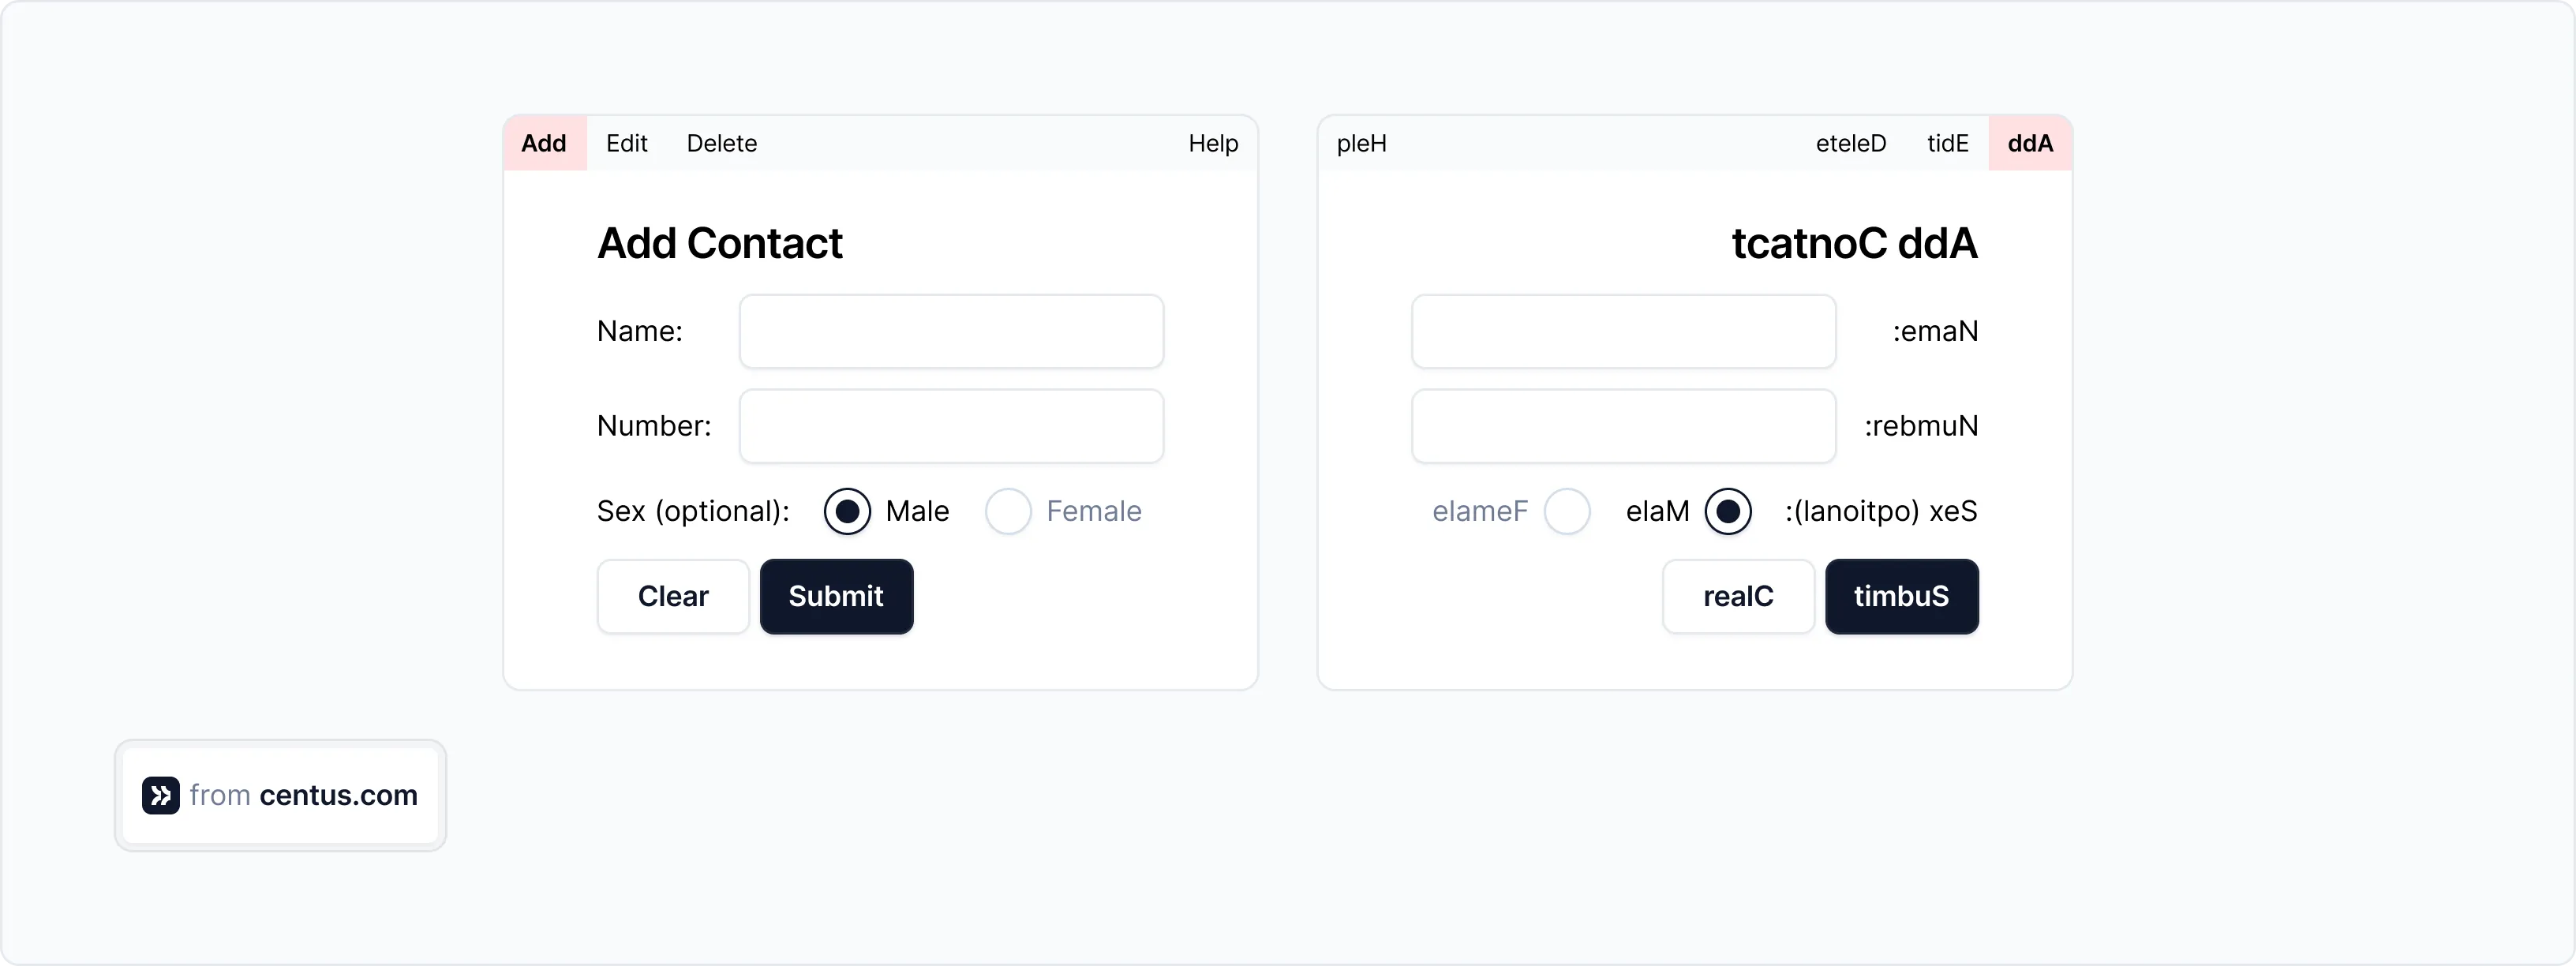
In pseudo-mirroring testing, the text and UI elements are laid out from right to left to test support for right-to-left languages, like Hebrew or Arabic.
This type of testing can start early in the development process to ensure that the product has RTL support. Unlike pseudo-translation, pseudo-mirroring doesn’t require the change of strings. Instead, it’s applied to code to check the UI controls and text alignment.
Cosmetic testing
Cosmetic testing ensures that the localized app doesn’t have UI errors. It’s especially important after RTL support implementation, as it can introduce visual issues.
Cosmetic testing helps detect:
- cutoffs
- truncations
- excessive white space
- translated layout inconsistency
- unlocalized images
- unsupported characters
Note that the main focus of cosmetic testing is text. It doesn’t deal with currencies, dates, and other formats, which are covered by functional testing.
Functional testing
Functional testing verifies the UI’s usability. Even though some elements of the product can be tested via pseudo-localization, functional testing is still needed to validate the following:
- feature functionality
- input handling
- error messages
- sorting and search
- character encoding
- hyperlinks
- third-party integrations
- data/time formats
- measurement units
- currency symbols and formats
- text expansion, contraction, and concatenation
Linguistic testing
Linguistic testing, also known as linguistic validation, is performed by a language expert to ensure correct and culturally appropriate translations. Linguistic testing helps to verify the following elements of the text:
- grammar and syntax
- translation accuracy
- contextual adherence
- style guide adherence
- terminology and vocabulary
- spelling and punctuation
- consistency
The key subset of linguistic testing is cultural testing.
Cultural testing
Cultural testing verifies whether translations fit the cultural norms, values, and preferences of the target audience. Cultural testing is performed by language experts well-versed in the local culture to check:
- adaptation of idioms
- adaptation of humor
- adaptation of references
- adaptation of colors and symbols
- adaptation of imagery
- adaptation of date/time formats, currencies, and measurement units
Linguistic testing takes the most time and shouldn’t be neglected as translation errors are usually the most visible in the product.
Linguistic testing usually takes two rounds:
- Before integration: Have a professional editor review translations before integrating them into your product.
- After integration: Check that words, or even entire phrases, haven’t been lost during the integration process.
To simplify translation review, companies use localization management platforms where localization testers can share feedback and track changes.

Compliance testing
Compliance testing helps to verify adherence to local laws and regulations. Without thorough compliance testing, a company might run into legal issues, especially if it operates in highly-regulated industries such as banking or healthcare.
Compliance testing is performed to verify the product’s adherence to:
- data privacy regulations, such as GDPR or CCPA
- accessibility standards, such as ADA or WCAG
- content restrictions regulations, such as UAE Content Restrictions on Morality and Religion
- consumer protection laws, such as Directive 2011/83/EU
- tax and financial regulations, such as VAT
- product safety and standards, such as CE Marking
Compliance testing should be performed only by legal experts closely familiar with local laws and regulations.
Audio validation
Audio validation helps to verify the synchronization of localized audio with video or animation. During audio validation, testers also verify the proper naming of audio files.
Audio validation is required for video game localization. In some cases, this localization test is also used to detect issues in localized apps.
How to perform localization testing
A bug is a bug, no matter what language it speaks. To detect them all, follow these localization testing steps:
1. Develop a test plan
It’s your summary of the testing process and its scope. Here, you describe individual test cases, detail test scripts, and list testing tools.
Your test plan should also set priorities for product modules based on the likelihood of localization problems. For example, prioritize all UI controls and third-party integrations.
2. Create the localization testing report
Decide how the localization report will look like. Remember, that the tests need to be performed not only by seasoned testers with IT backgrounds but also by language professionals. Translators and editors need a simple, consistent way of sharing their findings with you.
To avoid misunderstandings, use the following localization testing report template:
| Field | Value |
|---|---|
| Locale | en-US (English - United States) |
| Build number | 1.1.2 |
| Steps to reproduce | Go to the settings menu Change language to Italian |
| Actual results | The settings label is truncated |
| Expected results | The settings label should be fully displayed |
| Lockit ID or address | loc-file-234 |
| Bug status | open |
| Tester’s name | John Parkanenko |
3. Create two localization testing checklists
Localization testing is a balancing act. Under limited resources and tight deadlines, you can’t test everything.
So, prioritize the features critical to your users and make sure they’re reflected in your localization testing checklists. For example, payment systems, main workflows, and UI elements should be tested first.
After setting up priorities, create two testing checklists:
- Checklist for the development team should cover language and locale settings, UI responsiveness, functionality checks, error handling, and third-party integrations.
- Checklist for linguistic testers should cover translation accuracy, grammar, spelling, punctuation, tone, style, cultural appropriateness, and consistency
4. Prepare contextual resources
Chances are the members of the development team who will test your product are already closely familiar with it. But they aren’t the only ones who need to test it. Digital products also require linguistic and compliance localization testing.
To ensure your linguistic and legal reviewers have a solid understanding of your product, provide them with contextual resources. You can’t go wrong with technical documentation and marketing information on the product.
Additionally, provide your linguistic testers with:
- style guides
- glossaries
- translation memories
5. Set up the testing environment
Always use real scenarios for localization testing. To properly verify user experience with your localized product, use:
- local IP addresses
- local GPS locations
- local SIM cards
- operating system locales
6. Prepare localization test cases
Test cases for localization QA should cover common users’ behaviors and flows to check your product’s functionality. I will run out of pixels long before I cover every test case, so here are three examples of manual test cases you can’t miss:
1. Test with supplementary characters
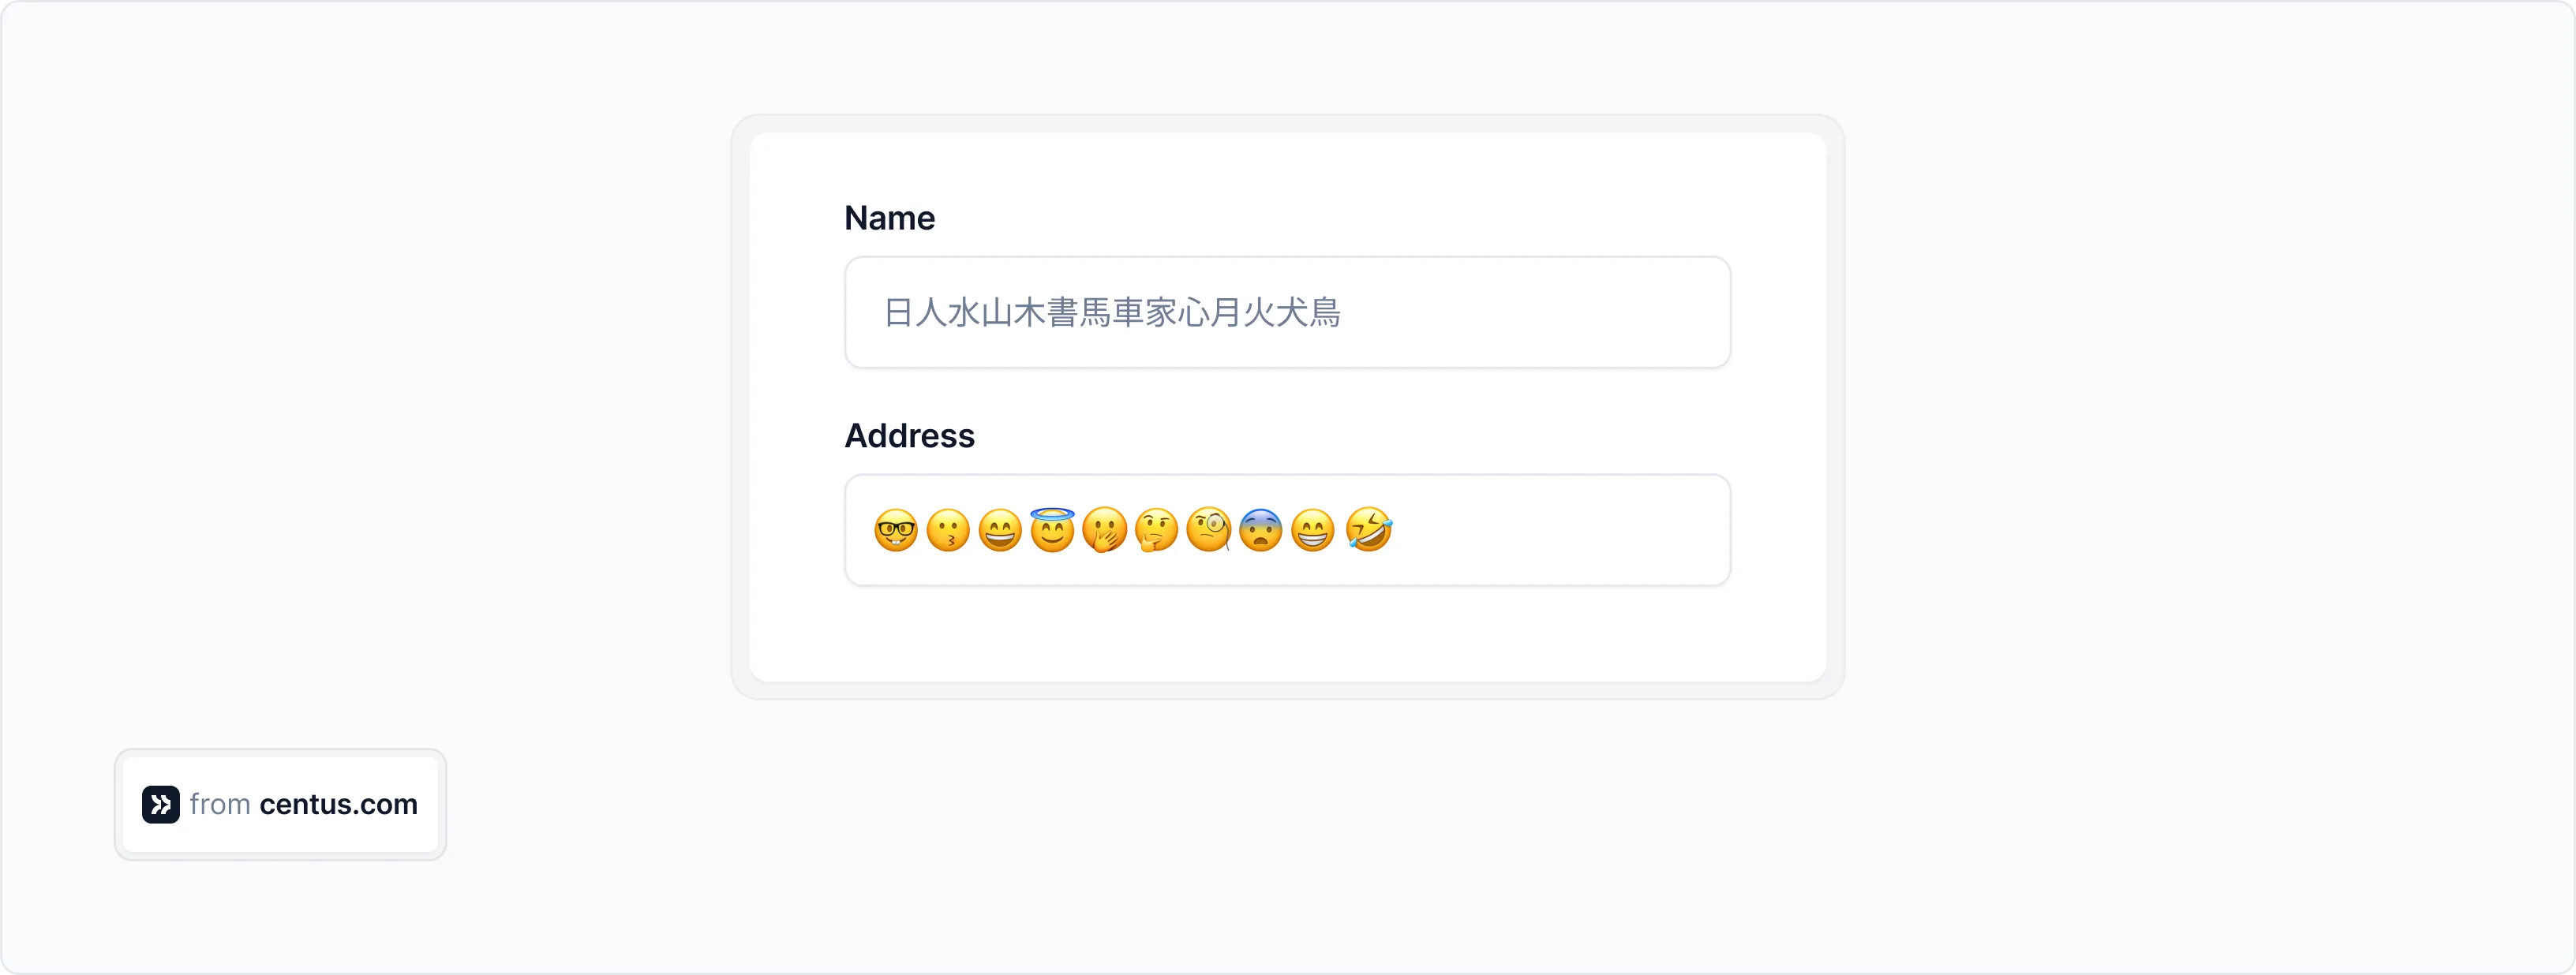
Supplementary characters are mathematical symbols, emojis, and other unique characters from a larger set used for rare languages. Such characters require more memory to process, causing performance slowdowns.
Enter supplementary characters to check if your app behaves unexpectedly. The easiest way to provoke memory overruns is with 4-byte supplementary characters:
- U+20731 – 𠜱 (a CJK ideograph used in some Chinese characters)
- U+1F4C8 – 📈 (a chart with an upward trend emoji)
- U+2A0D – ⨍ (a mathematical symbol, n-ary join)
Test case
- Launch the application.
- Navigate to the input field.
- Enter the supplementary character 𠜱 (U+20731).
- Verify whether the characters are accepted and displayed correctly without errors or slowdowns.
Expected result: The app should accept and display the supplementary character correctly without performance issues or unexpected behavior.
2. Test with maximum-length strings
This test case checks how well your app or website manages excessively long text and special characters that go beyond the basic sets used for most languages.
Test case
- Launch the application.
- Navigate to the input field.
- Enter the longest possible string of 4-byte supplementary characters that the application can accept.
- Verify whether the application handles the input correctly without crashing or slowing down.
Expected result: The application should accept and process the maximum-length string without performance issues, truncation, or errors.
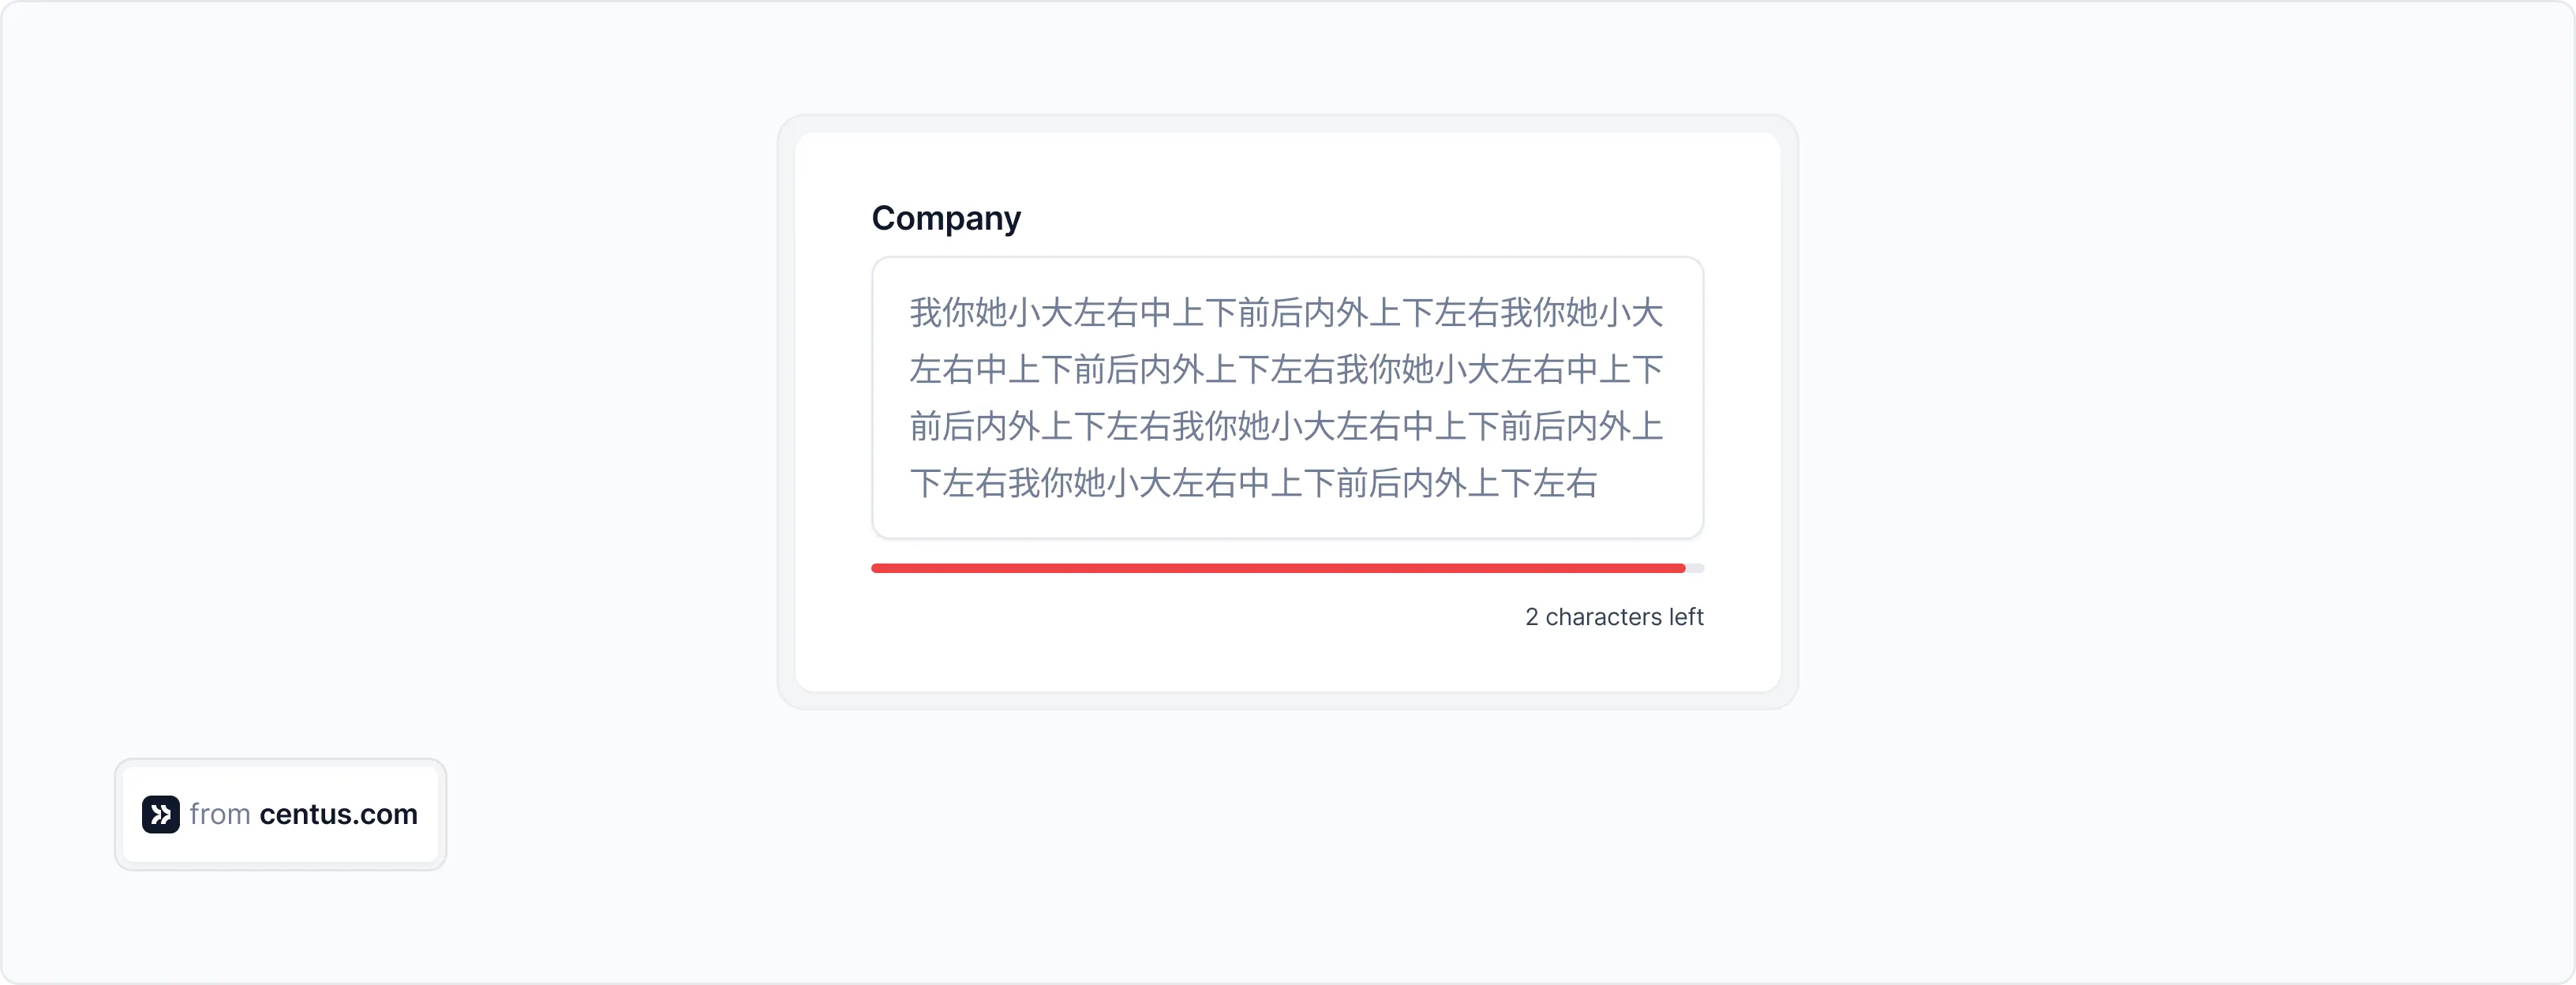
Here, you want to check that your product can handle the maximum-length string without crashing or freezing.
3. Test character replacement near boundaries
Test how your digital product handles the replacement of ASCII characters with supplementary characters. Especially near the boundaries like the end of a text field.
Test case
- Launch the application.
- Navigate to the input field.
- Fill the text field to its maximum length with ASCII characters.
- Replace one ASCII character near the boundary (e.g., the last character) with a 2-byte supplementary character.
- Verify whether the application accepts the replacement without errors or unexpected behavior.
Expected result: The application should handle the replacement seamlessly, displaying the supplementary character correctly without truncation or errors.
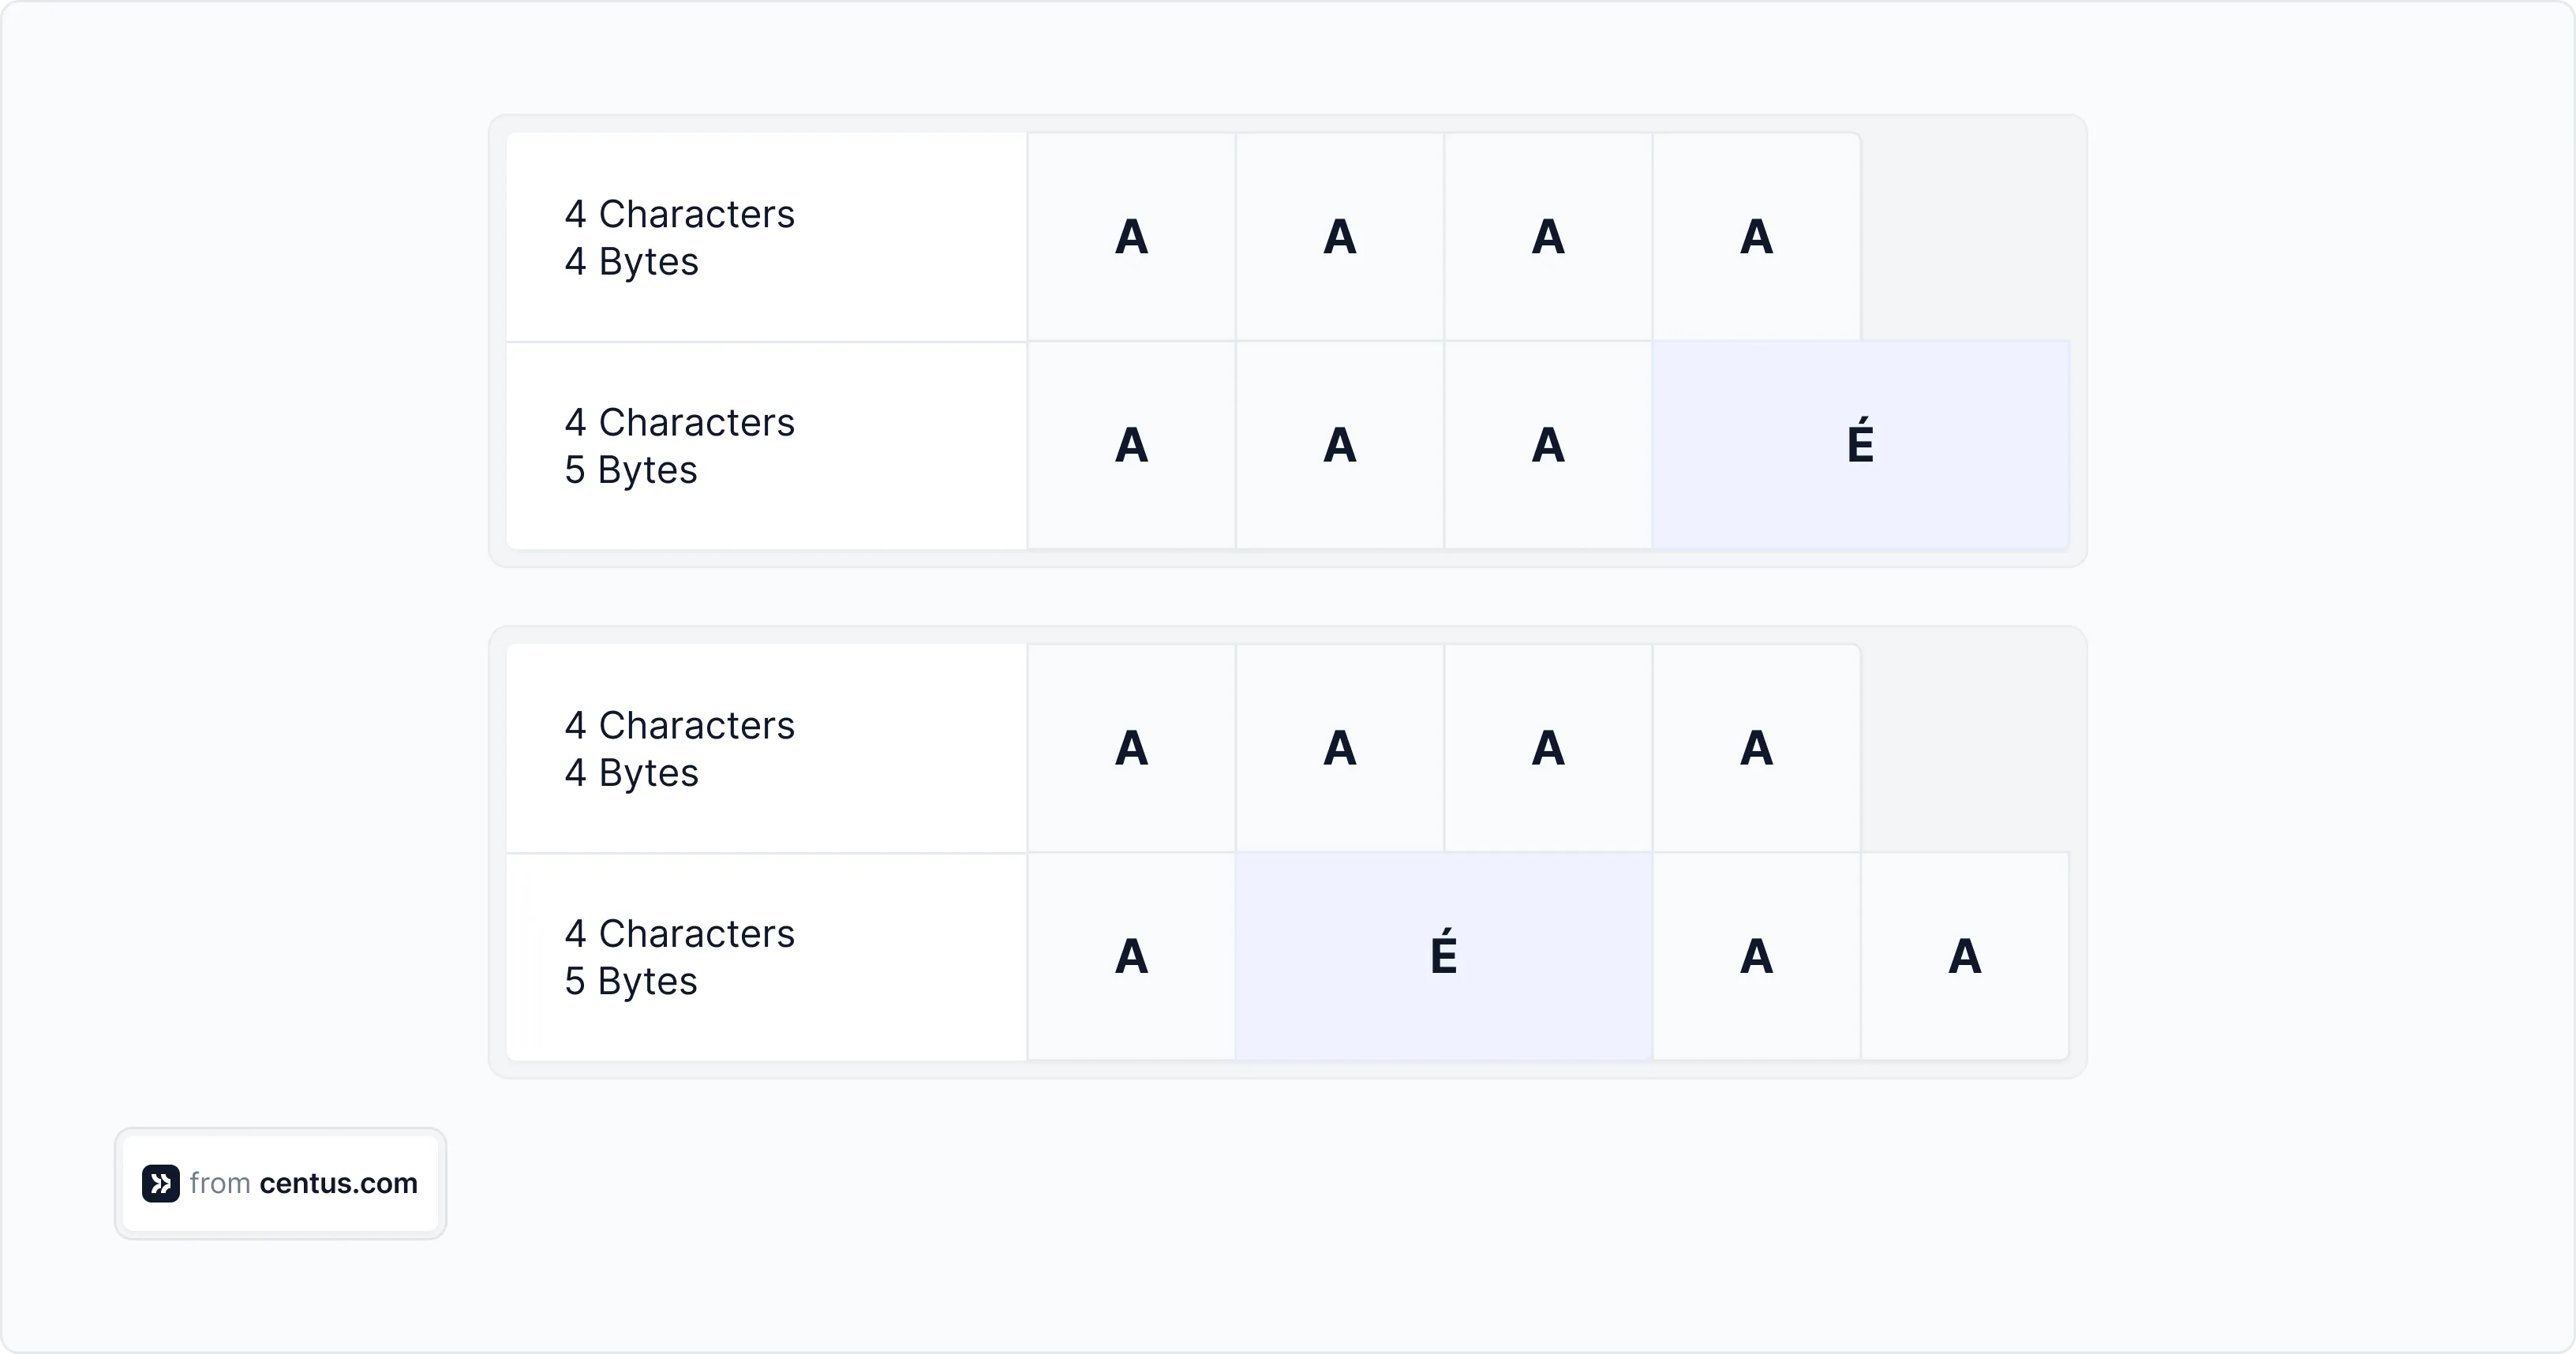
Here, you want to ensure that your app supports a full count of characters, rather than bytes. Otherwise, your localized app may have character overflows.
Tools to automate localization testing
While only human experts can perform cultural testing or assess legal compliance, other areas of localization testing can be automated. Let’s see how to automate QA for your localized website or app.
Localization management platforms, like Centus, have integrated localization QA tools, allowing you to minimize the manual effort involved in quality assurance. Using such localization testing tools, you can automatically identify the following issues in translated strings:
- Spelling, grammar, and punctuation errors
- Placeholder differences in the source and target text
- Leading and trailing whitespaces
- Bracket differences in the source and target text
- Number differences in the source and target text
- Email address differences in the source and target text
- URL differences in the source and target text
Here’s how to use Centus to automate software localization testing and website localization testing:
- Sign up to Centus and create a new project
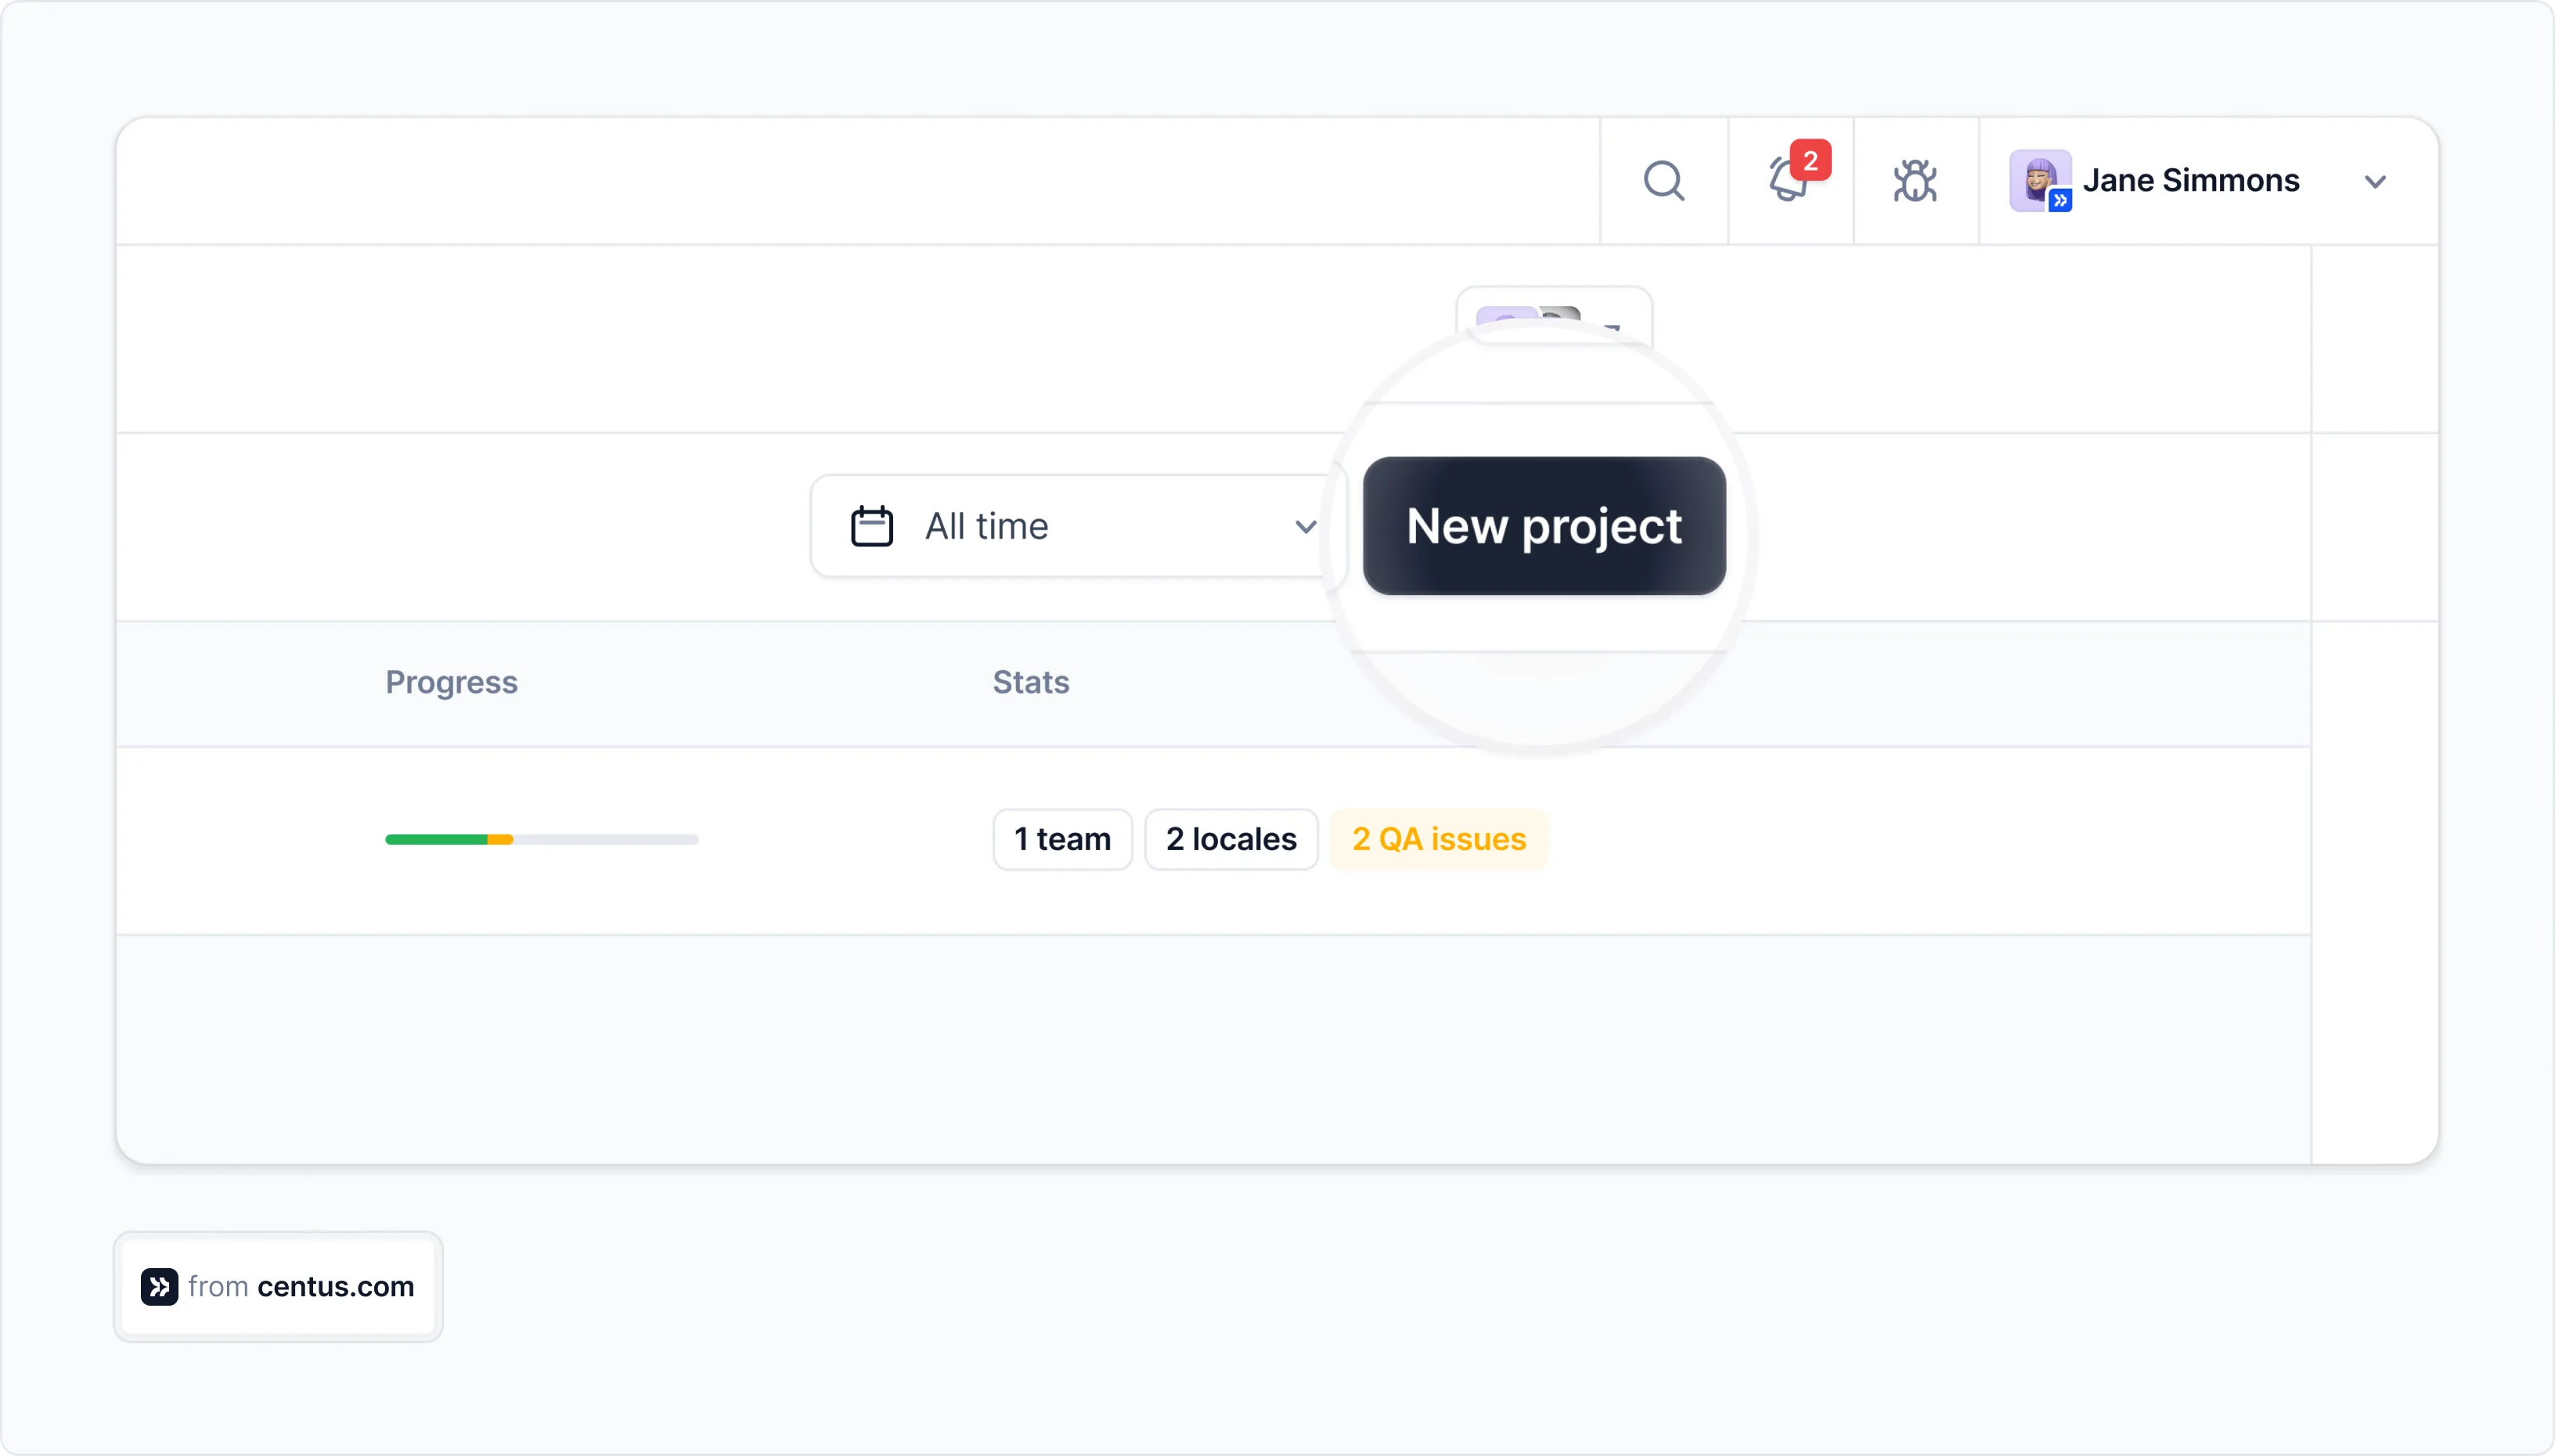
- In the dashboard, click More
- In the dropdown menu, select Project settings

- Click QA/Review
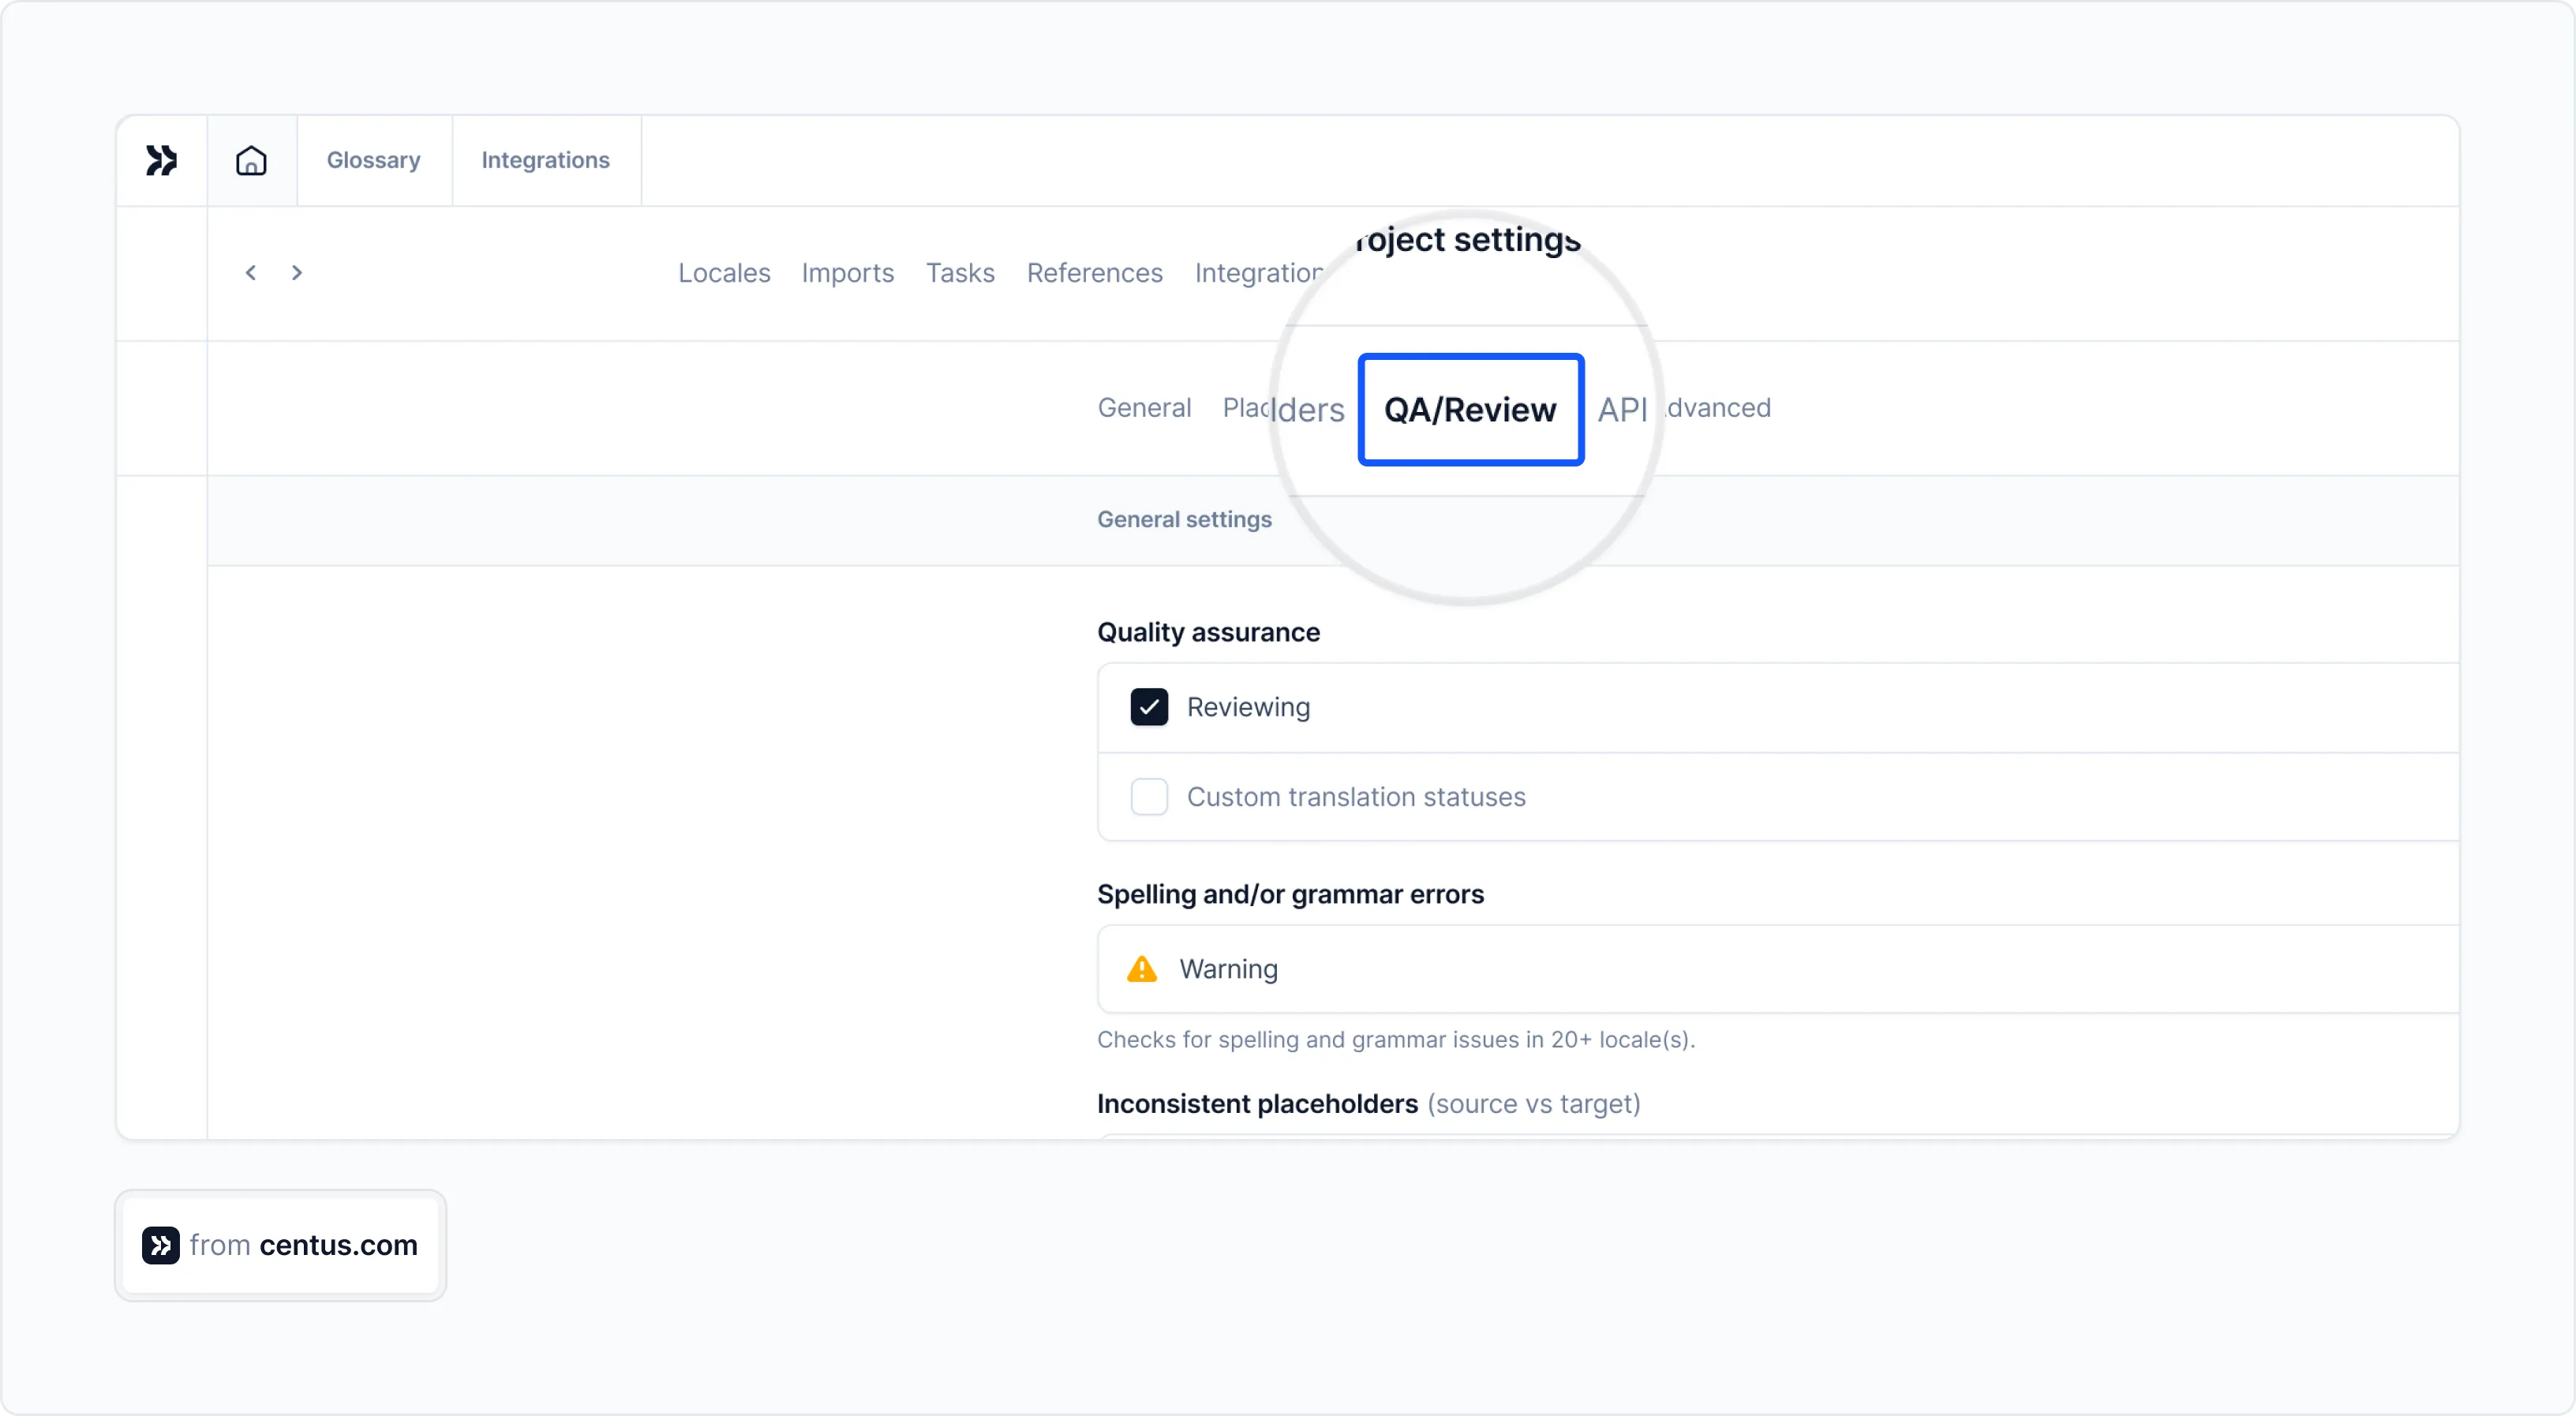
- Select the Warning options

- In the dashboard, double-click your project
- Review the detected errors
- Fix the issues or click Ignore to close the warnings
Automatic localization testing in Centus can help you uncover a whole host of issues that would take ages to detect manually. The best part? You can use Centus to fix the detected issues instantly, without having to wait for string updates and new builds.
How long does localization testing take?
Localization testing time guestimate depends entirely on the type and nature of your project.
Need to test a lightweight app?
It typically takes between 2 and 5 hours per language. This includes linguistic testing, pseudo-localization testing, cosmetic testing, and functional testing. Compliance testing may take several additional hours, depending on the industry in which the app operates and the size of the legal team involved in testing.
Need to run a localization test for a triple-A video game?
It will take approximately 25 hours per language for an experienced localization team. This includes linguistic testing, functional testing, cosmetic testing, and audio validation.
📌 Case in point
The video game Atomic Heart is localized into 13 languages. With over 722,000 words in the game, a team of language experts spent 323 hours testing it for localization issues.
Why does it take so long to run localization tests?
Simply because localization testing uncovers a large number of issues that need to be properly documented. For example, terms can be translated inconsistently throughout a digital product.
📌 Case in point
The Localization Director at Warner Bros. Entertainment, Adolfo Gomez-Urda, uncovers an average of 460 translation inconsistencies per language in a video game.
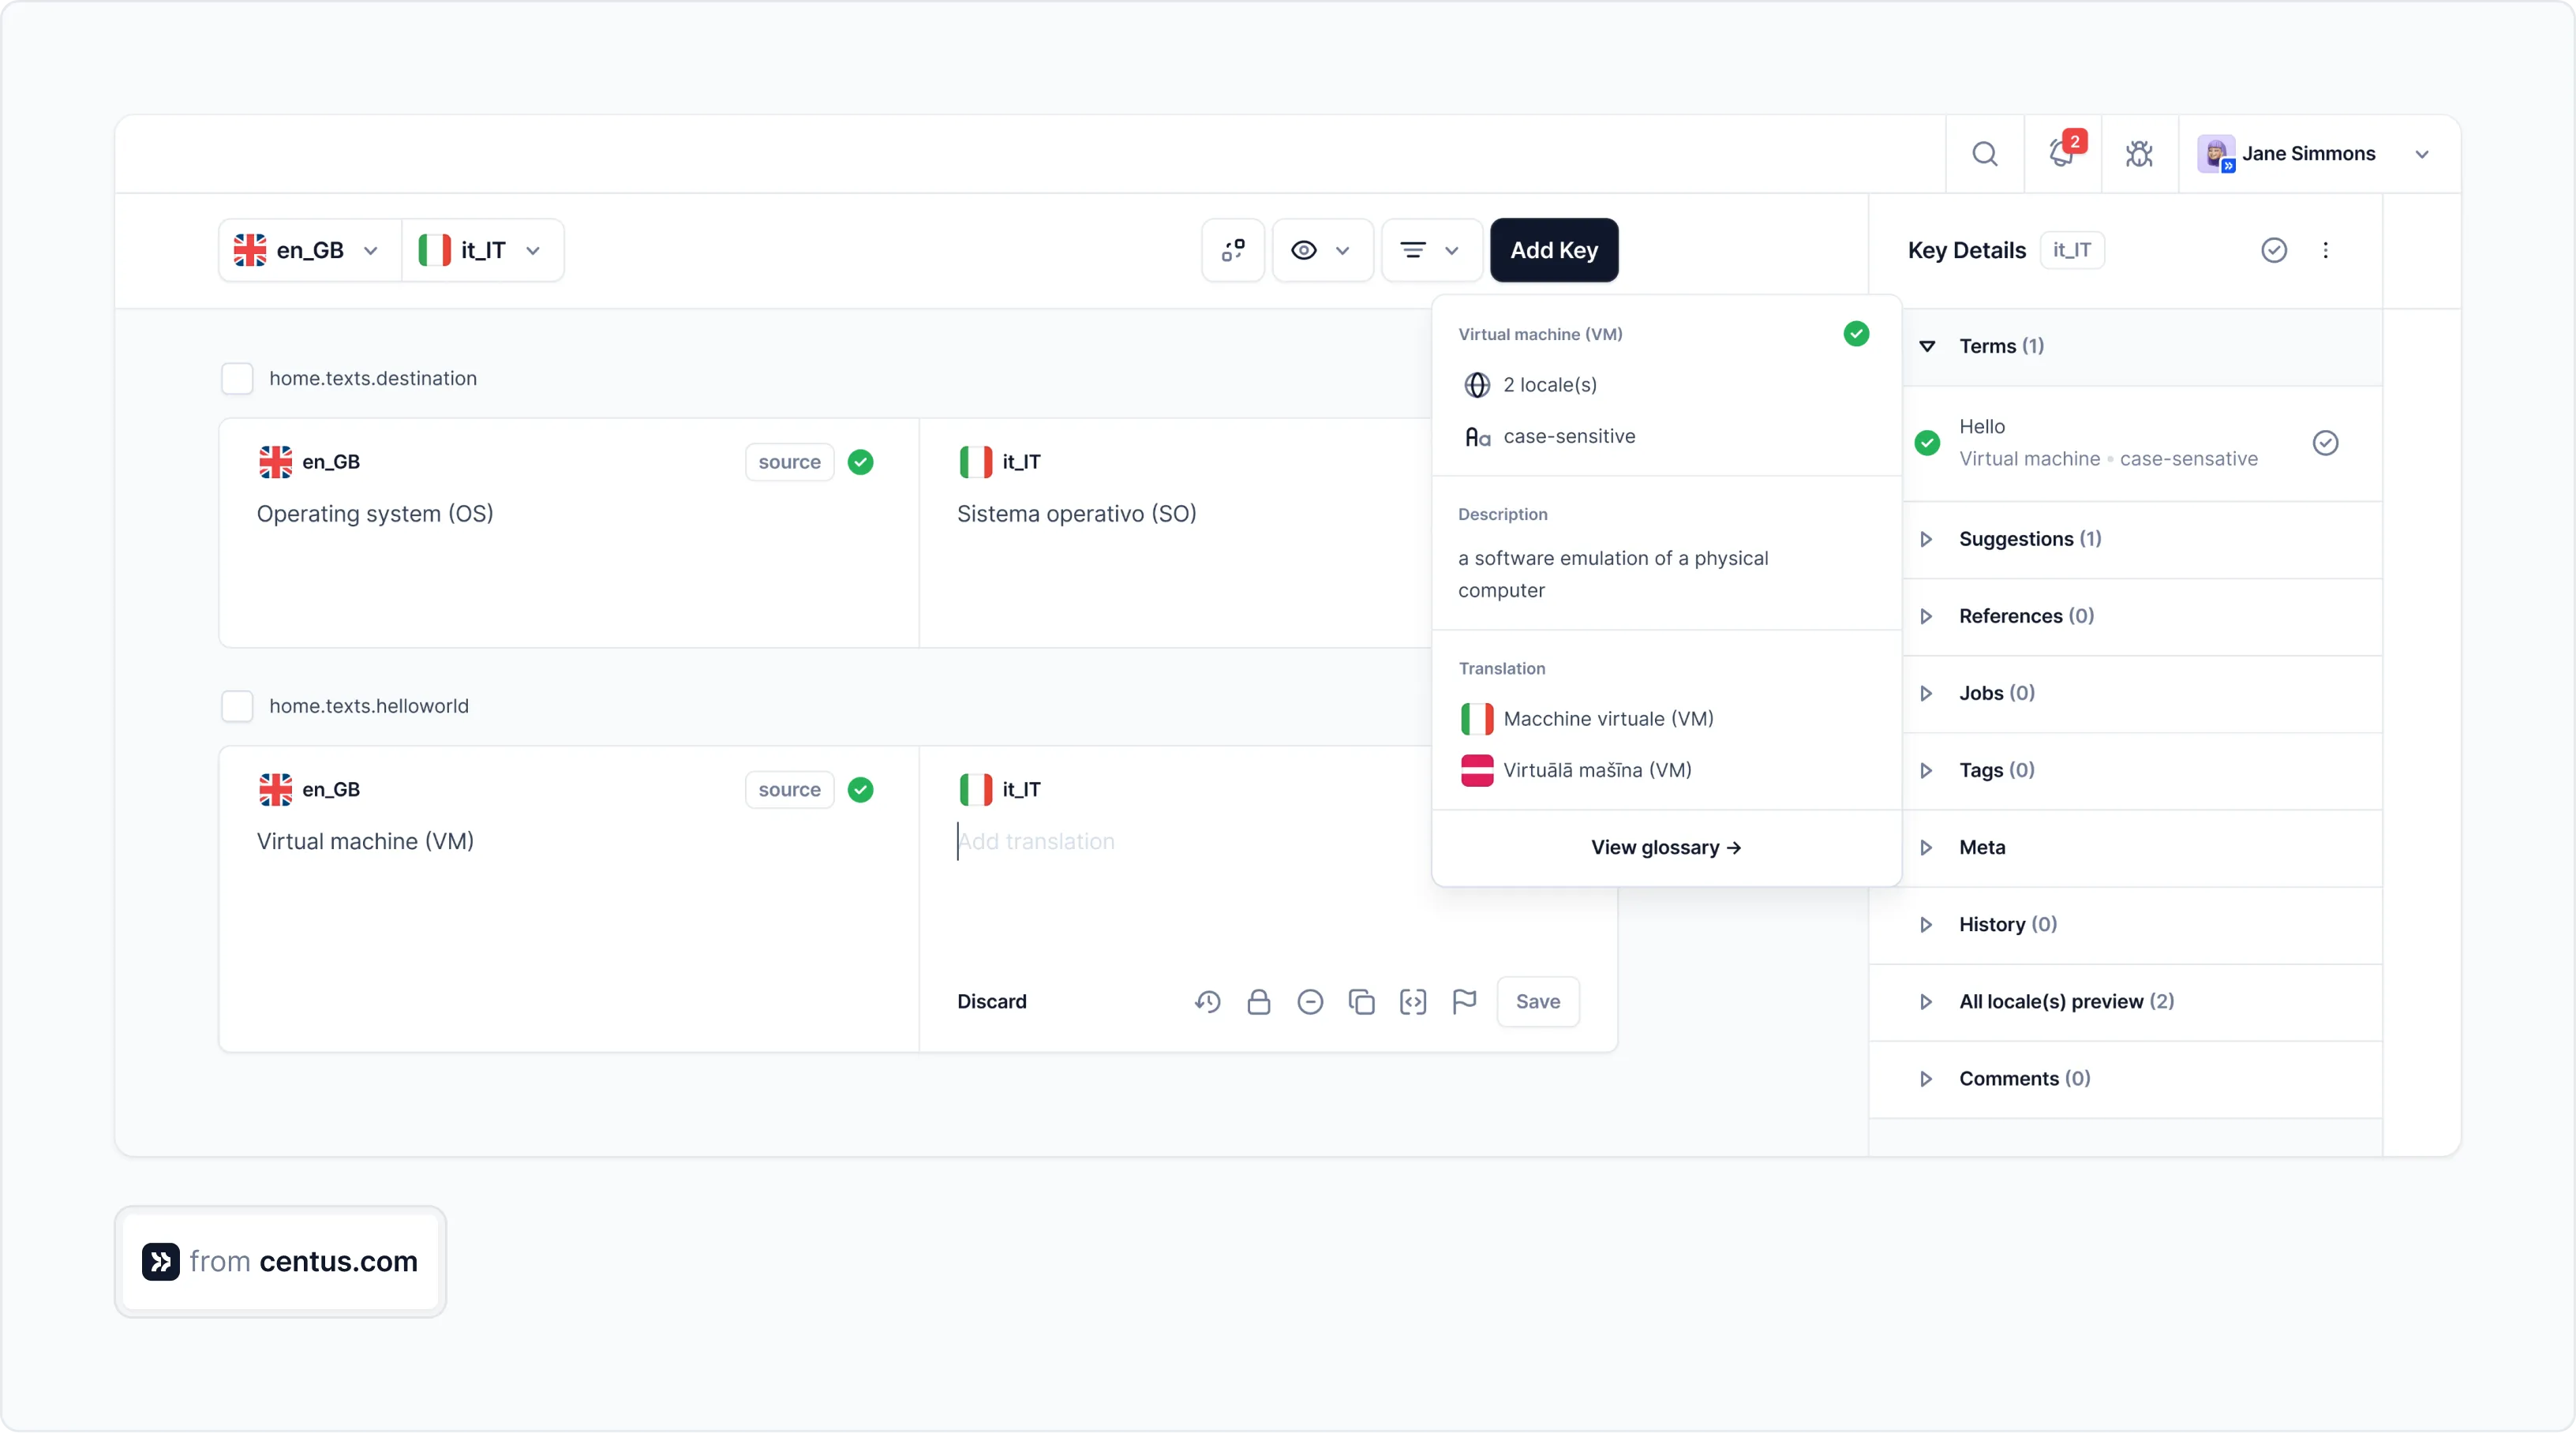
💡 Pro tip: To maintain consistent translations, use term bases and glossaries within localization platforms, like Centus.
How much does localization testing cost?
You’ve probably figured it out by now: the cost of testing depends on the nature and size of your localized product.
The number of strings requiring linguistic review in a lightweight app fades compared to the localized software. The same goes for the number of input fields. Or buttons. You’ll also need to figure out the number of languages and locales the product is localized into.
Say, you need to test a small localized app. Let’s guesting the cost of app localization testing:
- Development time: 2-5 hours for 5 languages at $50 per hour
- Language expert time: 4-8 hours for 5 languages at $40 per hour
Thus, the total cost of localization testing for a small app ranges from $1,300 to $2,850.
Parting thoughts
Test once and let it go? For better or worse, no. Just like localization itself, localization testing is an iterative process.
Test, update, and perfect.
How to perfect? Our expert guides on app localization and JavaScript localization are a good place to start.
Good luck!
Get the week's best content!
By subscribing, you are agreeing to have your personal information managed in accordance with the terms of Centus Privacy Policy ->
Keep learning

8 min. read
Key Localization Challenges and Solutions in 2025

12 min. read
How to Build a Localization Workflow
8 min. read
How to Choose the Right Translation Technology in 2025
5 min. read
Localization Quality Assurance: Your In-Depth Guide
7 min. read