A few years ago, my manager asked if I could handle JavaScript localization.
I'd worked on some JS frameworks and runtimes, but vanilla JS wasn't my strongest suit. I was wondering how long does it take to learn JavaScript well enough for this kind of project. With a little hesitation, I took on the challenge.
The client's app we were working on already had it all—it was fast, beautiful, and had clean, maintainable code. But we'd always thought of it as an app for the English-speaking world.
Our UI wasn't designed to handle right-to-left languages like Persian or Hebrew, which would disrupt the layout. Japanese numerals would cause text overlap. In short, it was a mess.
As I learned how to localize a JavaScript web app, I decided to document the process. This article is a distillation of my JavaScript localization experience that I'd like to share with you.
Let's get to it!
What is JavaScript localization, anyway?
Before we jump into the code, let's talk about localization.
You might hear people throwing around terms like "JavaScript l10n" (that's shorthand for localization—count the letters) or "JavaScript i18n" (internationalization), but don't let that intimidate you.
Here's a quick overview of both 👇
- Internationalization (i18n) involves designing your app to support various languages and dialects. This means separating translatable content and preparing the app for bidirectional languages.
- Localization (l10n) takes the i18n process further by creating versions of your project for different regions. It involves translating content and adapting it to local customs and preferences.
To put it simply, localization and internationalization are all about making changes to your app so it adapts to different cultures and languages.
It also means changing layouts for languages that read from right to left, making sure dates and currencies are formatted properly, and sometimes even changing pictures or colors that may have different cultural meanings.
How to perform vanilla JavaScript localization
Okay, now that you know what localization is, let's get down to business. We're not using any fancy tools or complicated setups—only pure JavaScript.
And trust me, this method will help you build a strong base and will be easy to adapt to any system once you know the basics.
Step 1: Prepare your HTML
The first step for localization is to add proper localization attributes to your HTML. Let's add these attributes to the tags that require translations. You can think of it as putting sticky notes across your HTML file so you know which pieces need to be translated.
To help you follow through, I've created a simple HTML page with a couple of translatable strings.
<!DOCTYPE html>
<html lang="en">
<head>\
 <meta charset="UTF-8">
 <meta name="viewport" content="width=device-width, initial-scale=1.0">
 <title>Weather Wizard</title>
</head>
<body>
 <h1 data-i18n="title">Weather Wizard</h1>
 <p data-i18n="description">Your magical guide to weather forecasts!</p>
 <button data-i18n="search">Search</button>

 <script src="app.js"></script>
</body>
</html>
Once you render this page, you'll see the following:

Nothing special here, really. It's just a basic header, paragraph, and button with some text on it.
But see those data-i18n attributes in the code? Those were the special attributes I was talking about.
These flags tell the code, "This text needs to change based on the user's language."
Create a similar setup for your HTML file, and we can move to the next step.
Step 2: Create translation files
Now, we've only tagged the text that needs to be translated in our HTML. The next step is to write what the translated text will be. We'll store these in JSON files—one for each language we want to support.
I've created a folder called "lang" in my root directory with a few JSON files that hold these translations.
lang/en.json (English):
{
"title": "Weather Wizard",
"description": "Your magical guide to weather forecasts!",
"search": "Search"
}
lang/es.json (Spanish):
{
"title": "Mago del Clima",
"description": "¡Tu guía mágica para pronósticos del tiempo!",
"search": "Buscar"
}
lang/fr.json (French):
{
"title": "Assistant Météo",
"description": "Votre guide magique pour les prévisions météo!",
"search": "Rechercher"
}
You'll notice that these are simple key-value pairs with the attribute name as the key and the translated text as the value.
If you're managing multiple JSON files for a large multilingual app, untranslated strings and other errors will inevitably crop up. To streamline the process, use an app localization platform where translators, developers, and managers can collaborate in a shared space.
Here's how to translate JSON files using a professional app localization platform:
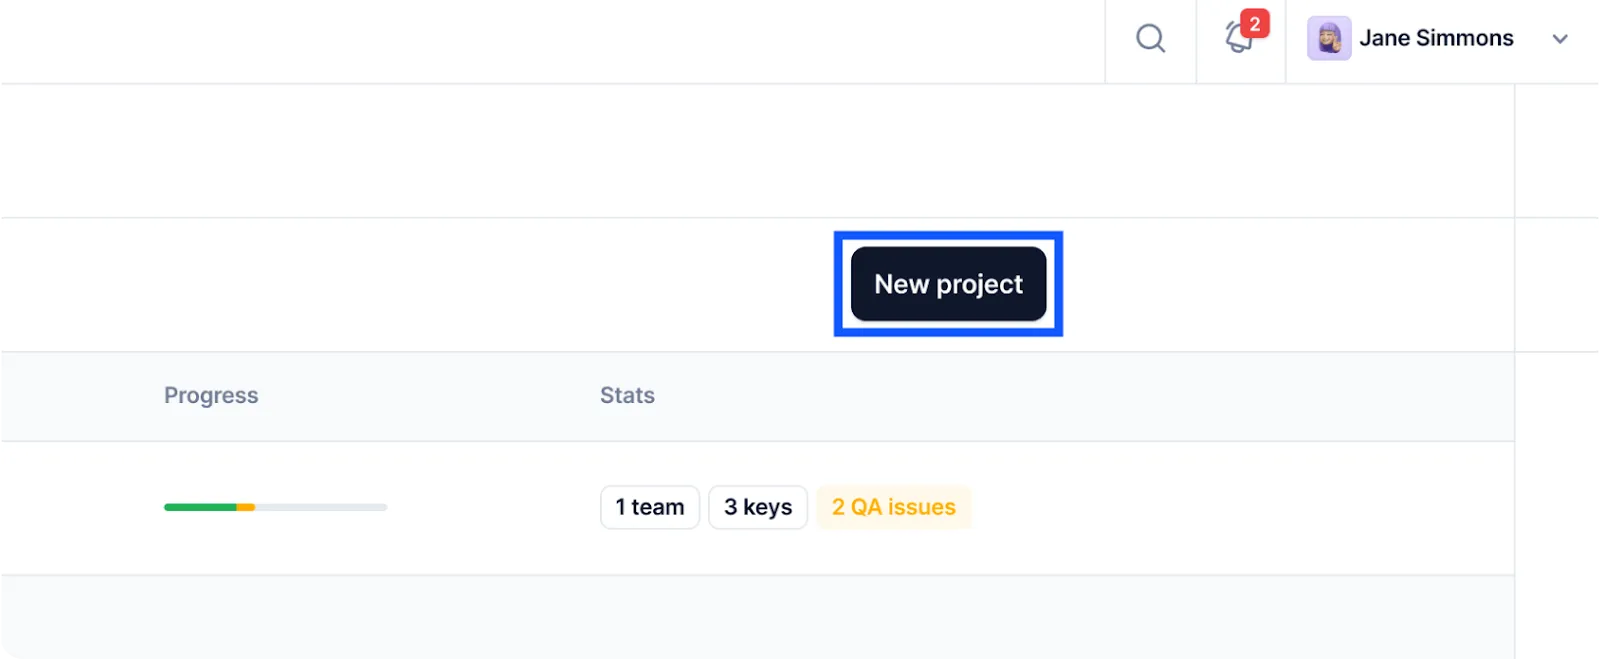
- Sign up to Centus and create a new project
-
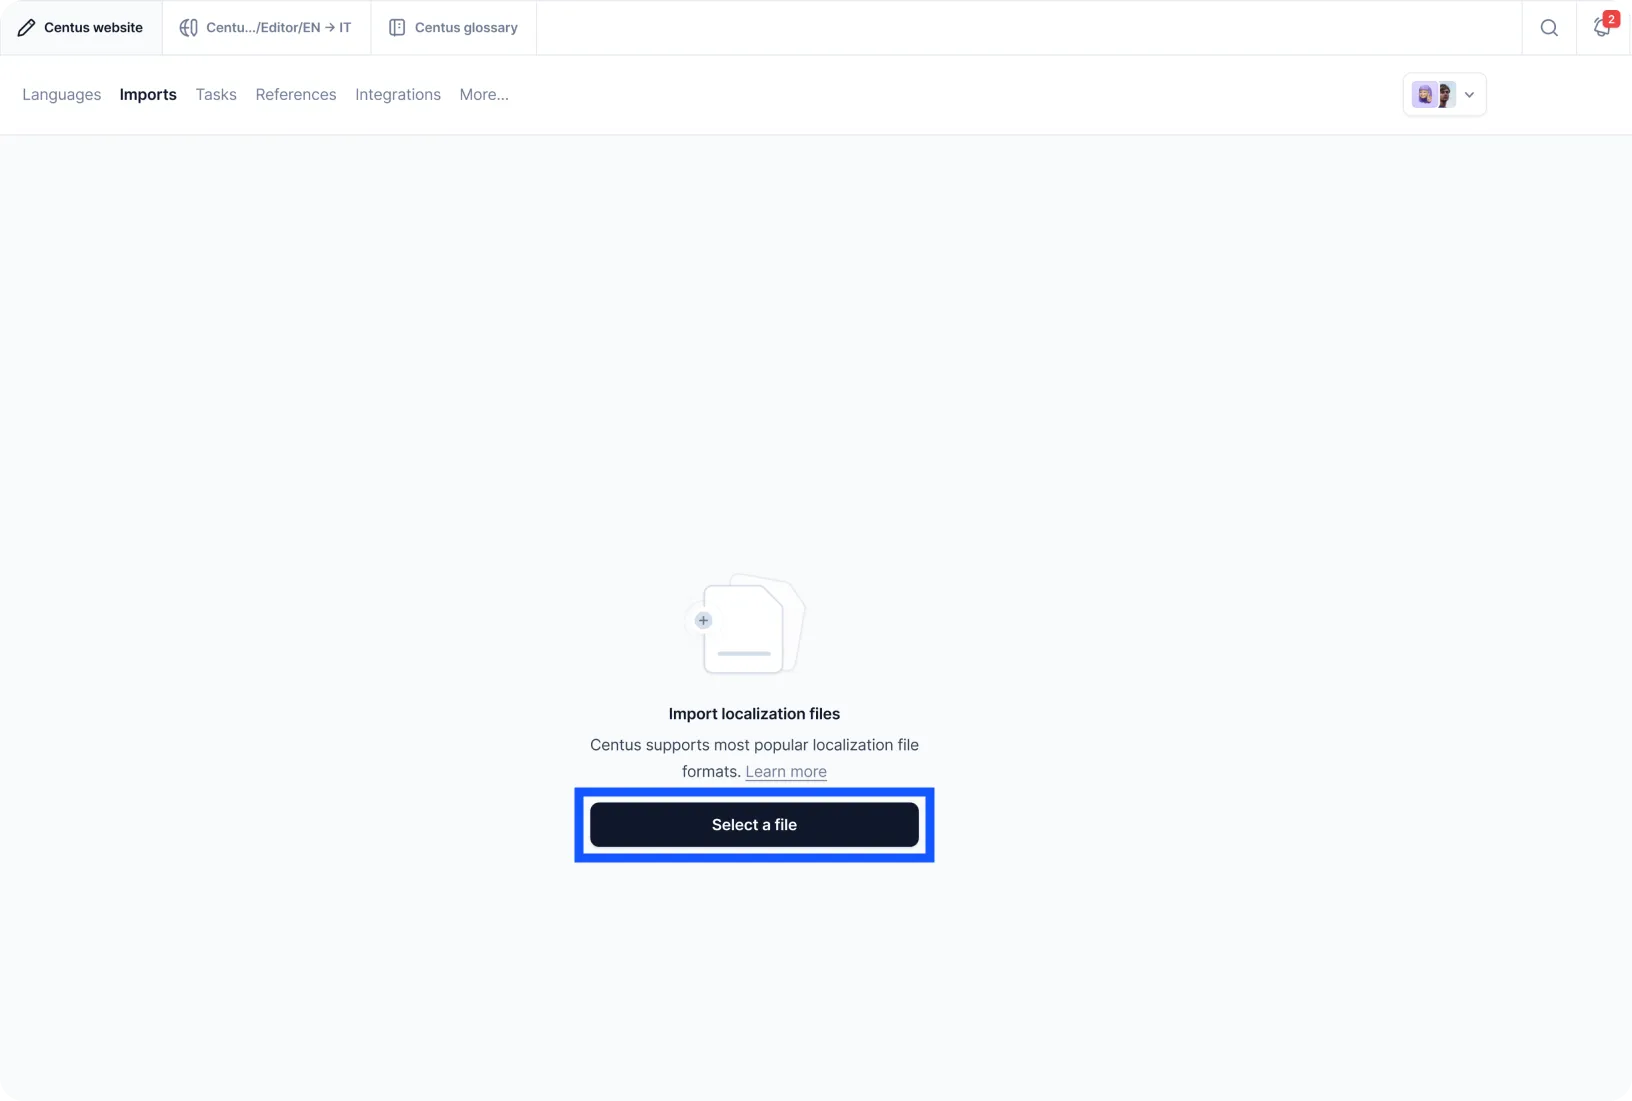
Navigate to the Imports section and upload your JSON files
-
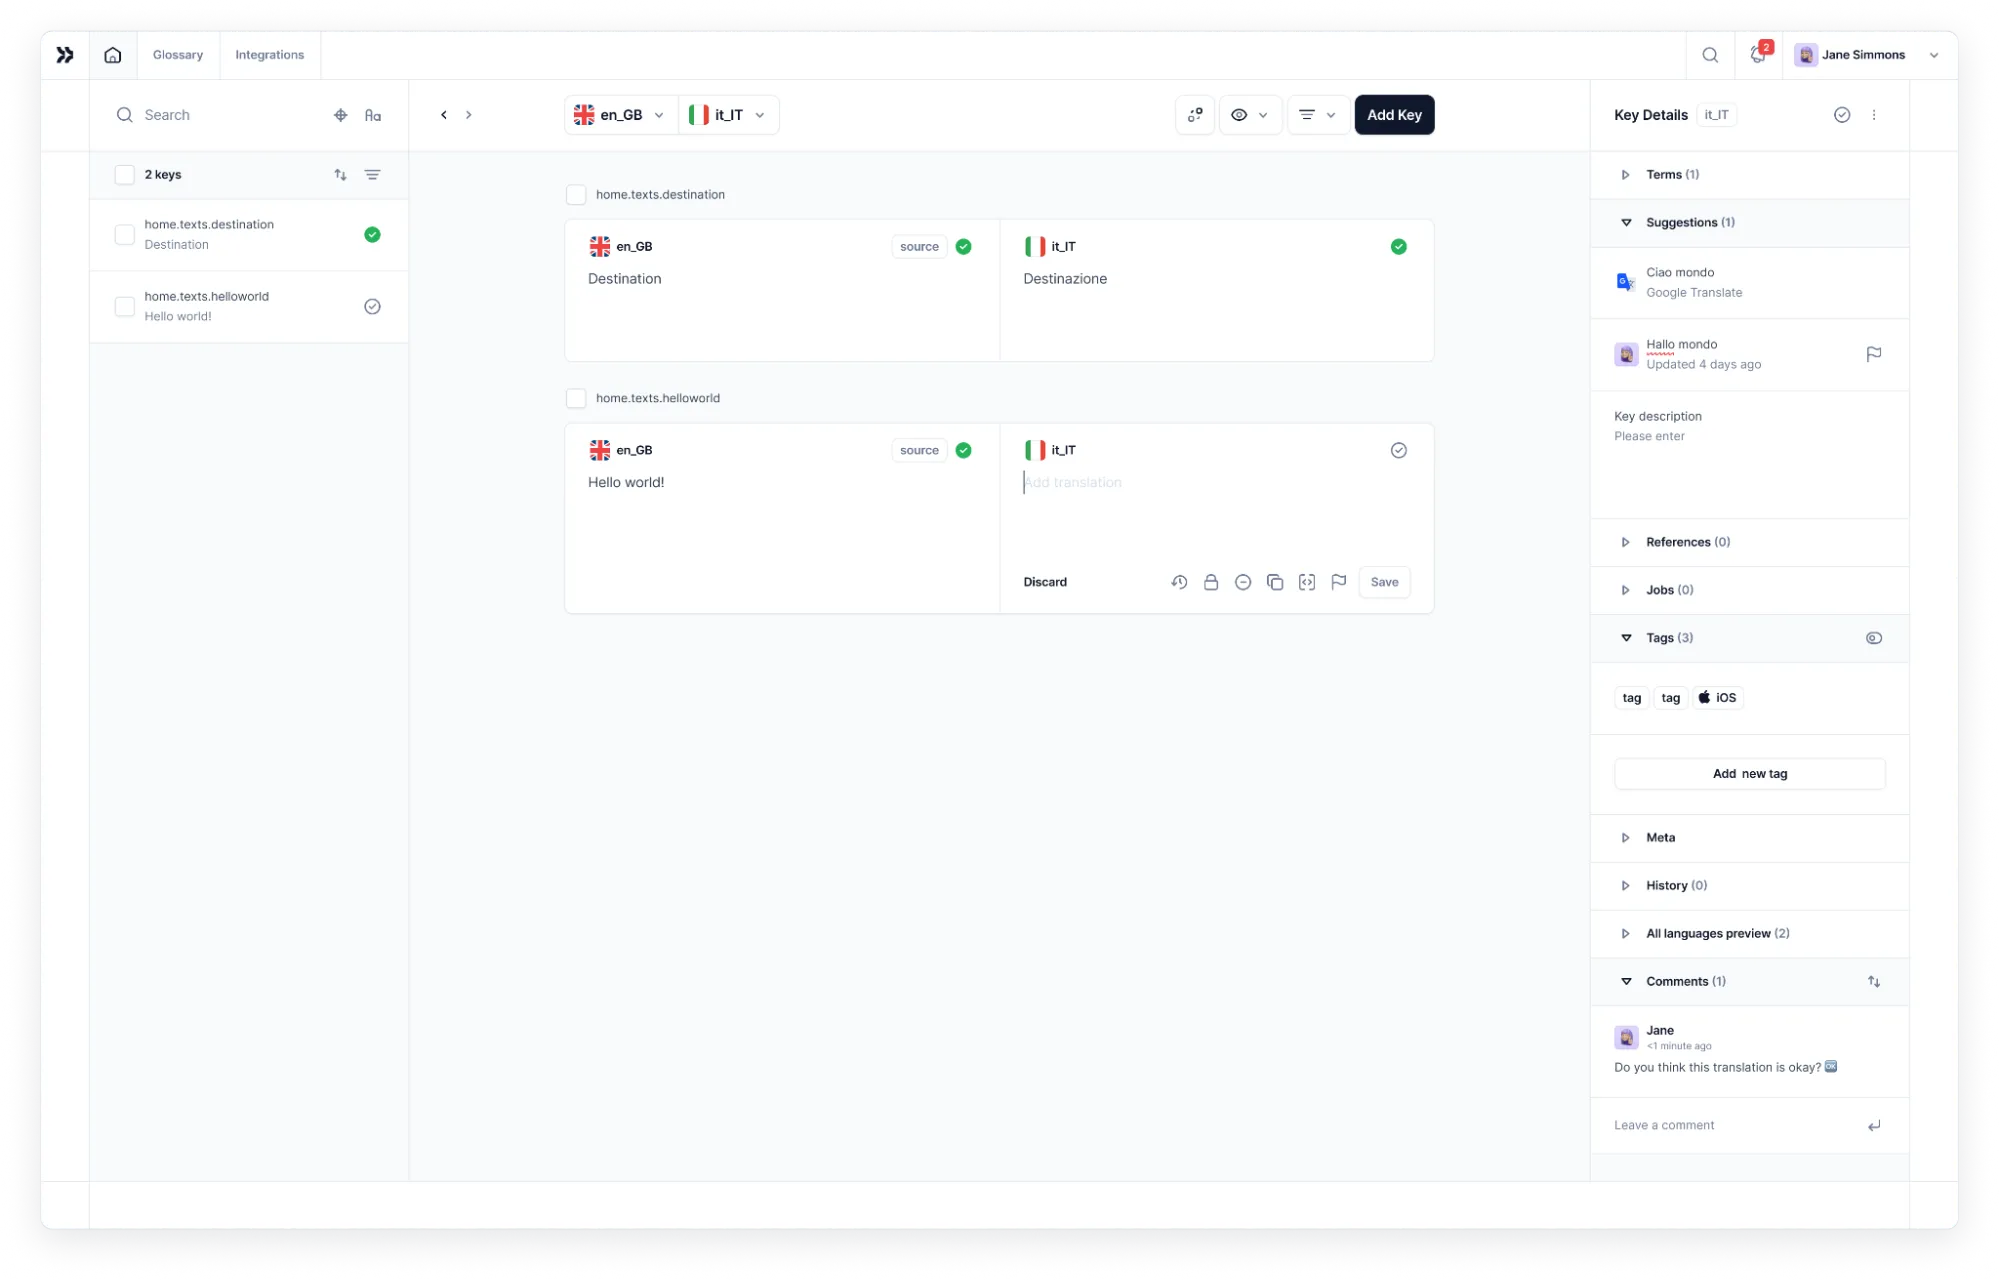
In the Editor, you'll see automatically segmented content
Now hand over the project to your translators and editors. Don't know where to find them? Check the guide below.
📘 Relevant reading: How to find translators
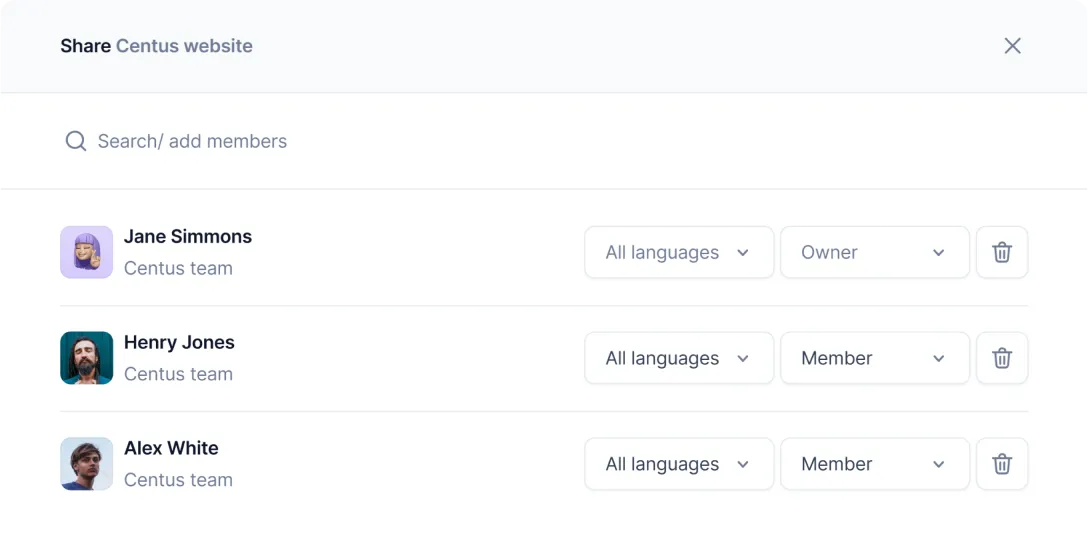
Once you have professional translators, add them to your JS localization project:
-
In the Contributors section, click Add people to add a translator
-
Enter the translator's name, email, and other details
-
Choose the translator's role from the dropdown menu
-
Click Add project contributor
Repeat these steps for other project contributors: editors, managers, and designers.
Now your language experts can create JavaScript translations and share feedback to avoid errors and inconsistencies.
Centus comes with a full suite of localization features, helping you ship your project in record time: machine translation, term-base management, API, CLI, automated QA, and much more.
Use Centus to translate your JSON files and move to the next step.
Step 3: Fetch translations with JavaScript
Alright, you're making good progress. Now let's bring our translations to life with some JavaScript magic. I'll write the code that fetches the correct values of our translated text snippets using the JSON files based on the user's language.
// This object will store our translations
let translations = {};

// This function fetches the translation file
async  function  loadTranslations(locale) {
 try {
 const translations = await  import(`./lang/${locale}.json`);
 return translations.default;
} catch (error) {
 console.error('Error loading translation file:', error);
 const defaultTranslations = await  import('./lang/en.json');
 return defaultTranslations.default;
    }
}
Here's what I've done in the above code:
- First, I created an empty translations object to hold the current language translations in memory.
- The fetchTranslations function is where the magic happens. It takes a locale parameter (like 'en' for English or 'es' for Spanish) and tries to grab the corresponding JSON file. We'll provide this with our language switcher dropdown later.
- If something goes wrong (for example, the file cannot be accessed), it logs an error and falls back to English. This way, we always have some text to display, even if it's not in the user's preferred language.
This is all we need to move on to our next step, which will be applying the translations to the HTML file.
Step 4: Apply translations to the HTML file
With the fetchTranslations function ready to go, let's write a function that will use the fetched translations and change the text on our HTML page.
In this case, I've added two functions—translatePage and setLanguage.
// This function applies the translations to our HTML
function  translatePage() {
 document.querySelectorAll('[data-i18n]').forEach(element => {
 const key = element.getAttribute('data-i18n');
    element.textContent = translations[key] || element.textContent;
  });
}

// This function sets the page language and triggers translation\
async  function  setLanguage(locale) {
 await fetchTranslations(locale);
  translatePage();
 document.documentElement.lang = locale;
}
Here's what's going on:
- The translatePage function finds all elements with a data-i18n attribute and updates their text content with the corresponding translation.
- If a translation is missing, it keeps the original text instead of returning a blank space or the variable name in the UI.
- The setLanguage function is like the conductor of our localization orchestra. It fetches the translations, applies them to the page, and even updates the lang attribute on our tag for good measure.
Now you should have the code to fetch the translated strings and apply them to the page. But how will the code know what language to display? For that, you'll need to write a language switcher.
Step 5: Create a language switcher
I'll add a simple language switcher dropdown in Javascript with no CSS styling here, but feel free to change the implementation according to your needs.
// Let's add a language switcher
const languageSwitcher = document.createElement('select');
languageSwitcher.innerHTML = `
  <option value="en">English</option>
  <option value="es">Español</option>
  <option value="fr">Français</option>`;
document.body.prepend(languageSwitcher);

languageSwitcher.addEventListener('change', (e) => {
  setLanguage(e.target.value);
});

// Initialize with English
setLanguage('en');
Let me break this final piece of code down:
- I've created a simple dropdown menu (select element) at the top of the page, with options for each language we support.
- The value of the dropdown selector is equal to the respective locale—"es" for Spanish, "fr" for French, and "en" for English.
- With an event listener, setLanguage, whenever the user chooses a new language, it will set the language locale variable globally for other functions to use.
- The last line sets the default page language to Engish.
When you render the page, you'll see a drop-down menu above the title with the three languages we've added. Your users can now switch to a different language from here.
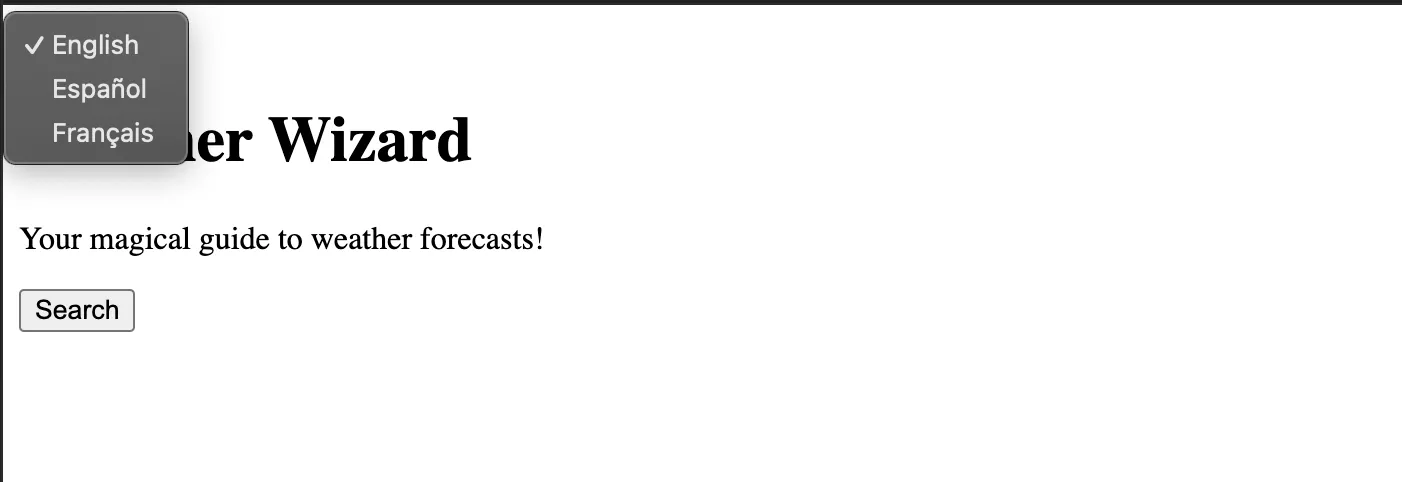
If you have set the translation files correctly, changing the language from the dropdown will change the language immediately:
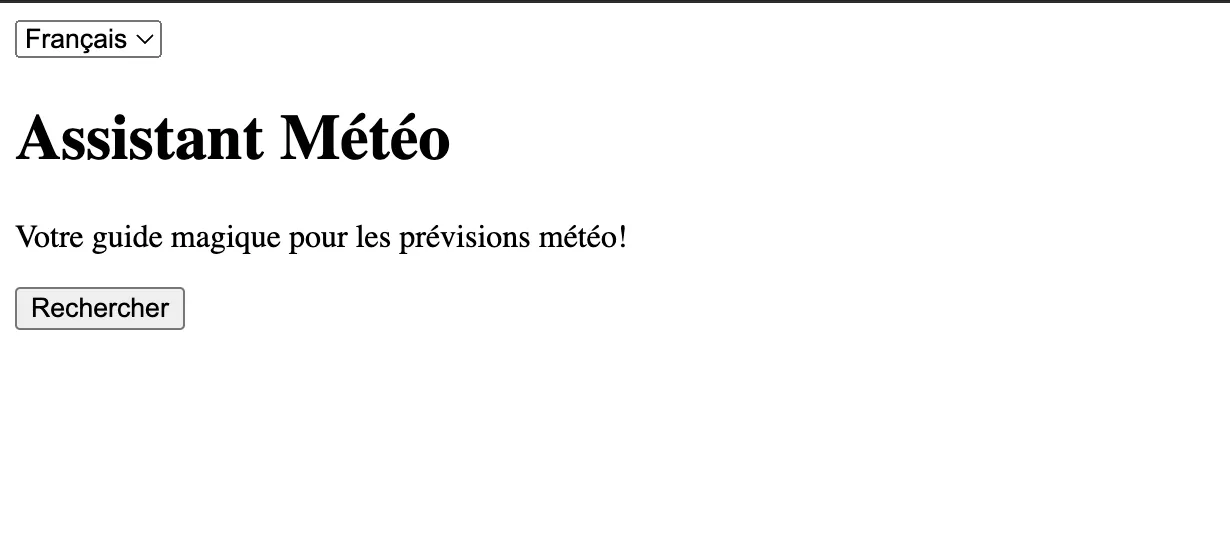
And that's it. You now have a basic localization system up and running with vanilla JavaScript. Now, let's move on to some more advanced i18n-JS concepts.
Handling advanced localization challenges
As I mentioned above, translating text is just one part of localization. While we'll continue to use the same setup with language files and key-value pairs for translations, some things like plurals
Handling plurals
No matter what language, framework, or runtime I've used, pluralization has been quite a time-consuming task. In fact, not only plurals but also gender translations, as you'll see later. These just require a lot of upfront effort.
The problem here is that each language handles plurals in different ways. For example, English has two forms (singular and plural), but Arabic has six forms.
Here's how I'd go about handling plurals with the required sample files and plurals added for a single i18n attribute.
lang/en.json:
{\
"title": "Weather Wizard",
"description": "Your magical guide to weather forecasts!",
"search": "Search",
  "results": {
"one": "Found 1 result",
"other": "Found {count} results"
  }
}
lang/es.json:
{\
"title": "Mago del Clima",
"description": "¡Tu guía mágica para pronósticos del tiempo!",
"search": "Buscar",
  "results": {
"one": "Se encontró 1 resultado",
"other": "Se encontraron {count} resultados"
  }
}
Make sure to update the JS code here to get what you need.
function translatePlural(key, count) {
 const forms = translations[key]
 if (!forms) return key

 const  form = count === 1? 'one' : 'other';
 return forms[form].replace('{count}', count);
}

// Usage
const resultCount = 5;
const resultText = translatePlural('results', resultCount);
console.log(resultText); // "Found 5 results" or "Se encontraron 5 resultados"
What this function does is check if the count is 1 and, if so, it uses the "one" form of the plural. For numbers larger than 1, it'll switch to the plural form with the number.
Formatting dates and numbers
While pluralization was a bit tricky, but luckily, formatting dates and numbers according to the JavaScript locale isn't as difficult 😌.
JavaScript has some built-in tools to help us out: Intl.DateTimeFormat and Intl.NumberFormat.
Here's how I'd create sample functions for formatting dates and numbers based on the locale:
function  formatDate(date, locale) {
 return  new  Intl.DateTimeFormat(locale).format(date);
}

function  formatNumber(number, locale) {
 return  new  Intl.NumberFormat(locale).format(number);
}

function  formatCurrency(amount, locale, currency) {
 return  new  Intl.NumberFormat(locale, {
 style: 'currency',
 currency: currency
  }).format(amount);
}

// Usage\
const  date = new  Date();
const number = 1234567.89;
const price = 99.99;

console.log(formatDate(date, 'en-US')); // "5/13/2023"
console.log(formatDate(date, 'de-DE')); // "13.5.2023"

console.log(formatNumber(number, 'en-US')); // "1,234,567.89"
console.log(formatNumber(number, 'de-DE')); // "1.234.567,89"

console.log(formatCurrency(price, 'en-US', 'USD')); // "$99.99"
console.log(formatCurrency(price, 'de-DE', 'EUR')); // "99,99 €"
These functions use the Intl API to format dates, numbers, and currencies according to the conventions of different locales.
Gender-specific translations
When translating strings, I usually come across another layer of complexity—gendered words.
Some languages, like Spanish or French, have gendered nouns and adjectives. This means we need to adjust our translations based on the gender of the subject.
Let me share an example here. Suppose you want to greet a user with "Welcome, [name]! You are our newest member."
In English, the sentence will work for both genders. But in Spanish, you'd need different translations for male and female users.
Here's what it looks like:
{\
  "welcome_message": {
"male": "¡Bienvenido, {name}! Eres nuestro miembro más nuevo.",
"female": "¡Bienvenida, {name}! Eres nuestra miembro más nueva.",
"neutral": "¡Bienvenid@, {name}! Eres nuestro miembro más nuevo."
  }
}
Now, you also have to change the JS code to use these gendered sentences based on the "gender" variable.
function  translateGender(key, gender, placeholders) {
 const translations = {
 "welcome_message": {
 "male": "¡Bienvenido, {name}! Eres nuestro miembro más nuevo.",
 "female": "¡Bienvenida, {name}! Eres nuestra miembro más nueva.",
 "neutral": "¡Bienvenid@, {name}! Eres nuestro miembro más nuevo."
    }\
  };

 let translation = translations[key][gender] || translations[key]['neutral'];

 for (const [placeholder, value] of  Object.entries(placeholders)) {
    translation = translation.replace(`{${placeholder}}`, value);
  }

 return translation;
}

// Usage
console.log(translateGender('welcome_message', 'female', {name: 'Maria'}));
// Output: ¡Bienvenida, Maria! Eres nuestra miembro más nueva.
I've added a line with sample usage for the translateGender function. While I've hard-coded the gender for this demonstration, make sure you pass a variable with the gender—maybe by pulling it from your user database or some other way.
Also, you may want to have a gender-neutral sentence in case you don't have the user's gender specified.
Handling right-to-left languages
If you're supporting languages like Arabic or Hebrew, you'll need to handle right-to-left (RTL) text direction.
You don't just want right-to-left text on left-to-right interfaces, though. I'd suggest going beyond just switching the text direction and also flipping your UI elements using CSS.
Here's a simple way to handle RTL languages (not including the UI aspect of it):
const rtlLanguages = ['ar', 'he', 'fa'];

function  setLanguage(locale) {
 // ... previous code ...

 // Set text direction
 if (rtlLanguages.includes(locale)) {
 document.body.dir = 'rtl';
} else {
 document.body.dir = 'ltr';
  }
}
This code sets the dir attribute on the
element to 'rtl' for right-to-left languages and 'ltr' for left-to-right languages.You'll also want to adjust your CSS to handle RTL layouts so the layout flips with the language. That will require CSS modifications throughout your web code.
Handling missing translations
If we were living in an ideal world, we'd never have missing elements or broken code. But in reality, you might find yourself with missing translations, especially as you add new features or support new languages.
Here's a strategy for gracefully handling missing translations:
- Fallback to a default language
- Visually indicate that the text is not translated
- Provide a way for users to contribute translations
In my case, I want the app to fall back to English. But set this default locale according to your primary audience.
Let's see how we might implement this:
function  translate(key, placeholders = {}) {
 let translation = translations[key];

 if (!translation) {
 // Fallback to English
    translation = englishTranslations[key] || key;

 // Visually indicate untranslated text
translation = `[UNTRANSLATED] ${translation}`;

 // Log missing translation for developers\
 console.warn(`Missing translation for key: ${key}`);
  }

 // Replace placeholders
 for (const [placeholder, value] of  Object.entries(placeholders)) {
    translation = translation.replace(`{${placeholder}}`, value);
  }

 return translation;
}

// Usage\
console.log(translate('missing_key'));
// Output: [UNTRANSLATED] missing_key
Here, I've done a few things:
- If a translation is missing, it falls back to English (or whatever your default language is).
- It wraps untranslated text in [UNTRANSLATED] tags, making it easy for users (and developers) to spot missing translations.
- It logs a warning, helping developers keep track of what still needs to be translated.
You could take this further by adding a "Suggest Translation" feature like Google Translate does, allowing users to contribute translations for missing strings.
It might just help you crowdsource the translations while also giving you alerts on the translations you've missed.
Automatic locale detection
So far, I was dependent on the user manually picking the language. But we have a lot of methods now to detect the user's location and set the language accordingly. Good news—we can do that quite easily with JavaScript.
JavaScript gives us a few ways to detect a user's locale:
- Browser settings
- IP geolocation
- User's previous choices
I'll go with using the browser settings, as that's the easiest way to do it. And if a user has set something as the default on the browser, we can assume it's what they prefer.
function  detectLocale() {
 // Get the browser's language setting
 const browserLang = navigator.language || navigator.userLanguage;

 // Extract the language code (e.g., 'en-US' becomes 'en')
 const langCode = browserLang.split('-')[0];

 // Check if we support this language
 if (supportedLanguages.includes(langCode)) {
 return langCode;
} else {
 // Fallback to default language if we don't support the detected language
 return  'en';
  }
}

// Usage
const userLocale = detectLocale();
setLanguage(userLocale);
This function does a few things:
- It gets the user's preferred language from their browser settings.
- It extracts just the language code (ignoring region-specific codes).
- It checks if we support this language.
- If we do, it returns that language code. If not or if the language it returns is not available in our list of languages, it falls back to a default (in this case, English).
You could then call this function when your app first loads, automatically setting the language to the user's preferred choice. And of course, we have our language switcher that will take care of the manual language switching in case the locale detection doesn't work.
Javascript localization libraries
You may have noticed, we built the entire localization setup from scratch. But you don't really need to.
It's good to know how localization in JavaScript works behind the scenes; however, there are many libraries that will help you achieve these results more efficiently.
Let's look at some of the well-known JavaScript localization libraries:
1. i18next
i18next is one of the most popular internationalization frameworks that works perfectly with almost all Javascript frameworks. It offers excellent documentation covering the most common use cases as well as troubleshooting tips. It's also in active development and offers frequent updates.
With wide community support and 3.5 million weekly downloads, it might just have everything you need in a single bundle.
Here are some of the key features:
- Works natively for Vue, Angular, and React localization
- Easily extensible with a large range of plugins
- Pluralization support
- Number and date formatting (including relative dates)
- TypeScript support
- Message extraction capabilities
- Optional ICU syntax support through add-ons
While the bundle size is relatively large (56.3 kB minified, 14.8 kB gzipped), but the feature set often justifies the size for larger projects.
2. Format.js
Format.js is a collection of libraries for Javascript internationalization and localization. FormatJS, particularly the react-intl library, receives over 1.2 million downloads every week. However, it works just as well with vanilla JS as well as other frameworks.
Let's look at some of the key features:
- Message formatting (ICU MessageFormat)
- Number, date, and relative time formatting
- Plural and gender inflections
- Built-in integration with popular frameworks like React
3. @angular/localize
Localize is the first-party i18n library by Google that's designed to work perfectly and seamlessly with Angular. So, if you're working on a project that requires you to localize an Angular app, this might be the only library you need.
Some of the key features it offers:
- Deep Angular integration
- ICU message support
- Complex plural handling
- Built-in message extraction
- Separate builds for each supported language
4. Polyglot
Airbnb's Polyglot.js is a focused library that handles the essentials of i18n without extra features. It is perfect for projects that need basic i18n functionality and can do without the additional features like number or date formatting that add bloat to the bundle.
Key features:
- Translation message handling
- Complex plural support
- Very lightweight bundle (35.5 kB minified, 10.5 kB gzipped)
With 184,000 weekly downloads and good documentation, it's a solid choice for smaller projects or those requiring a lean i18n solution.
Wrapping up
Wow, we've come a long way.
When my manager first asked me to handle JavaScript localization, I had no idea how deep the rabbit hole went. But within a short time, I went over everything from simple translation to tough challenges like pluralization and right-to-left languages.
Since the work was a little time-critical, I had to catch up quickly. And it definitely was a learning experience for me.
Now, over to you.
If you're localizing a JavaScript web app, you could follow the same process I did and manually set up translations—or you could skip the mistakes I made and instead jump over to using a localization management platform, like Centus.
Get the week's best content!
By subscribing, you are agreeing to have your personal information managed in accordance with the terms of Centus Privacy Policy ->
Keep learning

19 min. read
Laravel Localization: A Step-by-Step Guide

19 min. read
NextJS Internationalization: A Complete Walkthrough
16 min. read
How to Perform Localization in Java

11 min. read
How to Perform Mobile App Localization: The Right Way

19 min. read
NodeJS Internationalization (i18n) and Localization
21 min. read