7 Localization File Formats Explained with Examples
Wonder what localization files are? Learn in this simple guide, covering JSON, PO, XLIFF, Properties, YAMl, XML, and CSV localization files.
This guide will also help you understand the difference between localization files and localized resources and how to create them.
Let’s get started!
What are localization files?
Localization files, also called translation files, are simple, human-readable text documents. They are stored in a key-value pair format, where each key serves as a unique identifier and each value contains the translated text. This allows your code to dynamically display content in different languages.
Think of localization files as organized collections of all the text that appears in the UI of your website or app:
- Button labels
- Error messages
- Dialog messages
- System alerts
- Success messages
- Menu items
- Form field labels
- Notifications
- Help text
- Tooltips
- Page titles
Each piece of text gets paired with a unique identifier called a translation key. This separation allows your linguistic team to work on translations without directly modifying the code.
Localization file format
Localization files consist of key-value pairs. In the example below, the keys are:
- welcome_message
- error_not_found
- button_save
The corresponding values (strings) are:
- Welcome to our application!
- Sorry, the requested page was not found.
- Save Changes.
welcome_message = "Welcome to our application!"
error_not_found = "Sorry, the requested page was not found."
button_save = "Save Changes"
Pro tip: When coding, use keys (unique identifiers) instead of hardcoding English or any other language.
The code uses the keys to look up the appropriate value (string) in the requested language file:
// Instead of this:
button.text = "Save Changes";

// You do this:
button.text = getLocalizedString("button_save");
The best part is that the above change needs to be done just once in your code. From there on, you can add support for new languages without changing your codebase—just create new localization files with translated content.
When a user selects a different language, your application loads the corresponding localized file and displays all text in that language, creating a seamless experience.
Localization files vs. localized resources
The terms "localized resources" and "localization files" are often used interchangeably in the context of app development and localization. But they refer to slightly different concepts.
Localization resources refer to all the assets and content adapted for a specific locale or language. This includes text, images, audio, and other elements that change based on the user's region or language. For example, a button label or a date format could be localized to suit the needs of different markets.
On the other hand, localization files are the actual files used to store the translated content for different locales. These files typically contain text strings, images, or other resource identifiers that are mapped to the appropriate content for each language or region. Localization files are usually structured in a format like .json, .xml, or .strings, depending on the platform.
7 most popular localization file formats
Your choice of a localization file format depends on your programming language and project requirements. To narrow down your choices, I’ve rounded up the seven most popular localization formats:
1. JSON localization files (.json)
JSON files became incredibly popular for localization, especially in web development and JavaScript applications.
The format allows you to structure your translations in a hierarchical way that mirrors your application's organization.
Example:
{
	"welcome": {
		"title": "Welcome to our application",
		"subtitle": "Get started in seconds",
		"login_button": "Sign In"
	},
	"errors": {
		"not_found": "The page you requested was not found",
		"server_error": "Something went wrong. Please try again later"
	}
}
When a developer implements JSON localization in their JavaScript code, they typically access these strings through a helper function:
Advantages:
- JSON localization files integrate seamlessly with JavaScript, making them perfect for web applications
- They support nested hierarchies so you can organize strings logically by feature or screen
- Their human-readable structure makes them easy for developers to work with
- They have excellent support in React, Angular, Vue, and other JS frameworks
Limitations:
- JSON files provide limited metadata for translators with no built-in comments system
- They require careful handling of special characters and quotes
- The nested structures, while helpful for organization, can sometimes complicate translation workflows when translators use tools that flatten the hierarchy
When to use JSON localization?
Choose JSON when building web applications with JavaScript applications, React, Angular, or Vue projects. It's ideal when you need a lightweight, easily parsable format that your front-end can consume directly.
JSON translation files work especially well for projects where developers will be directly editing translations or when you want to organize strings hierarchically.
2. PO translation files / gettext PO Files (.po/.pot)
PO (Portable Object) files are part of the GNU gettext framework and have been the backbone of open-source localization for decades.
They excel at providing context for translators and supporting complex language features.
Example:
#: src/components/LoginForm.js:42
msgid "login_button"
msgstr "Sign In"
#. This appears when a required field is empty
#: src/components/Form.js:156
msgid "error_required_field"
msgstr "This field is required"
In a typical implementation, your code would use gettext functions to retrieve translated strings.
Advantages:
- PO files shine with their built-in support for translator comments and contextual information
- They include source code references showing exactly where strings appear in your codebase
- Their excellent pluralization support handles complex grammar rules across many languages
- The mature tooling ecosystem around gettext makes editing and managing these files straightforward
- They're widely supported by translation platforms
Limitations:
- Unlike JSON or YAML, PO files have a flat structure without native support for nesting, which can make organization more challenging in larger projects
- They're somewhat more verbose than some newer formats, and they typically require a binary compilation step (to .mo files) for production use
When to use PO translation files?
Choose PO files for open-source projects where compatibility with existing translation ecosystems matters. They're excellent for localization applications built with PHP, Python, C/C++, especially when you need robust pluralization support..
What about POT files?
Now, the POT (Portable Object Template) file serves as the master template for creating language-specific PO files. It contains all original strings but no translations, serving as the canonical source for generating new translation files whenever you add or modify content.
Converting PO file to CSV and back
Many translation teams prefer working with spreadsheet formats. Tools like the Translate Toolkit make conversion between formats simple:
# Convert PO to CSV
po2csv messages.po messages.csv

# Convert CSV back to PO
csv2po translated_messages.csv translated_messages.po
I often recommend this workflow for teams with non-technical translators who feel more comfortable working in spreadsheet environments.
3. XLIFF - XML localization interchange file format (.xliff/.xlf)
XLIFF is an XML-based format specifically designed for exchanging localization data between tools and services.
Its rich structure makes it ideal for professional translation workflows where detailed metadata matters.
Example:
<xliff xmlns="urn:oasis:names:tc:xliff:document:2.1" version="2.1" srcLang="en" trgLang="fr">
	<file id="f1" original="app.js">
		<unit id="welcome_title">
			<notes>
				<note>Appears on the homepage after login</note>
			</notes>
			<segment>
				<source>Welcome to our application</source>
				<target>Bienvenue dans notre application</target>
			</segment>
		</unit>
		<unit id="button_save">
			<notes>
				<note>Button on the settings page</note>
			</notes>
			<segment>
				<source>Save Changes</source>
				<target>Enregistrer les modifications</target>
			</segment>
		</unit>
	</file>
</xliff>
Advantages:
- XLIFF provides incredibly rich metadata support including notes, status tracking, and formatting information
- As an industry standard, it's supported by virtually all professional translation tools and services
- The format stores both source and target text in the same file, making context immediately available to translators
- It also supports translation states (needs review, approved, etc.) and preserves formatting and placeholders beautifully
Limitations:
- The format is more verbose and complex than simpler alternatives like JSON or properties files
- There's a steeper learning curve for manual editing
- Working with XLIFF requires XML parsing which adds complexity to your localization pipeline
When to use XLIFF?
XLIFF shines in enterprise localization projects where process and quality control matter. Choose it when working with professional translation agencies that expect industry-standard formats.
4. Properties files (.properties)
Properties files use simple key-value pairs and are especially popular in Java and related ecosystems. Their straightforward format makes them accessible to both developers and translators.
Example:
# Login Screen
login.title=Welcome Back
login.username=Username
login.password=Password
login.button.submit=Sign In
login.button.forgot=Forgot Password?

# Error messages
error.required=This field is required
error.invalid_email=Please enter a valid email address
In Java localized applications, the properties files are typically loaded and accessed through the ResourceBundle class.
Advantages:
- Properties files offer a simple, straightforward format that almost anyone can understand at a glance
- They have native support in Java environments and require minimal parsing logic
- The format supports comments for providing context to translators
- Uses dot notation for creating logical groupings of related strings
Limitations:
- Unlike more modern formats, properties files don't have built-in pluralization support
- They offer limited metadata compared to formats like XLIFF or PO files
- Working with multiline strings requires special escaping techniques that can be error-prone for non-technical editors
When to use Properties files?
Properties files are the natural choice for Java and Android localization projects. Choose properties files when simplicity matters more than advanced localization features..
5. YAML localization files (.yml/.yaml)
YAML provides a cleaner, more human-friendly alternative to JSON while maintaining similar capabilities. Its clean syntax makes it popular in Ruby and Python environments.
Example:
en:
	welcome:
		title: Welcome to our application
		subtitle: Get started in seconds
		login_button: Sign In
	errors:
		not_found: The page you requested was not found
		server_error: Something went wrong. Please try again later
Advantages:
- YAML files are significantly more readable than JSON or XML, with a clean syntax that reduces visual clutter
- The format supports inline comments and nested structures but requires less punctuation (no quotes or brackets for simple strings)
- It's particularly popular in Ruby on Rails, Python and configuration-heavy applications where readability matters
Limitations:
- YAML's whitespace-sensitive nature can lead to formatting errors when edited by those unfamiliar with the format
- It has less universal support in web environments compared to JSON
- Non-technical translators sometimes struggle with maintaining the precise indentation required by the format
When to use YAML?
Choose YAML for Ruby on Rails localization and Python projects where the format is already part of the ecosystem. It's excellent when readability is a priority and you want a cleaner syntax than JSON.
6. XML-based formats (.xml, .resx, .strings)
Many platforms have their own XML-based localization formats tailored to specific environments. These formats provide tight integration with their respective development ecosystems.
Android strings.xml example:
<resources>
	<string name="app_name">My Application</string>
	<string name="welcome_message">Welcome to the app!</string>
	<plurals name="items_count">
		<item quantity="one">%d item found</item>
		<item quantity="other">%d items found</item>
	</plurals>
</resources>
Windows .resx example:
<data name="WelcomeMessage" xml:space="preserve">
	<value>Welcome to our application</value>
	<comment>Shown on the main screen after login</comment>
</data>
<data name="ErrorNotFound" xml:space="preserve">
	<value>The requested resource was not found</value>
	<comment>404 error message</comment>
</data>
Advantages:
- Platform-specific XML formats integrate natively with their respective development tools, providing a seamless experience
- They support specialized features tailored to their platforms, such as Android's plural handling or Windows' resource types
- These formats are typically well-documented with robust tooling support from the platform vendor
- They can include rich metadata to help translators
Limitations:
- The platform-specific nature of these formats makes them less portable between different environments
- They tend to be more verbose than formats like JSON or YAML, resulting in larger files
- Most require specific tools for efficient editing rather than simple text editors
When to use XML-based formats?
Choose platform-specific XML formats when developing natively for platforms like Android or Windows. They're ideal when you want first-class integration with the platform's development tools rather than cross-platform integration.
7. Excel/CSV formats (.xlsx/.csv)
Spreadsheet formats, like XLSX and CSV, offer familiarity and accessibility, especially for non-technical team members who need to view or edit translations.
Example CSV:
key,en,fr,de
welcome.title,"Welcome to our app","Bienvenue dans notre application","Willkommen in unserer Anwendung"
welcome.subtitle,"Get started in seconds","Commencer en quelques secondes","Starten Sie in Sekunden"
button.save,"Save","Enregistrer","Speichern"
Advantages:
- Spreadsheet formats are immediately usable in familiar applications like Microsoft Excel or Google Sheets
- Removes technical barriers for non-developers
- They provide an excellent side-by-side view of multiple languages, making comparison and consistency checking straightforward
- The tabular format works well for bulk editing and review sessions
- Most translation vendors are already comfortable working with these formats
Limitations:
- Spreadsheets provide limited support for metadata and contextual information beyond basic comments
- They often present challenges when working with multiline text or content containing special characters like commas in CSV format
- The flat structure doesn't naturally support organizing related strings hierarchically
- They typically require conversion steps to integrate with code-based workflows.
When to use Excel and CSV?
Choose spreadsheet formats when working with non-technical translators who require this format. They're good for quick reviews across multiple languages or for gathering feedback from stakeholders who may not be comfortable with the other code-like formats.
How to create and manage localization files
Here’s how to create and manage localization files:
Step 1: Extract translatable text
Identify all user-facing strings in your app—buttons, error messages, menus, and notifications. Use tools like Poedit or GNU gettext to pull these strings automatically from your codebase.
Step 2: Pick a file format
Choose the format that works best for your app:
- JSON: Perfect for JavaScript and web apps
- PO/POT: Great for open-source projects
- XLIFF: Industry standard for professional translation
- CSV: Easy for non-technical translators to use
Step 3: Create the master file
You want to create a well-organized base right from the beginning. That includes adding descriptive keys, logically grouping strings, adding context for translators, and setting character limits for UI elements like buttons where the space is constrained.
Step 4: Translate content
Translation of localization files is the most involved step.
You can’t simply use automatic translation and call it a day, as machine translation engines aren’t accurate enough. Instead, you need to combine machine and human translation.
To this end, you need to assemble a translation team with at least one translator and one editor per language. Then comes the challenge of managing the team and localization file versions, as every app update requires an update to the localization files.
The best way to handle the translation of localization files?
Use a localization management system, like Centus. It goes like this:
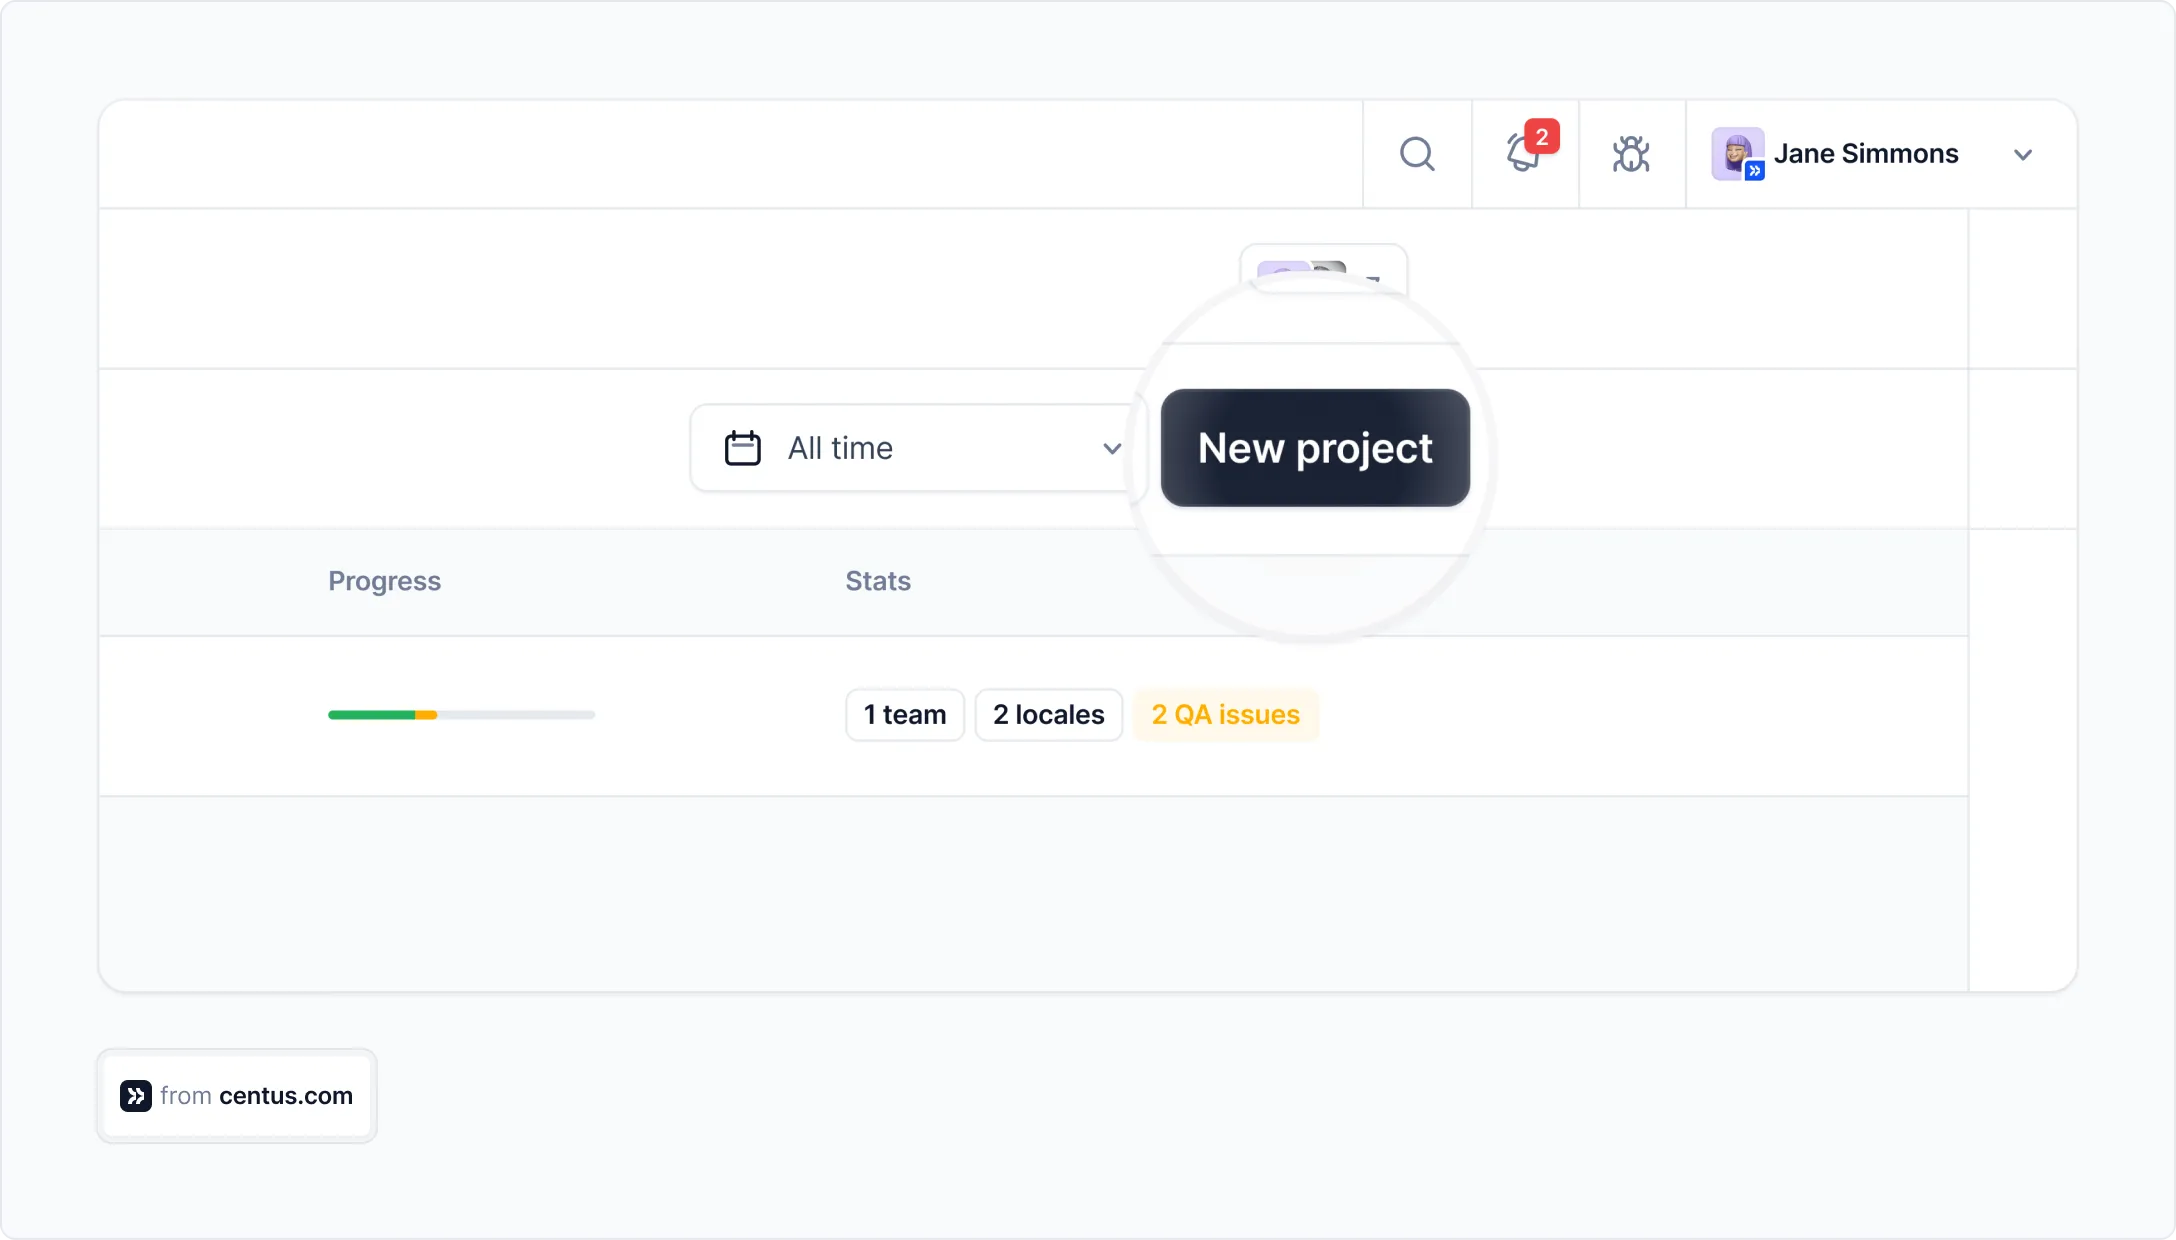
- Sign up to Centus and click New project
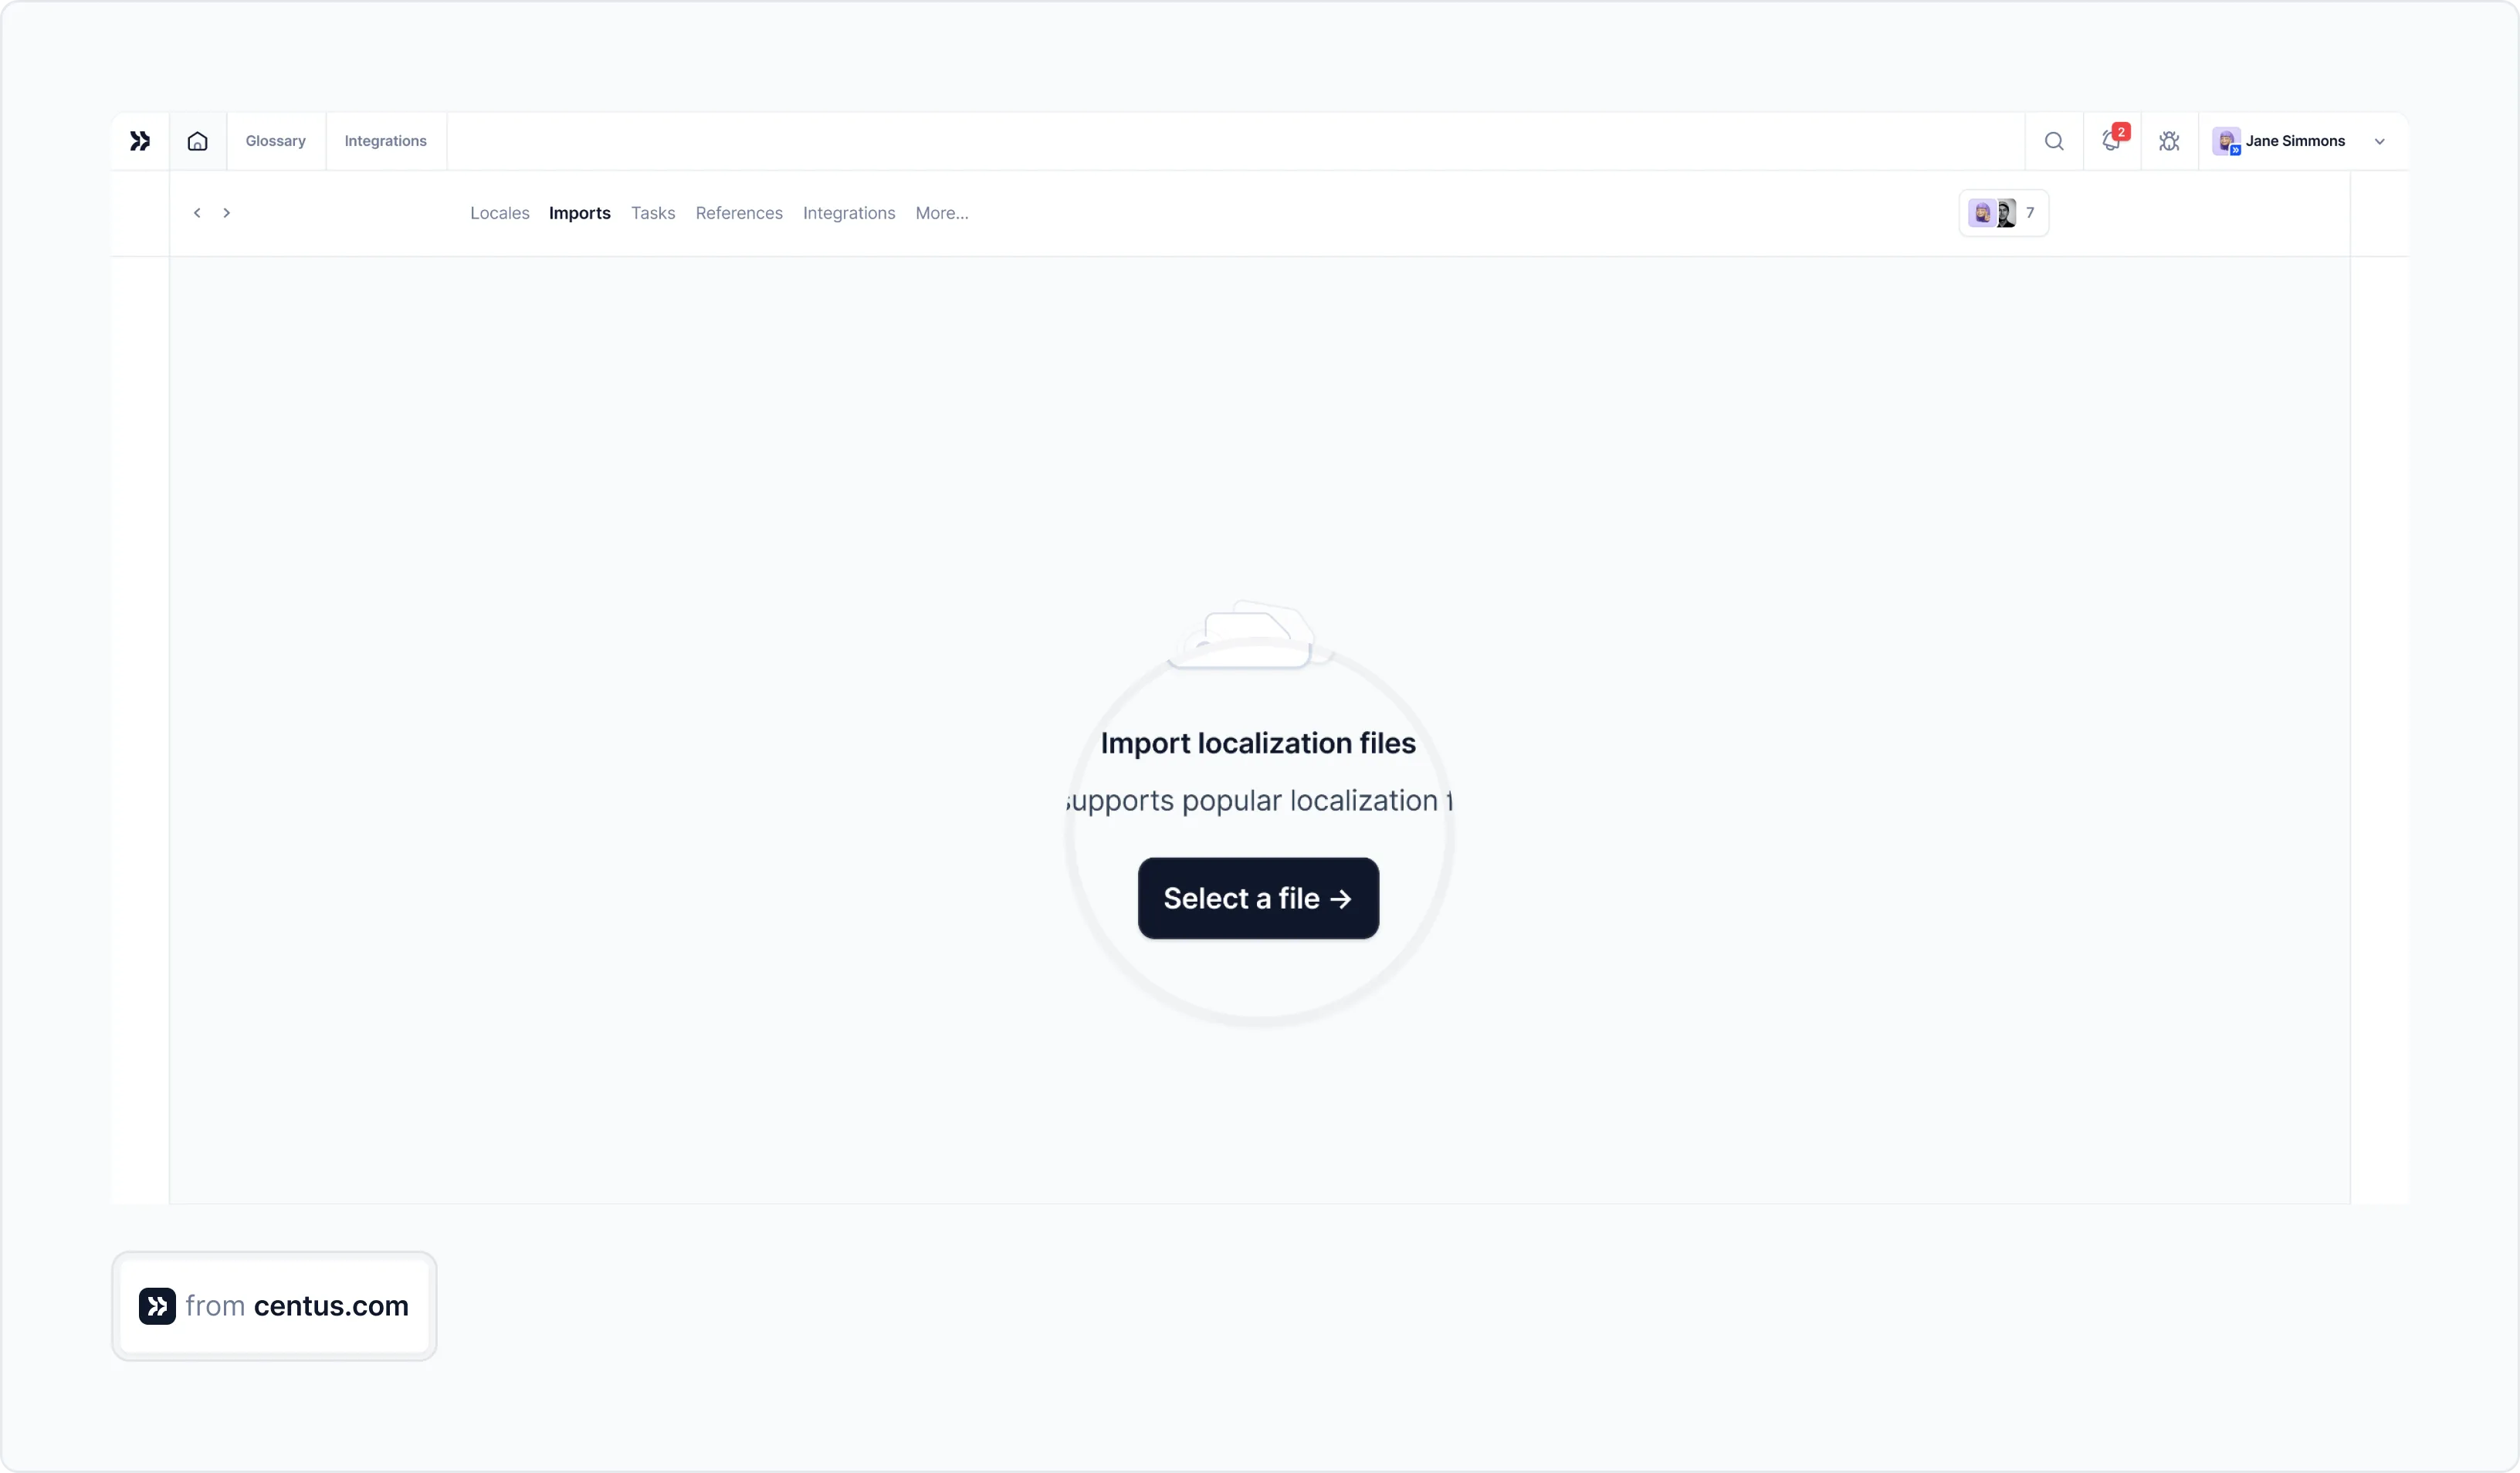
- In the Imports section, click Select a file
- Upload one or multiple localization files
Upon import, your localization files are automatically segmented. Your linguists can see them in Centus Editor without tags or structural elements, which they might unintentionally edit. Thus, they can focus on file translation without worrying about disrupting tags or file hierarchy.
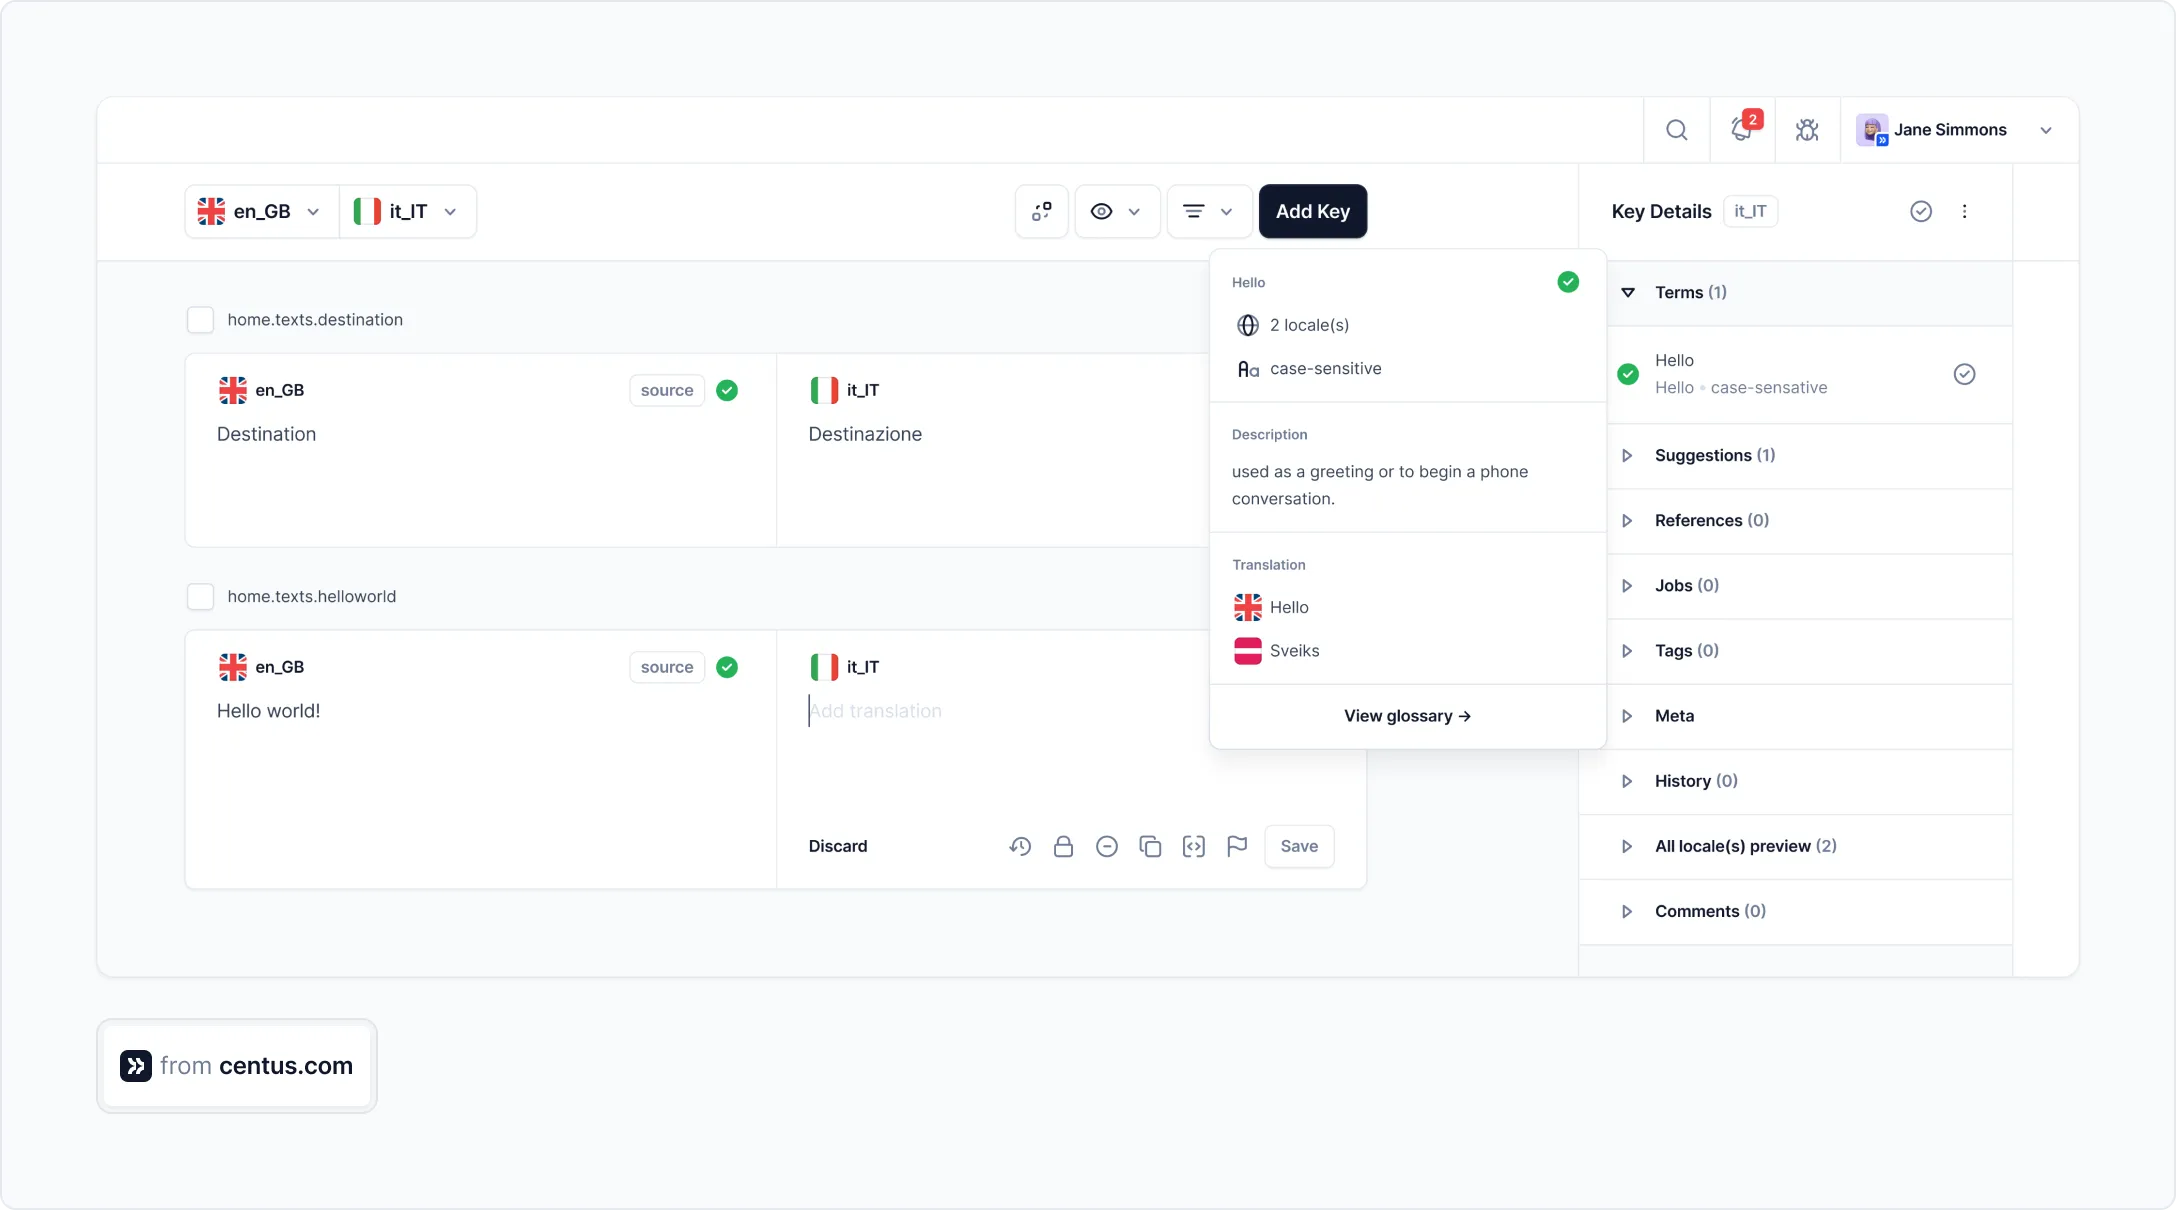
Your team can pre-translate localization files using Google Translate, DeepL, or Microsoft Translate. Then, they can refine them manually, cutting app translation time and costs by up to 90% and helping you ship projects faster.
Since Centus is a web-based platform, multiple translators and editors can work on your localization files simultaneously. That means you can localize your app for dozens of markets at once. Manual translation methods don’t come close.
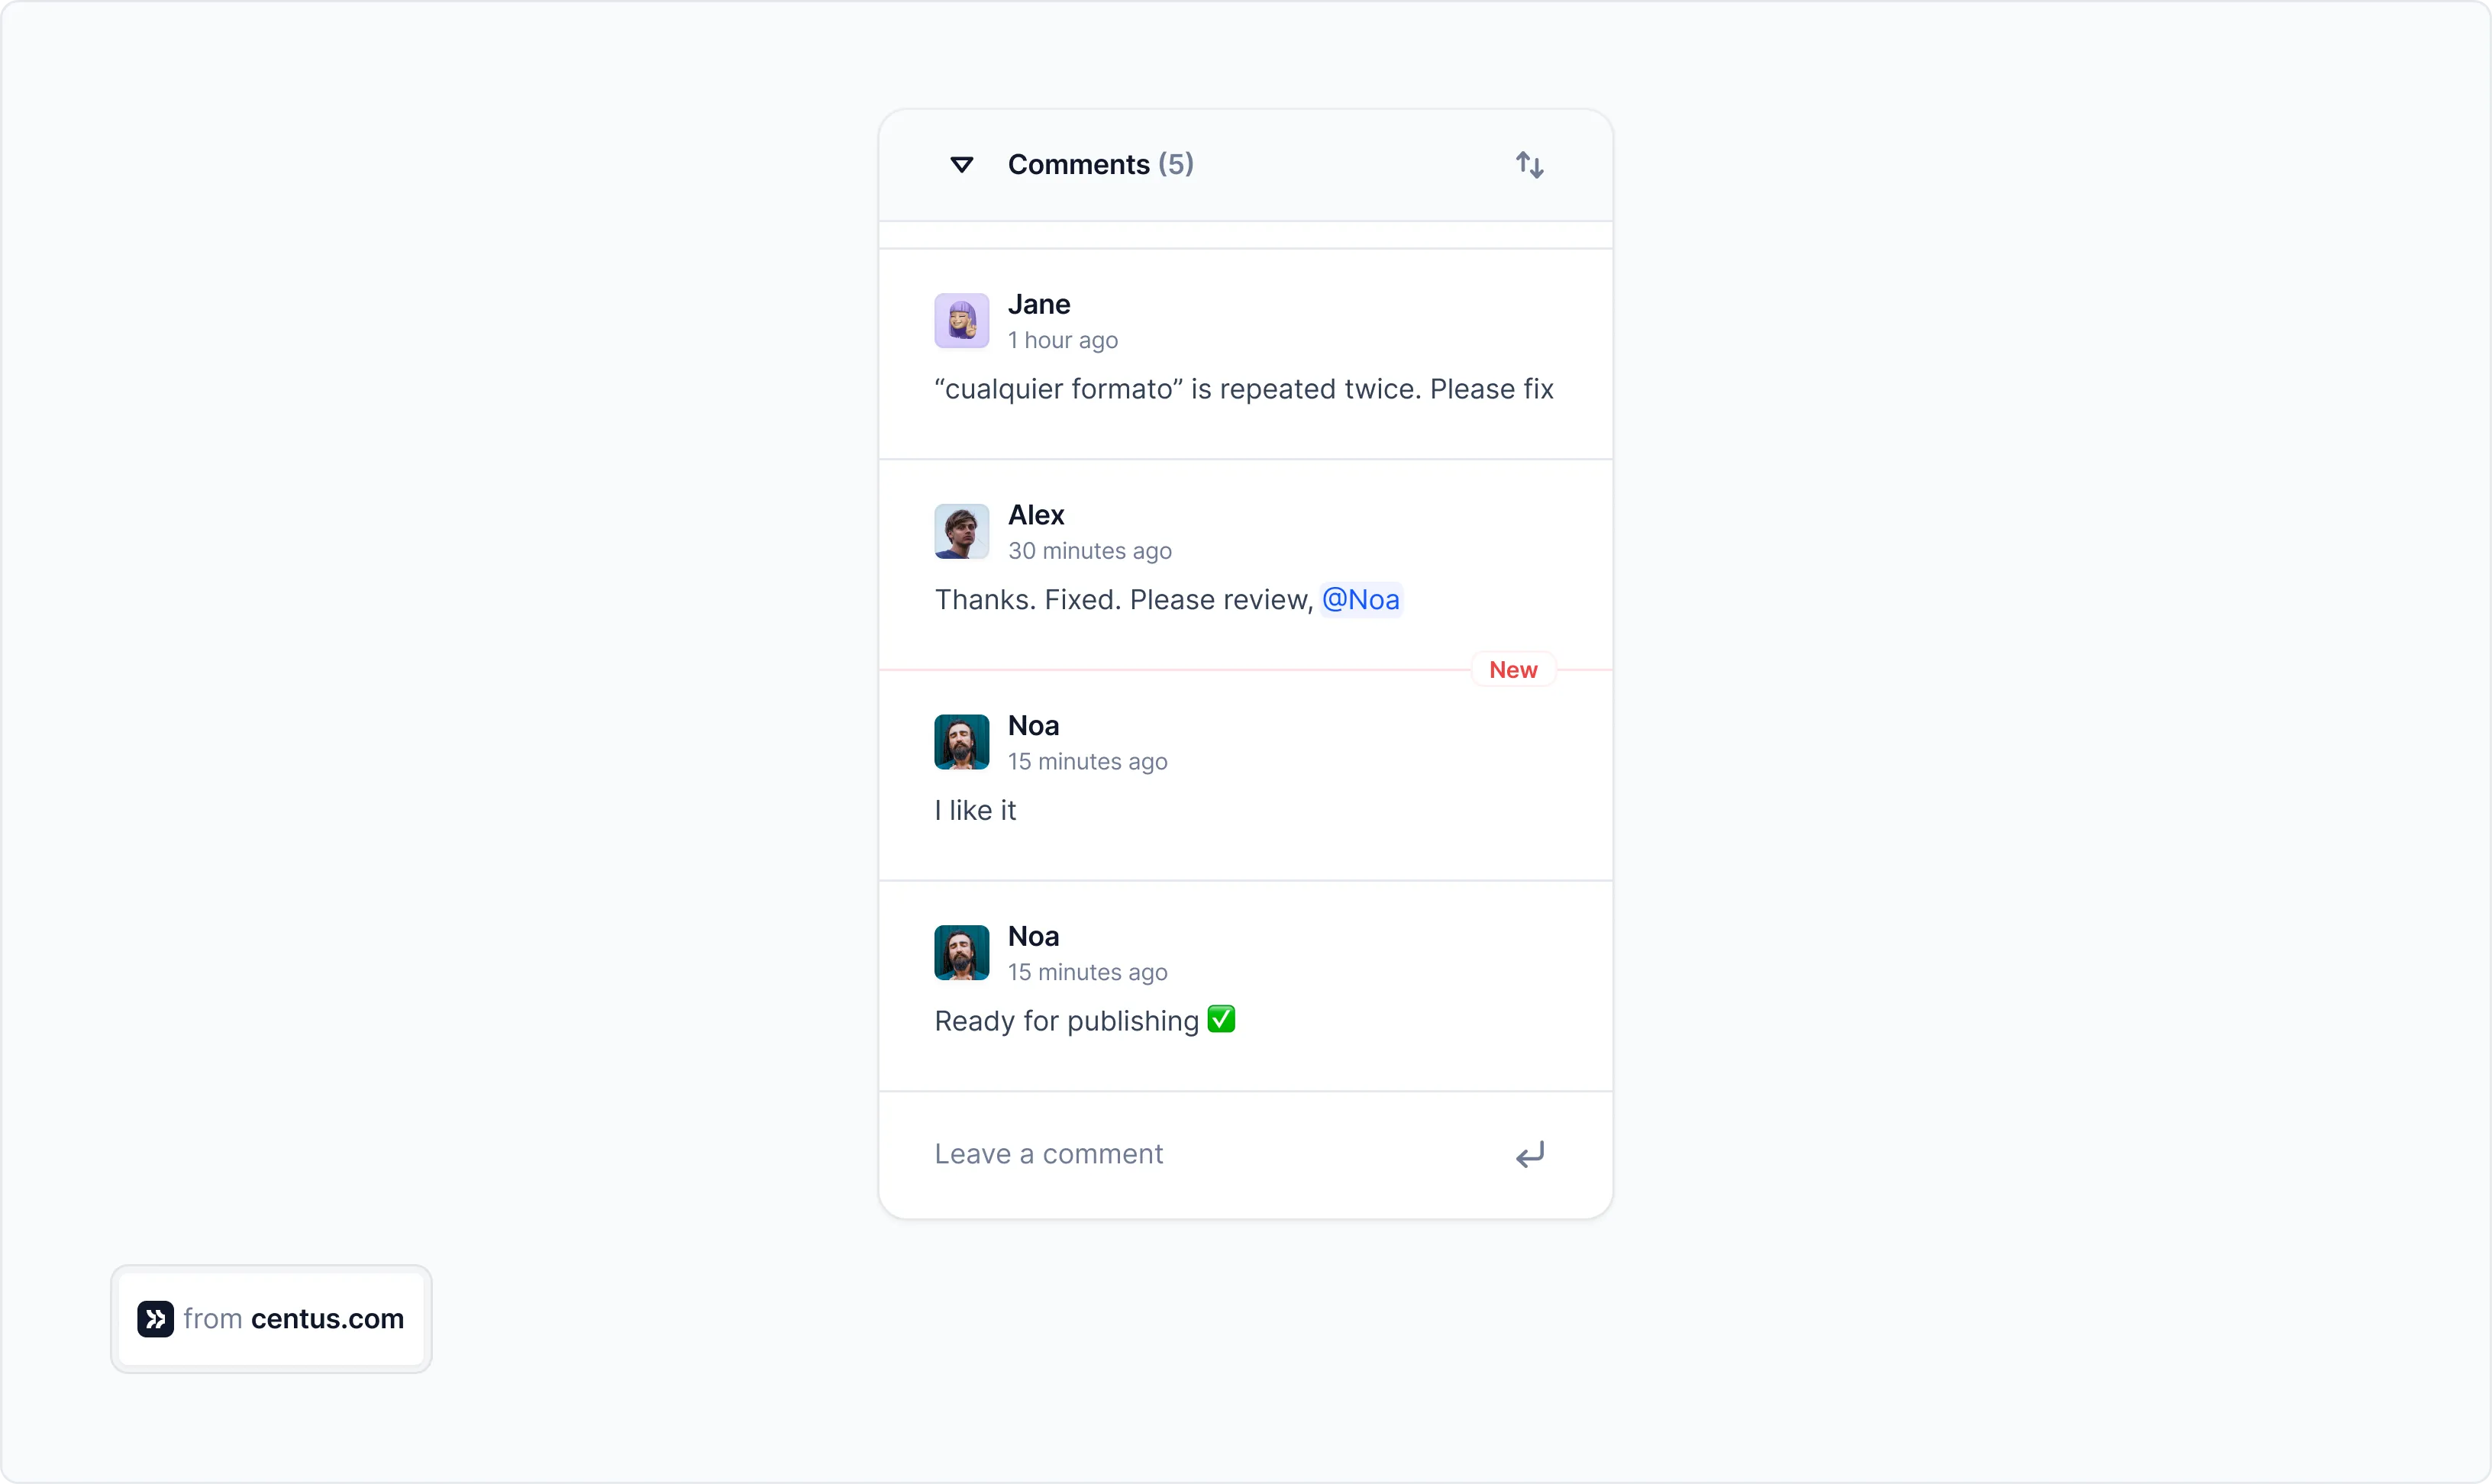
To improve the quality of translations, provide your linguists with screenshots of the translated app. In Centus, sharing screenshots is effortless, as they are automatically linked to the corresponding keys.

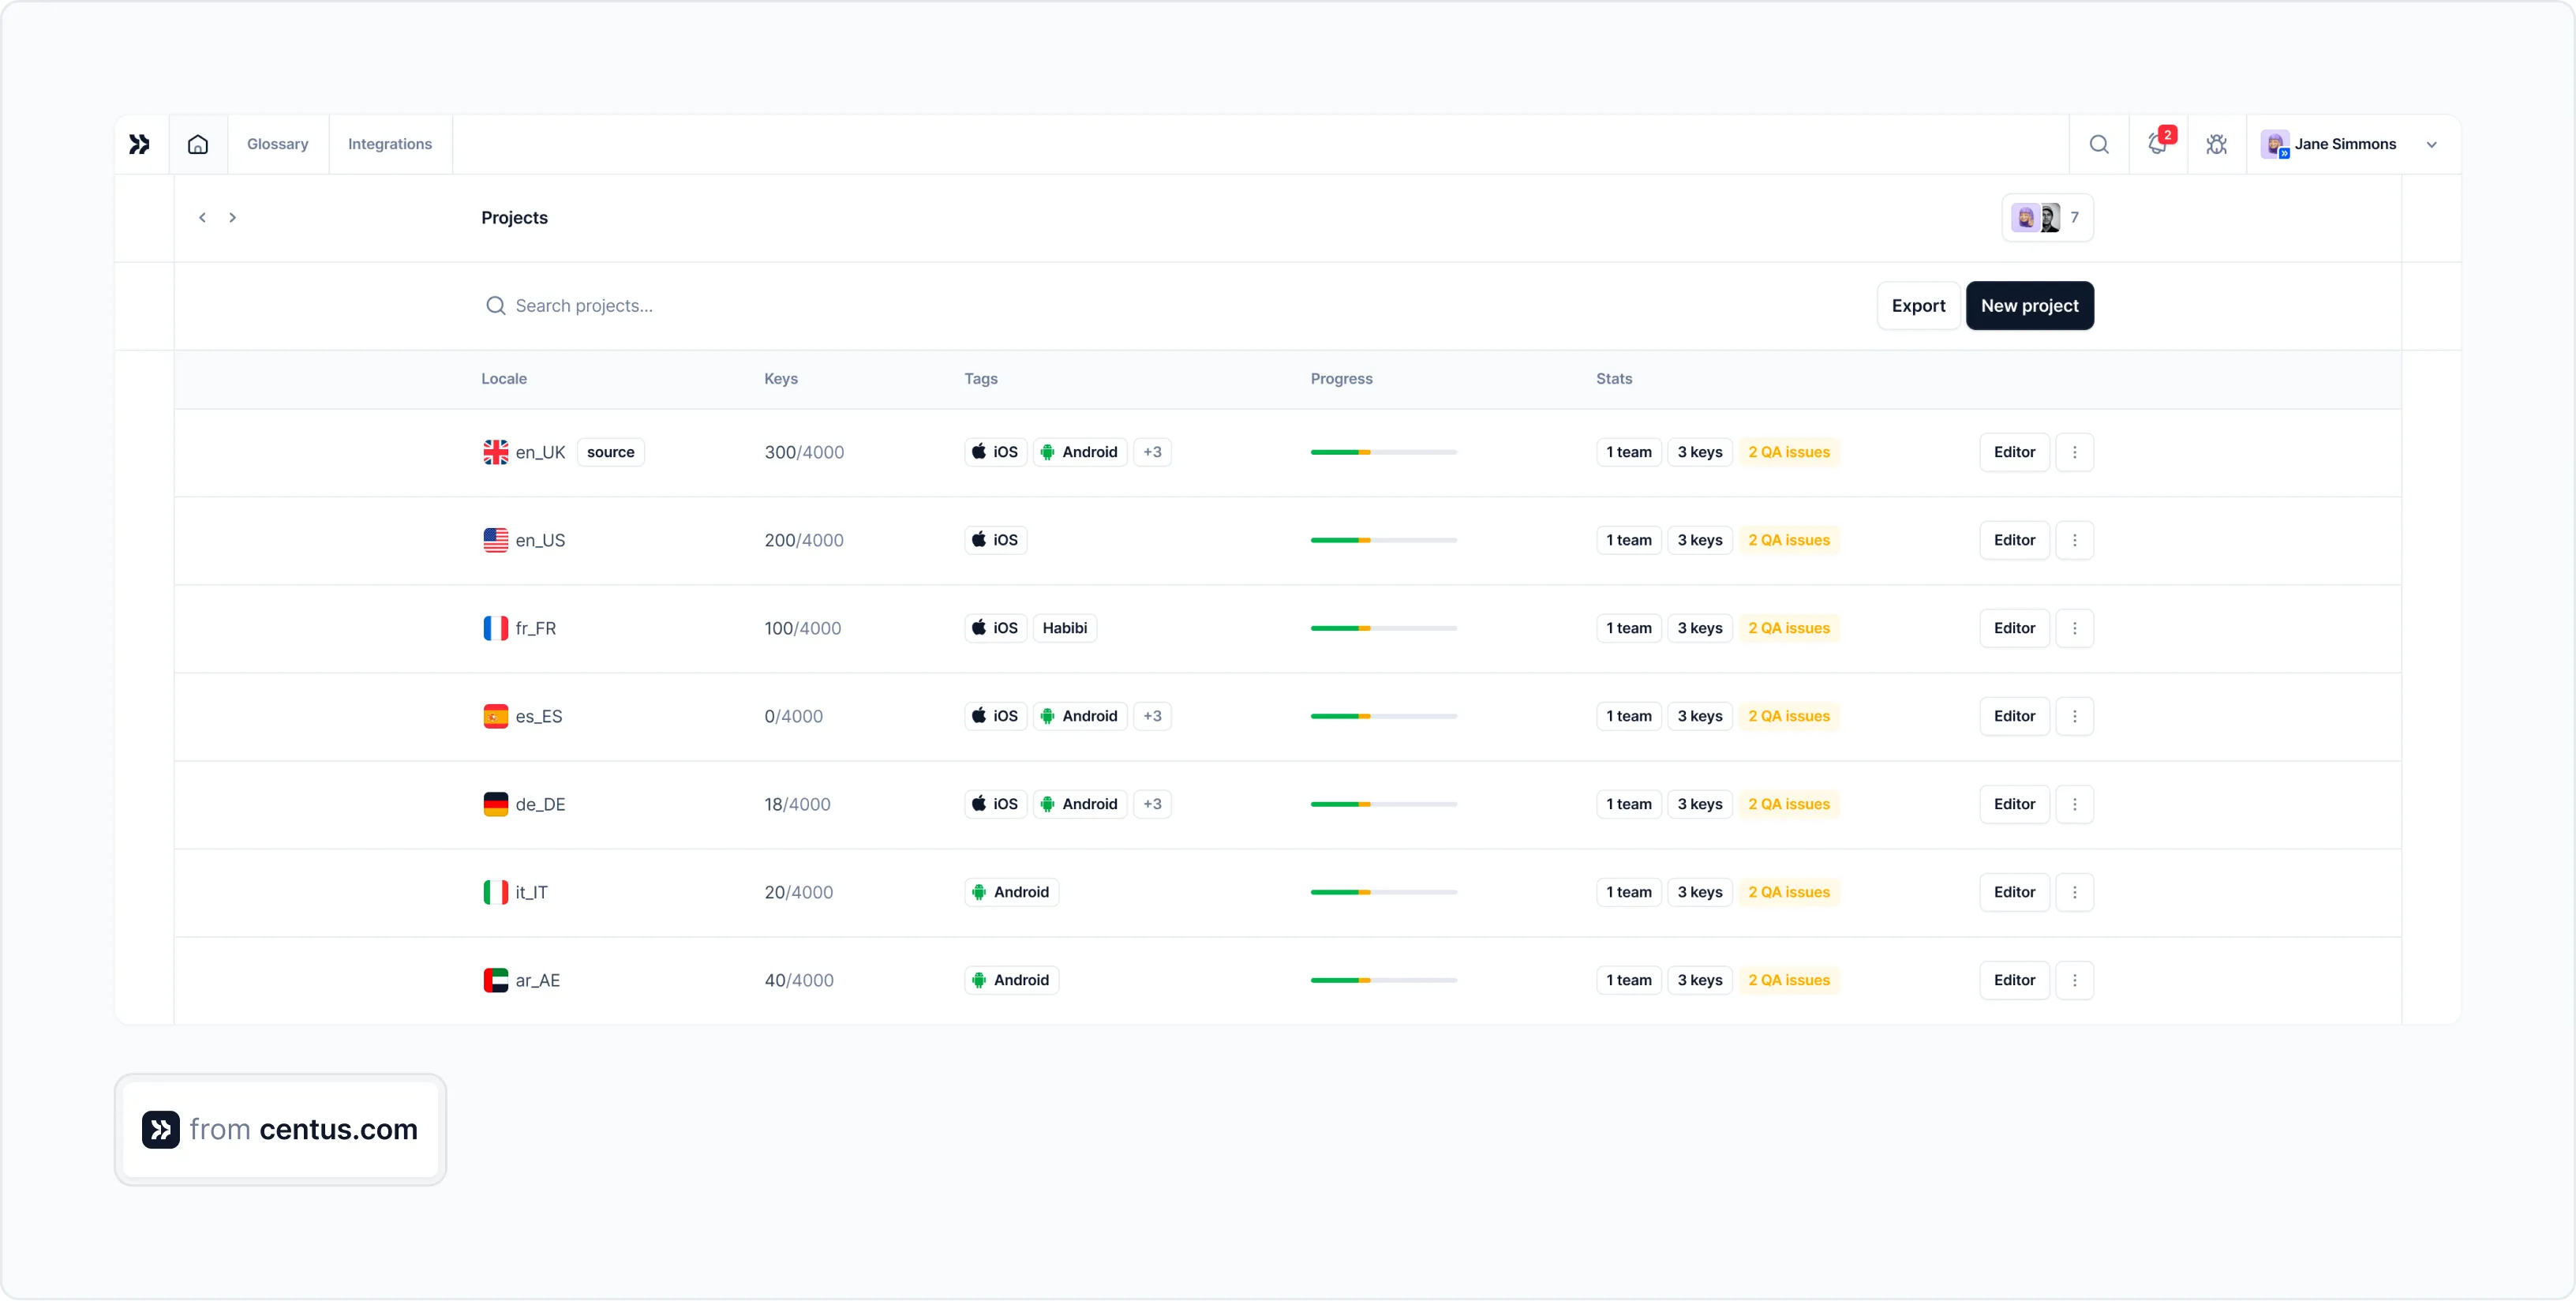
Keep your translation project on track with the Centus dashboard, which gives you a bird’s-eye view of all languages.
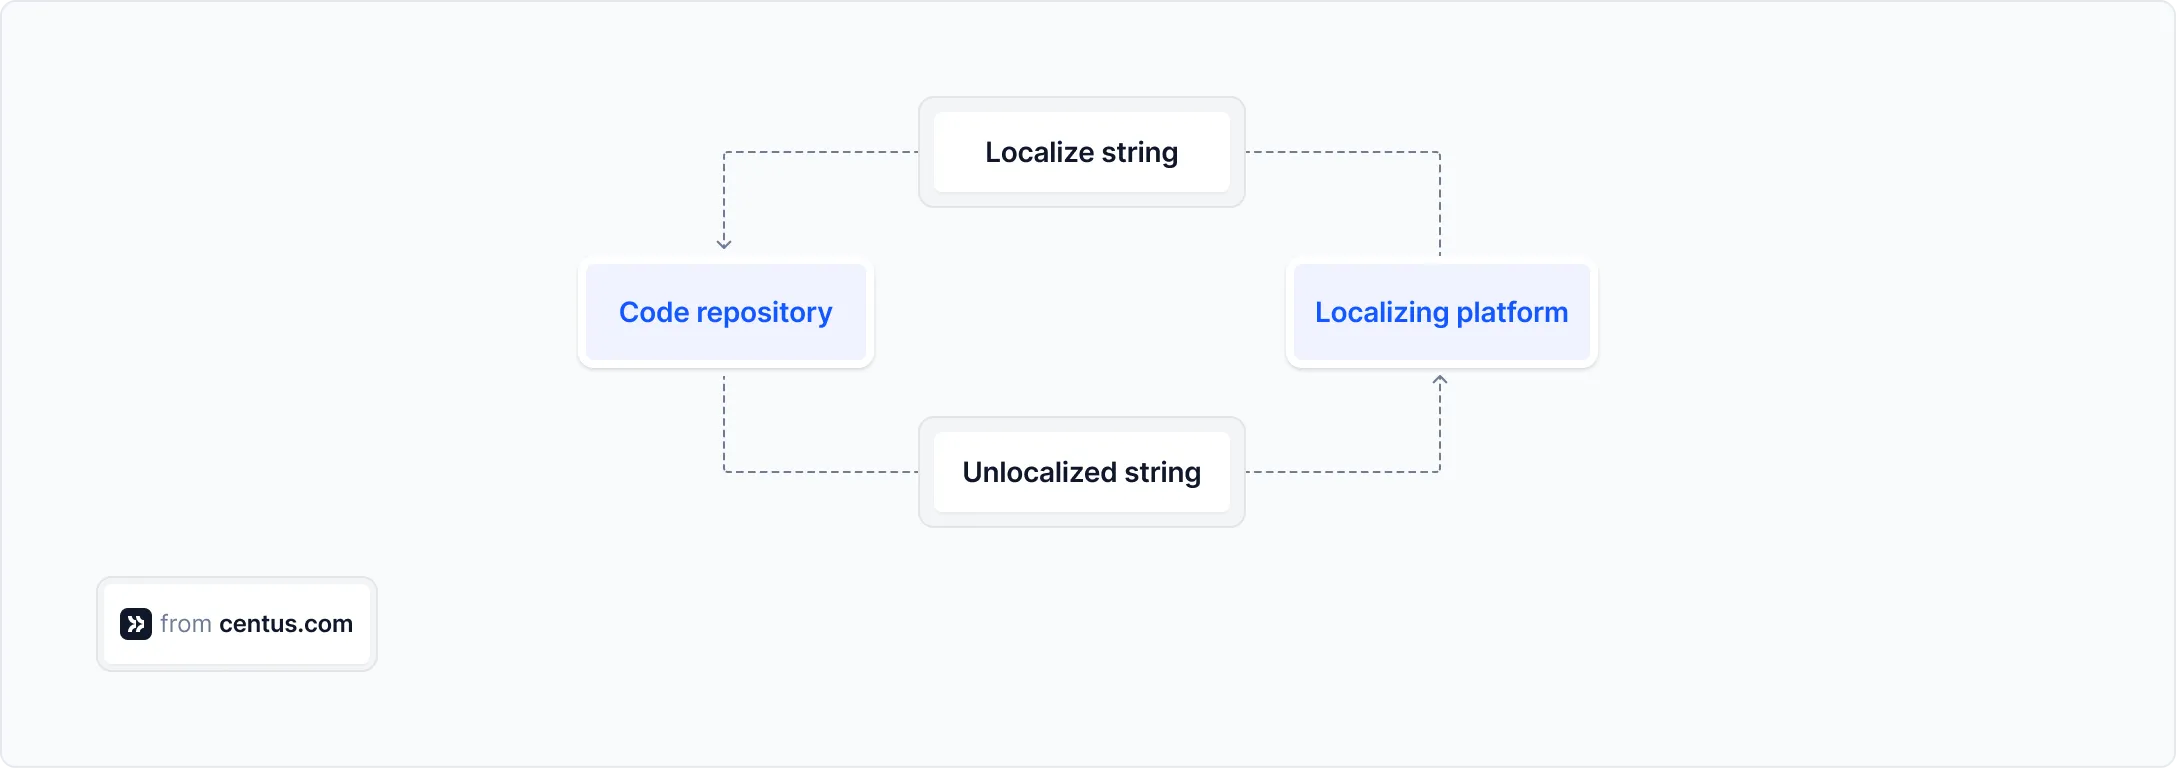
When translations are ready, you can automatically pull them to your code repository using Centus-GitHub integration. Convenient? You bet!
Step 5: Integrate the translated files into your app
Once the localization files are completed and sent back to you by the translators, your developers need to integrate them into the app.
You also need to ask the developers to implement fallback strings so there aren’t any incorrectly displayed text snippets in production.
Step 6: Test the app
After localization files are integrated, it’s time to test every part of the app and see that there aren’t any incorrectly placed, mistranslated, or untranslated strings.
Also, this is just the beginning. Your app will grow, and you will repeat steps 4, 5, and 6 regularly to keep the app updated.
Best practices for managing localization files
Alright, you started building your localization files. But as your app grows, you’re going to have more files with more text in each of them. How do you manage them? Here are some best practices.
Organize files for maintainability
Structure your localization files to make maintenance easier.
For larger applications, consider breaking down localization files by feature or module rather than having one massive file per language.
/locales
	/en
		common.json
		authentication.json
		products.json
		checkout.json
	/fr
		common.json
		authentication.json
		products.json
		checkout.json
This organization makes it easier to find specific translations, update related strings together, and share responsibility among team members. When a developer works on a specific feature, they only need to focus on the relevant translation files.
Use descriptive translation keys
Just reading the translation keys should explain where and how a string is used in the app.
Compare these approaches:
// Poor keys that provide no context
	"msg1": "Welcome to our store"
	"btn3": "Add to cart"
// Descriptive keys that explain usage
	"welcome.homepage.heading": "Welcome to our store"
	"product.actions.add_to_cart": "Add to cart"
Descriptive keys help translators understand the context without additional notes and make it easier for developers to find the right strings when implementing UI elements.
They also create an implicit organizational structure even in flat file formats.
Implement a version control strategy
Treat localization files with the same care as your application code.
Store them in your main repository, review changes through pull requests, and track their history to identify when and why strings changed. This approach helps maintain accountability and provides a clear record of translation evolution.
For larger projects, consider using a dedicated localization management platform that integrates with your version control system. These platforms can automate many aspects of the localization process while maintaining the connection to your repository.
Automate file extraction and synchronization
It can be to manually handle localization files and projects—especially as the app grows larger.
But luckily there are many libraries i18next-scanner for JS frameworks, gettext for Python (PHP, and others), and many other language-specific libraries that make it easy to extract text strings automatically.
Use these to automate the extraction of new strings from code, detection of unused strings, synchronization between language files, and format conversions when needed.
Provide enough context to translators
The same word can have two different translations in languages other than English.
For instance the word “Book (English) can be translated to "livre" or "réserver" in French.
- Livre means a physical book you read.
- Réserver is the verb "to book," like booking a hotel room.
So, context is extremely important for accurate translations.
For each string, provide information about where it appears in the UI, any character limitations (particularly important for mobile interfaces), examples of variables in use, and screenshots for complex UI elements.
Wrapping up
What begins as simple text documents quickly becomes the foundation your global business depends on. Yet, many startups realize this only after their manual file management has created a tangled web they can't escape.
I've watched this story unfold countless times. A company manages translation files manually until one day their users complain about inconsistencies, developers dread each release, and everyone wonders how they got here.
This is where Centus can help.
Centus handles the complexity of localization file translation by:
- Synchronizing with your code base to remove the need for manual string extraction
- Organizing translations across languages in a central dashboard
- Maintaining context so translators understand exactly how strings are used
- Detecting changes when developers add or modify text
Ready to streamline your localization workflow? Try Centus now!
Get the week's best content!
By subscribing, you are agreeing to have your personal information managed in accordance with the terms of Centus Privacy Policy ->
Keep learning
21 min. read
Software Localization Guide for Developers

11 min. read
How to Perform Mobile App Localization: The Right Way

14 min. read
Website Localization: A Beginner’s Guide
3 min. read
How to Perform TXT File Translation Fast
11 min. read
What Is Localization? A Comprehensive Overview
16 min. read