I got a "little" feature request from a colleague.
She suggested, "Why not add a few languages to our app and make it available for more people?"
It sounds simple enough at first. I mean, how hard could it be to swap out a few strings, right?
But there's a lot that goes into localizing a web app, and even more so, a web app that's already in production.
I quickly realized there's so much to PHP localization. Gettext? Locales? Plurals? It felt like learning PHP all over again.
But after much trial and error and countless cups of coffee, my new caffeinated self wrote down this simple guide to PHP localization.
So, what is localization and internationalization?
Localization, or i10n, is the process of making a web app available and usable in different regions. While it may seem like just translation, there's more to localization than just that. You also have to:
- Format times, numbers, and currencies in the way they're used in the specific regions
- Change the app layout to fit different sentence lengths
- Handle cultural references and idioms
- Support languages like Persian and Hebrew that read from right to left
Instead of just giving general translations, the goal of localization is to make sure that your app works perfectly in every region you target.
Now, if you're looking up localization, it's hard not to come across another term—internationalization (or i18n).
While these are often used interchangeably, these are two separate concepts.
Let me explain... Internationalization is where you translate your app and adjust it for other countries. This includes things like:
- Separating code from translated text
- Unicode is used for encoding text
- Avoiding hard-coded text and styles
Put simply, PHP internationalization (PHP i18n) lays the groundwork for localization. Once your app is internationalized, then you proceed to make granular changes for not just the country but also its cultural requirements.
Prerequisites for localizing a PHP web application
So, what does it take to localize your PHP web application?
- Internationalizable codebase: You want the code to be organized well enough so adding and modifying the codebase doesn't break the app.
- Locale identification: Figure out which locations and regions your app needs to work in. You can then use the right region codes, like en_US for US English and es_ES for Spanish.
- Translation resources: Prepare the resources needed for translation, such as glossaries, style guides, and translation memories. These help keep the translated versions accurate and consistent.
- Translation management platform: For web apps with multiple pages, handling translations using translation files becomes a messy affair. You can benefit from a TMS like Centus to make things easier.
Step-by-step guide to PHP localization
Alright, if you're all set with the basic requirements, let's move to localizing the app. We'll begin by setting up the folder structure first, adding the languages, and setting up the code to pull the required locales based on the selection.
Step 1: The folder structure
I'm creating a very basic app with a folder named localized_app. Your folder structure will differ but the overall setup will remain quite similar.
localized_app/
├── index.php
├── localized/
│   ├── en.php
│   └── es.php
└── functions.php
The index.php is the main file in the root of the folder. The file will contain all the code to create the page's interface and allow language switching.
Then we have the localized/ folder with all the language files. In this case, I'm localizing my app for two languages: English (en.php) and Spanish (es.php).
Finally, I have created the functions.php file. This will do the hard work of pulling the right translation string and applying it to the page.
Step 2: Adding your translation strings
If you're done with the folder structure, let's create the required language files. These files will hold key-value pairs of the div ID and the associated text there for the specific locale.
In localized/en.php:
<?php

$translations = [];

$translations['welcome'] = 'Welcome to Centus!';
$translations['about'] = 'About Us';
$translations['contact'] = 'Contact Us';

return $translations;
In localized/es.php:
<?php

$traducciones = [];

$traducciones['welcome'] = 'Bienvenido a Centus!';
$traducciones['about'] = 'Sobre Nosotros';
$traducciones['contact'] = 'Contáctenos';

return $traducciones;
For this demonstration, I've added three strings—welcome, about us, and contact.
The welcome string is visible on the home page, and the other two are on the navbar. You can add more translations as required by your app pages.
Now, let's create some functions to use these key-value pairs and then apply them to the right div tags.
Step 3: Creating localization functions
Now that we have our language files set up, we need to create some helper functions to make localization easier. I've added the following functions to my functions.php file.
<?php

function  setLanguage($lang) {
   $_SESSION['lang'] = $lang;
}

function  getLanguage() {
return $_SESSION['lang'] ?? 'en'; // Default to English if not set
}

function  __($key) {
   $lang = getLanguage();
$strings = include  "localized/{$lang}.php";
return $strings[$key] ?? $key; // Return the key if translation is not found
}
Let's break down what these functions do:
-
setLanguage(): This function sets the current language in the session.
-
getLanguage(): This function retrieves the current language from the session, defaulting to English if not set.
-
__(): This is our main translation function. It takes a key, looks up the translation in the appropriate language file, and returns the translated string.
Step 4: Using localizing in your application
Now we can use our localization functions in our main application file. Here's a simple example in index.php:
<?php
session_start();
require_once  'functions.php';

if (isset($_GET['lang'])) {
   setLanguage($_GET['lang']);
}

?>

<!DOCTYPE html>
<html lang="<?php echo getLanguage(); ?>">
<head>
<meta charset="UTF-8">
<title><?php  echo __('welcome'); ?></title>
</head>
<body>
<h1><?php  echo __('welcome'); ?></h1>
<nav>
<a href="#"><?php  echo __('about'); ?></a>
<a href="#"><?php  echo __('contact'); ?></a>
</nav>
<p>
<a href="?lang=en">English</a> |
<a href="?lang=es">Español</a>

  </p>
</body>
</html>
I've written an extremely simplified webpage here for demonstration. Once you run the PHP file on your server, you should see an output like the one below:

You can click the language links to change the language and locale of the page too.

Congratulations! You now have a functional localized web app in PHP.
How can you handle RTL languages?
Languages like Hebrew and Persian are written from the right-to-left which can mess up your web page layouts. For that, you not only need to set up the translation strings but also flip the layout of your UI. Let's look at how that can be done.
Dynamically set the page layout as RTL or LTR
I started with setting the dir attribute to our tag to set the direction of the page. Here's how you can set it to display RTL languages.
<html lang="ar" dir="rtl">
But instead of setting this direction attribute as a constant across all pages, I figured that it made sense to base the decision on the selected language.
So, I created an array of the limited few RTL languages inside a function that returns true or false.
function  isRTL($lang) {
   $rtl = ['he', 'ar', 'fa'];
return in_array($lang, $rtl);
}
Now, in the index.php file, I will update the html tag to pull the language direction dynamically. Here's how:
<html lang="<?php echo getLanguage(); ?>" dir="<?php echo isRTL(getLanguage()) ? 'rtl' : 'ltr'; ?>">
Whenever the locale is changed, the page will ask if the selected language is an RTL language or not. If it returns true, we set the dir attribute to 'rtl' else 'ltr'.
But we need to make a few more changes before this can be considered complete. Let's add some CSS styling to the index page under the <style> tag:
<style>
/* Default LTR styles */
body {
direction: ltr;
}

/* RTL specific styles */
[dir="rtl"] body {
direction: rtl;
}

[dir="rtl"] .sidebar {
float: left;
}

[dir="rtl"] .main-content {
float: right;
}
</style>
What I'm doing here is simply flipping the direction of parts of the page that I know will have a direction set based on LTR languages. For instance, the sidebar.
But we also need to handle the margins and paddings. Instead of using 'left' and 'right', you can use 'start' and 'end'. These logical properties automatically adjust based on the text direction:
.element {
margin-inline-start: 10px;
padding-inline-end: 20px;
}
And the last change I'm making is to flip the icons. These are often the most easily forgotten aspects of handling RTL languages when performing PHP multi-language localization.
I'll simply use the CSS transform scaleX function to flip the icon. If it doesn't look too good, we may want some design help.
[dir="rtl"] .icon {
transform: scaleX(-1);
}
That's all the changes I'm making now. Even if you manage to consider these few points, implementing RTL support for your web app would be extremely easy.
📘Relevant reading: RTL localization guide
Advanced PHP localization techniques
Now, we've understood how to translate pages, set up translation keys, pull them on the page, and switch languages dynamically while including RTL support.
But now comes the more "nuanced" aspect of localization. We need to actually understand the cultural differences in languages before calling it a day. Let's take a closer look at some more advanced localization techniques.
Handling plurals
In all my attempts at localization, pluralization has always been a complex affair. And this is one of those parts that cannot be skipped. The way plurals work varies from language to language, and simply adding an "s" to the end of a word isn't always enough.
Luckily, PHP has a handy function called ngettext().
Here's an example of how you can use it:
$count = 5;
$translation = ngettext("%d apple", "%d apples", $count);
printf($translation, $count);
You'll notice the three arguments I've passed to the ngettext() function: the singular form, the plural form, and the count.
Based on the input count, this function returns the appropriate translation as printed output on the page.
If you think about it for a second, you'll understand how difficult this can be when you're dealing with many languages with nuanced pluralization. But for now, let's continue to the next advanced localization technique.
Handling currencies
Different countries also follow varying number and date formats.
Some countries use periods to separate decimal places, while others use a comma to separate decimals. The symbol used for thousands separators also differs across the globe.
Let me help you put this into perspective.
Take, for instance, the number 1 million and 50 cents.
- In the US, it's written as $1,000,000.50
- In many European countries, like Germany, it's written as $1.000.000,50
Thus, what might look like one million dollars to someone in the US could be confusing for someone from Germany, where periods and commas are swapped.
Luckily, we don't need to configure and manage these. PHP's intl extension provides a set of functions for locale-aware formatting. For numbers, you can use PHP's built-in NumberFormatter class:
$number = 499995;
$formatter = new NumberFormatter('fr_FR', NumberFormatter::CURRENCY);
echo $formatter->formatCurrency($number, 'EUR');
When you run this function with fr_FR as the locale, you'll get the following output:
499 995,00 €
But with the NumberFormatter locale set to en_US or en_FR, you'll get the following output:
€499,995.00
All you need to do is to properly set up the functions to pass the selected locale to the formatter function and use the outputs from here to print them on your page.
Formatting dates
Similar to currency and number formats, we also have different date and time formats.
Let me help you with an example.
In the US, you'll commonly see dates written in the MM/DD/YYYY format.
If you, as someone from the US, see a date 01/10/2024—it would mean January 10, 2024 to you.
But if you're from Europe or the UK, the same date will mean October 1, 2024, as their default format is DD/MM/YYYY.
function  formatDate($date, $format = IntlDateFormatter::LONG, $timeFormat = IntlDateFormatter::NONE) {
$formatter = new IntlDateFormatter(
       getLanguage(),
       $format,
       $timeFormat
   );
return $formatter->format($date);
}

// Usage
echo formatDate(new DateTime('2024-09-13'));
If you add this function to our code, you'll see the following output for the Spanish locale:
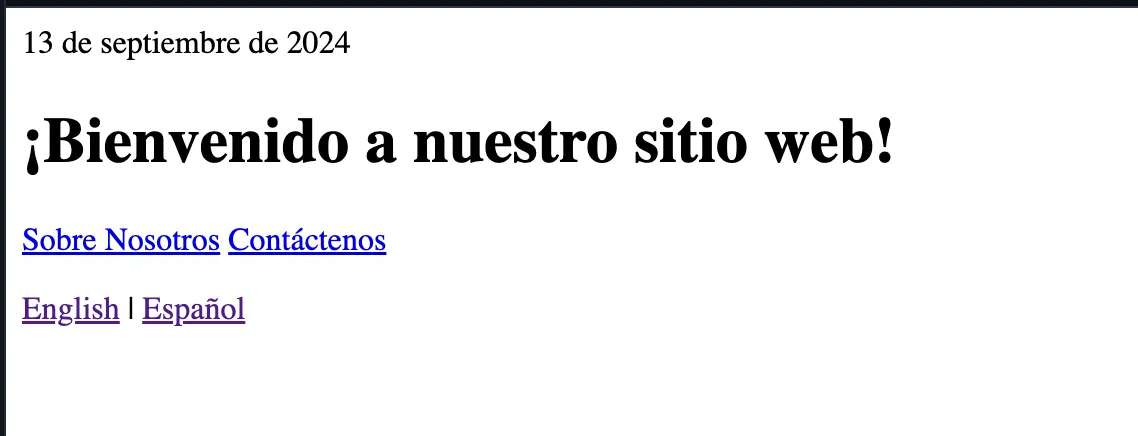
And this output below for the English locale:

What you'll notice is that our input date was '2024-09-13'. But the formatDate function automatically changes the date format to September 13, 2024 for English and 13 de septiembre de 2024 for Spanish.
We haven't set up any key-value pairs for these date formats or text.
Gendered sentences
The English word "welcome" remains the same irrespective of gender. But many languages have gendered adjectives and words depending on the subject.
For instance, in Spanish, you have "Bienvenido" for males and "Bienvenida" for females.
There's an unpronounceable, gender-neutral welcome: "bienvenid@." However, since it cannot be spoken, it isn't used in regular conversations.
To handle these situations, I created a few additional key-value pairs in our translation file:
<?php
return
'welcome_message_male' => 'Bienvenido, %s!',
'welcome_message_female' => 'Bienvenida, %s!',
'welcome_message_neutral' => 'Bienvenid@, %s!',
];
The %s here is automatically replaced with the value that was passed to this function.
Now, I also need to change how our translation function pulls these details, identifies the correct gender, and places the right words in front of the user's name.
function  __($key, $replacements = [], $gender = 'neutral') {
   $lang = getLanguage();
$strings = include  "localized/{$lang}.php";

// Check if there's a gendered version of the key
$genderedKey = $key . '_' . $gender;
if (isset($strings[$genderedKey])) {
       $key = $genderedKey;
   }

   $translation = $strings[$key] ?? $key;

foreach ($replacements as $placeholder => $value) {
       $translation = str_replace("%{$placeholder}%", $value, $translation);
   }

return $translation;
}
As you can see, I've added a couple more checks in this function to see what the gender is and then use that to pull the appropriate value.
Now you can use the below line in your index.php file to print the appropriate greetings:
echo __('welcome_message', ['name' => $userName], $userGender);
This isn't just limited to greetings, as you may have noted. You can extend it to include other parts of your web app.
// In the Spanish language file
'user_status' => 'El usuario está %status%',
'user_status_male' => 'El usuario está %status%',
'user_status_female' => 'La usuaria está %status%',

// In the index.php file
echo __('user_status', ['status' => 'conectado'], $userGender);
It works perfectly well. But there's a major problem with this approach—one that also troubled me when localizing JavaScript, React, and Angular apps. Namely, manually handling translations isn't scalable. Instead, it's better to automate and organize the process with a PHP translator.
How to scale PHP translation
In my single-page web app, I handled localization one sentence at a time.
But think of how messy it would be if you were dealing with a complex, multi-page app that has a lot of text and media.
Now add to that different teams handling translation, code modification, and project management, and you know it's going to be a logistical nightmare.
This is where localization management platforms, such as Centus, come in handy.
Localization platforms streamline the PHP translation process by providing a centralized hub of developers, translators, editors, designers, and managers. You can sync the platform with your code repository to seamlessly integrate translation into your development workflows.
Here's how to use the PHP code translator:
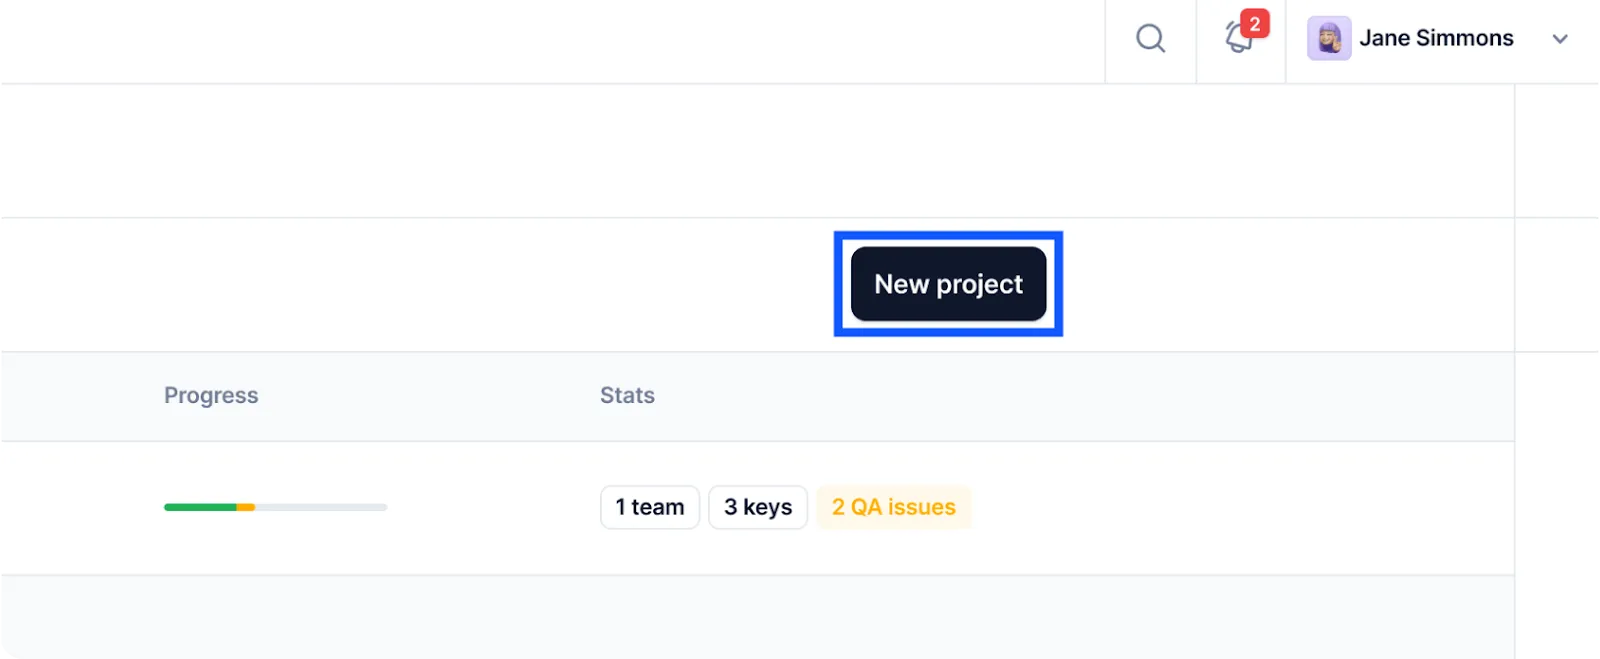
First off, sign up to Centus and set up a new project. It's a breeze, really.
Just head over to the dashboard and click New project at the right top corner.
In a window that opens, enter your project details and select base languages.
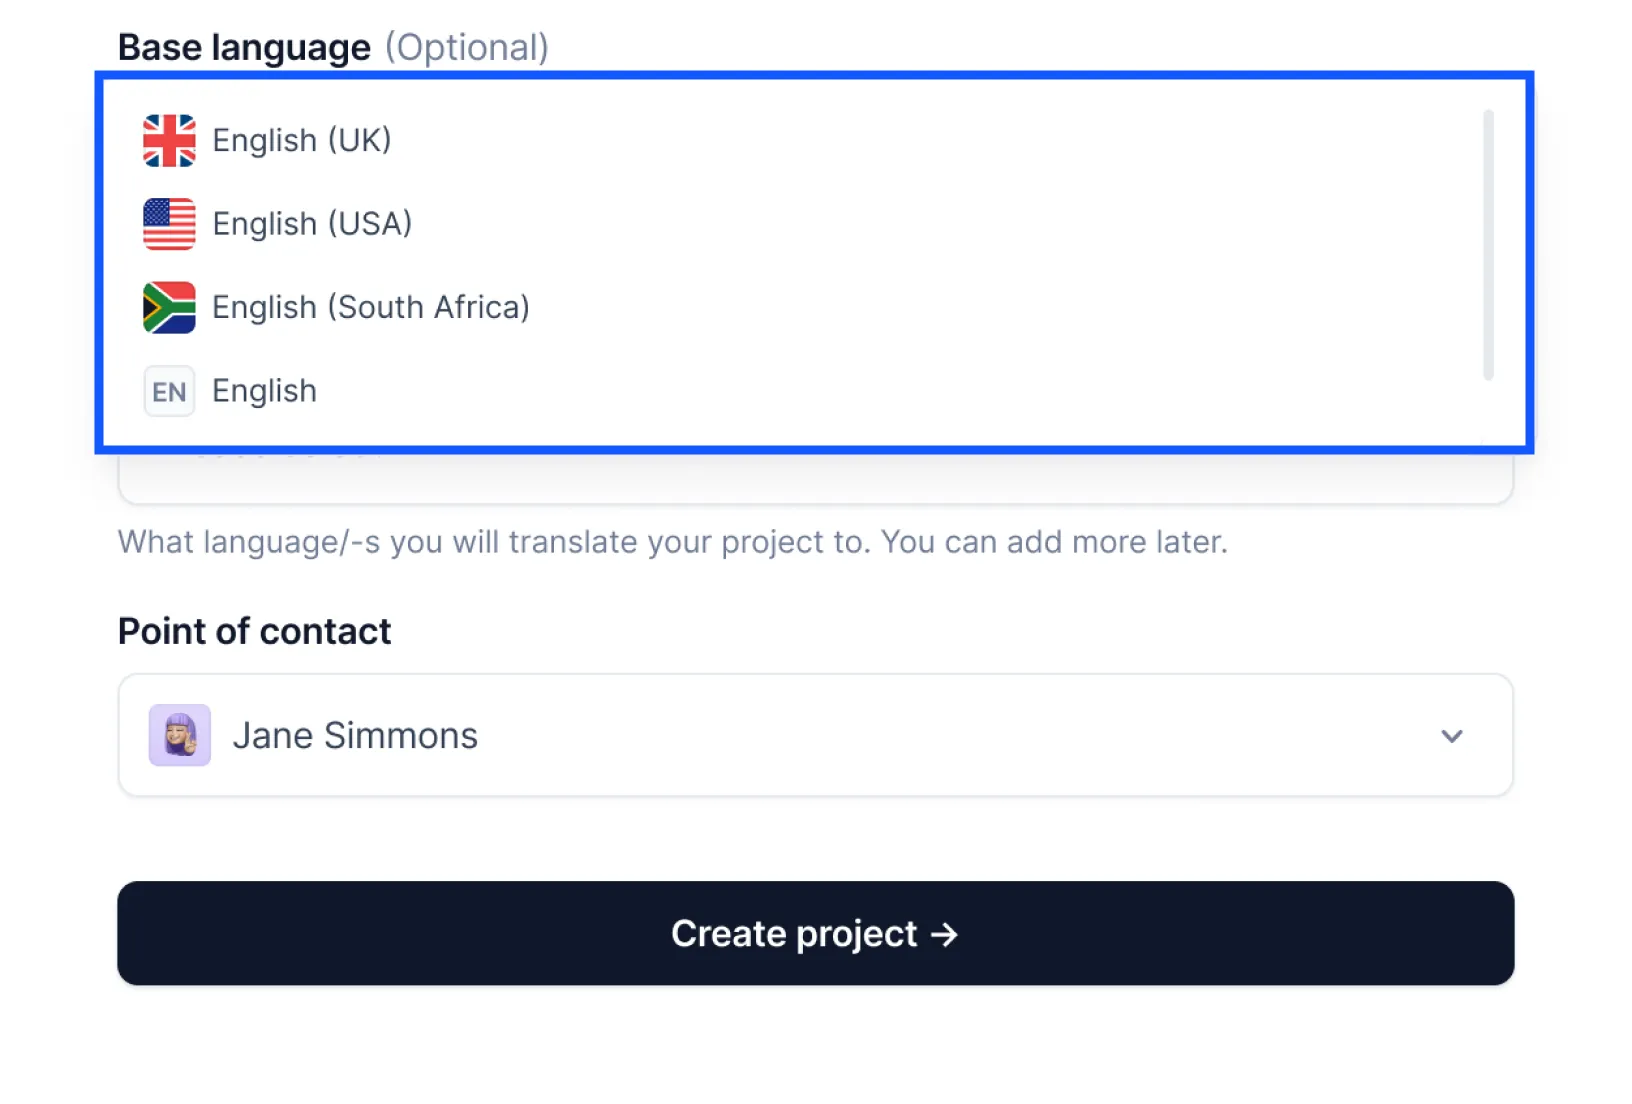
Finally, click Create project.
That's it, your first PHP translation project is ready. All that's left to set it in motion is to add PHP translation files. It can be done in the Imports section.
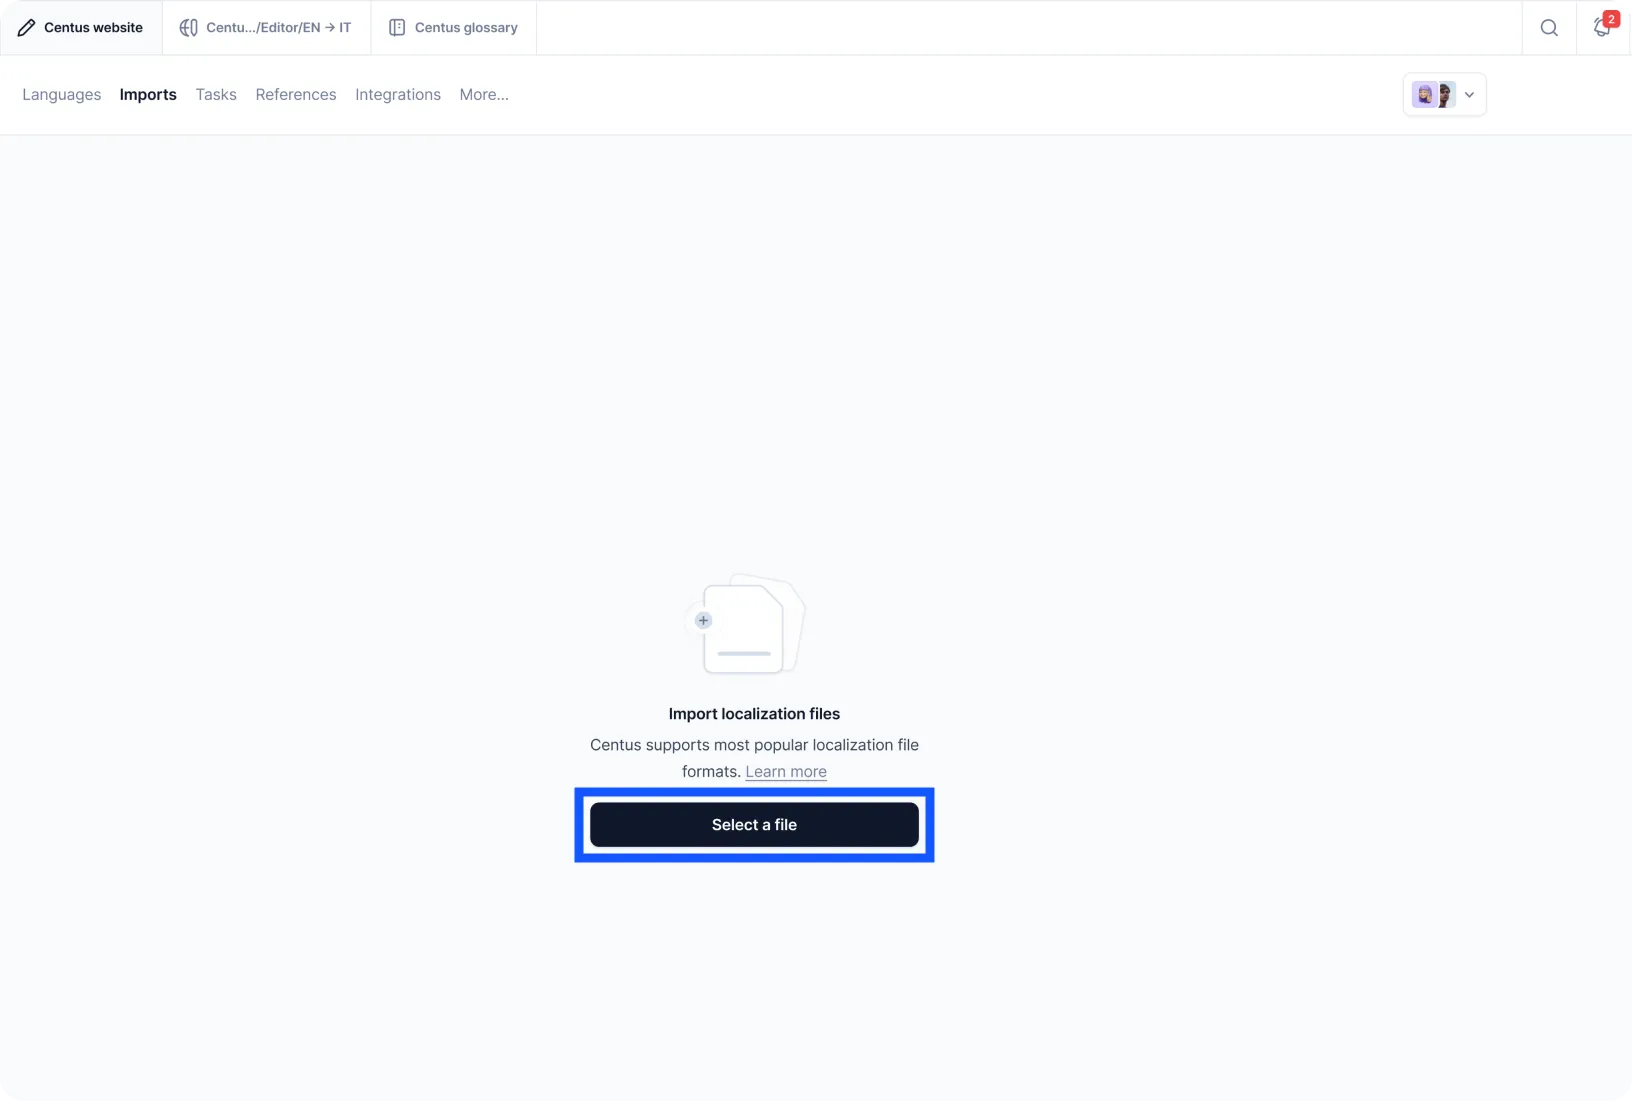
If you would like to keep using Centus for your other localization projects, you'll be pleased to know that it can handle a large number of file types, such as HTML, XLSX, JSON, or YAML.
With the PHP files imported, it's time to let your translators take over.
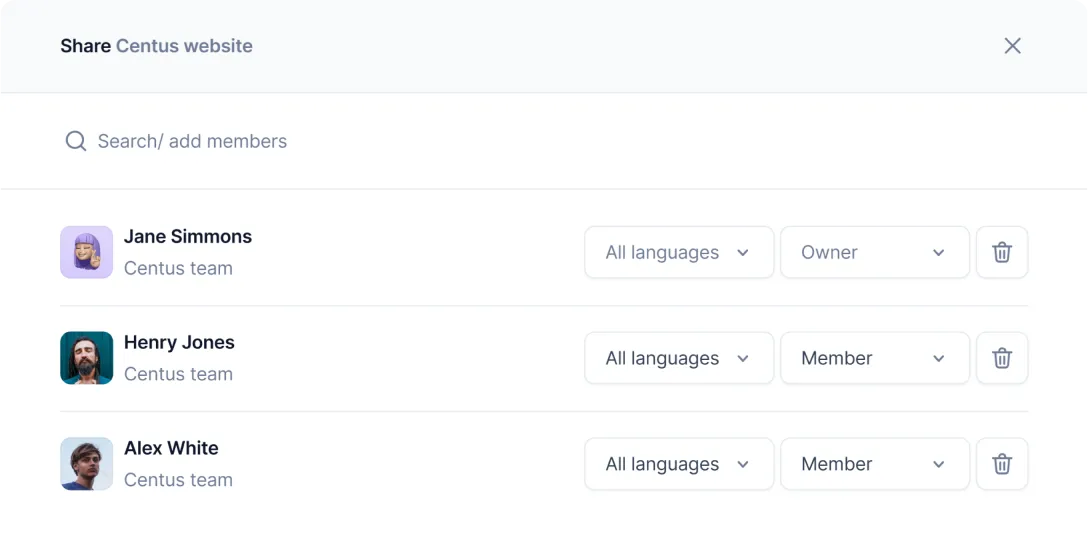
Assign your project to your team of translators and editors who can collaborate to translate the files into multiple languages simultaneously. It goes like this:
Navigate to the Contributors section and click Add people. There, enter the editor's details and click Add project contributor.
Once added to the project, your translators and editors could access a convenient Editor looking like this:
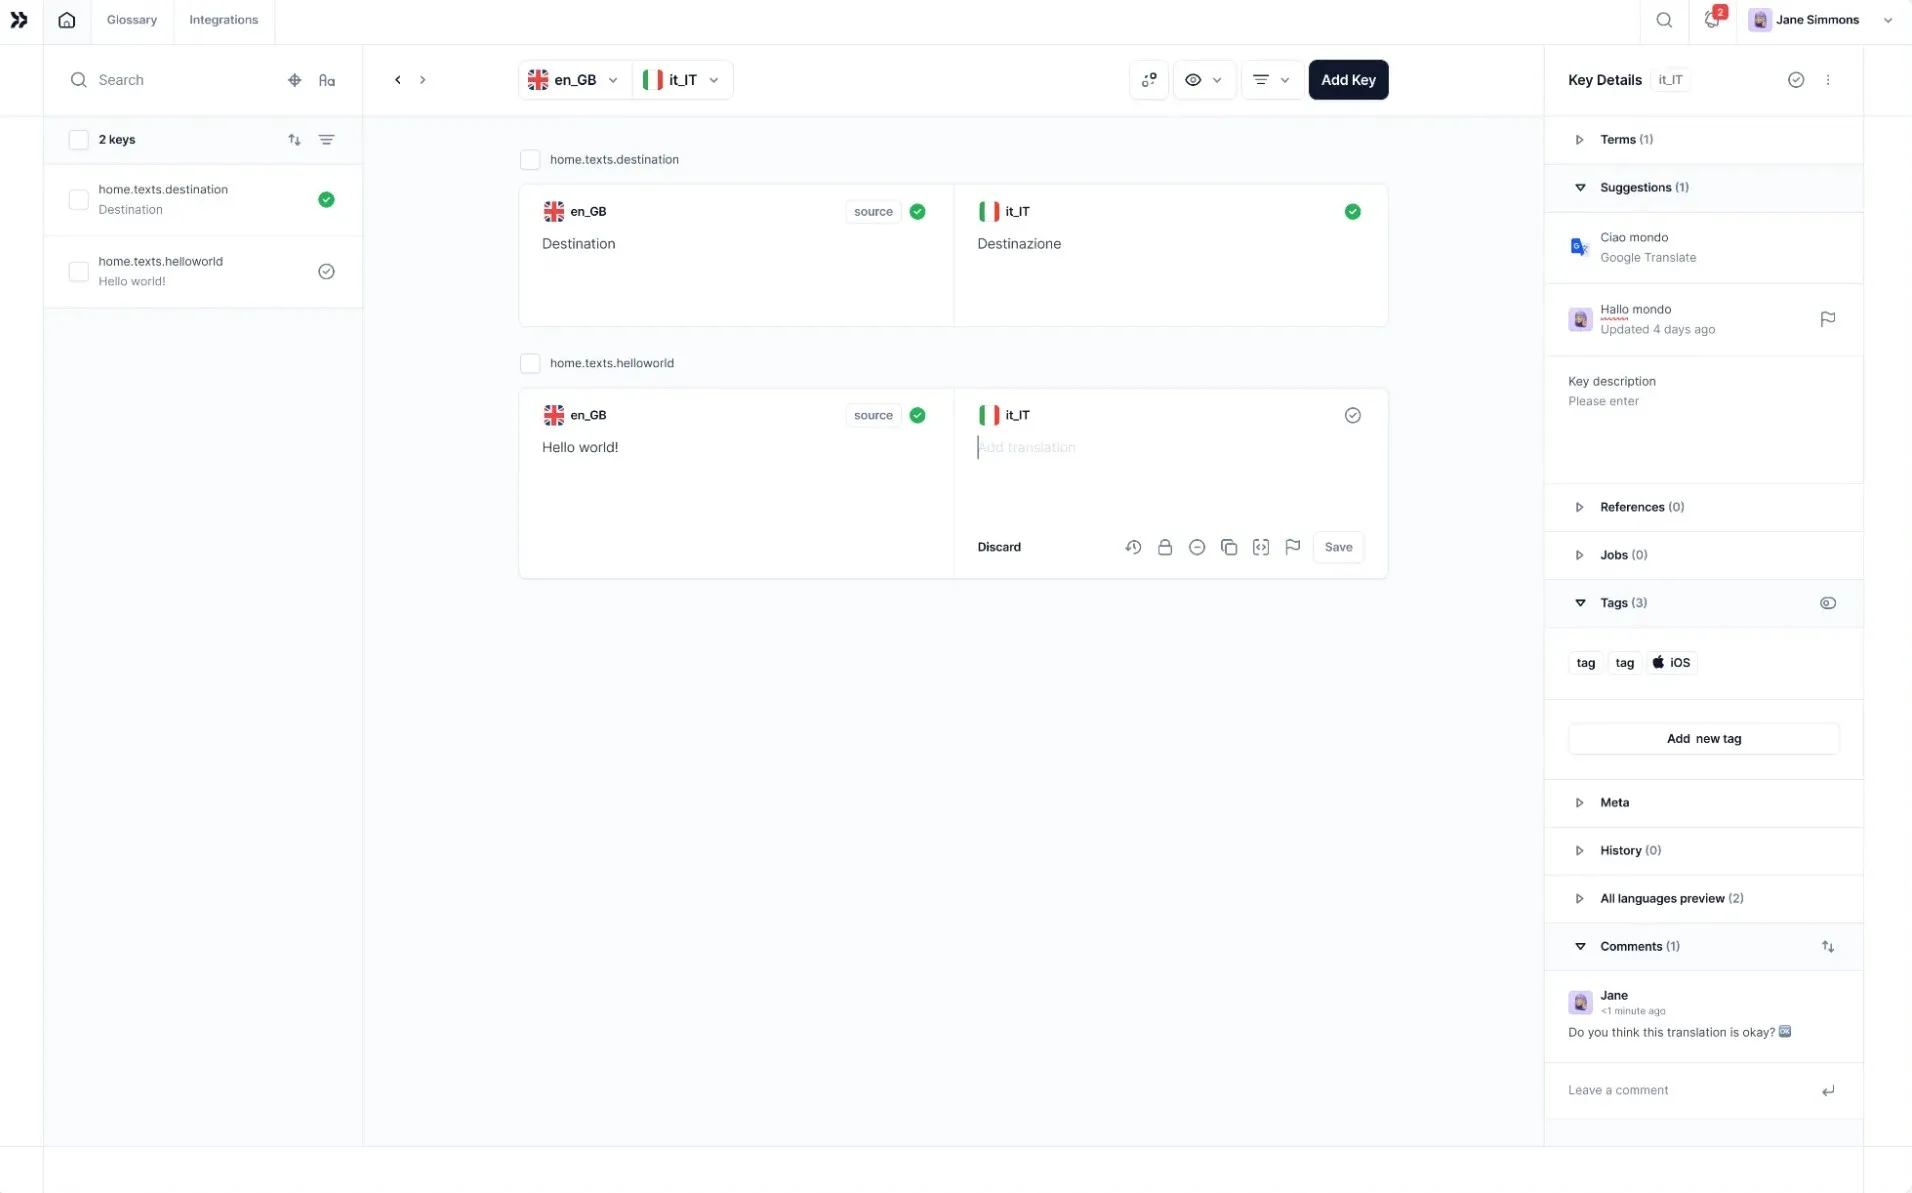
In the Editor, your language experts can quickly generate automatic translations using Google Translate, DeepL, or Microsoft Translate. If necessary, each word can be manually edited to ensure that translations are spot-on.
Your experts can also use Centus to share your PHP app screenshots. This feature is indispensable in situations where more context is needed for accurate translations.
Remember, having multiple eyes on the content helps catch nuances and avoid errors. Bring in editors, reviewers, and managers to your project and encourage them to share feedback.
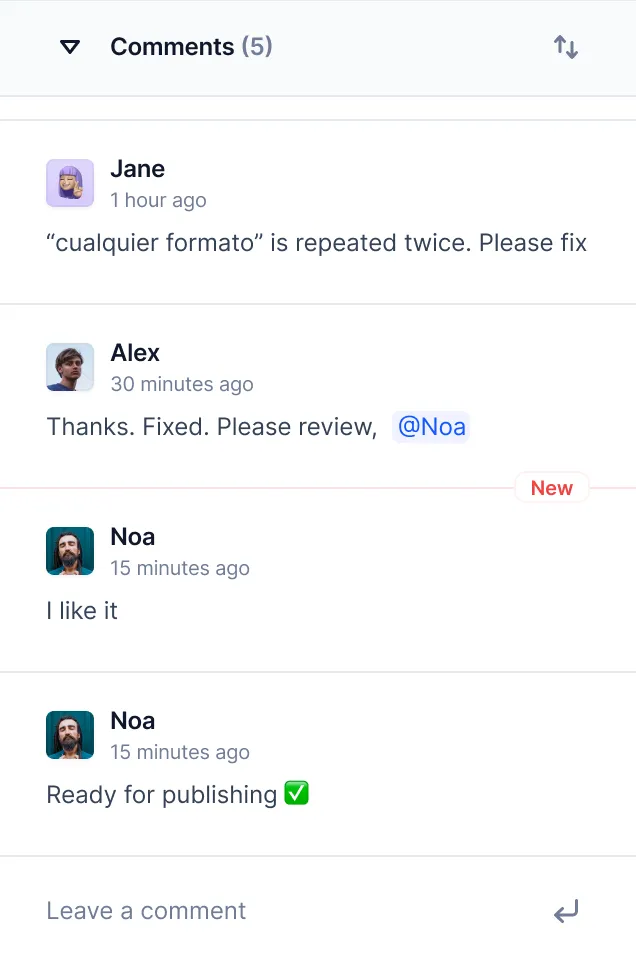
So there you have it! No matter how daunting it seems, PHP code translation is easily manageable with Centus. Try it now!
Wrapping up
Okay, I need yet another coffee now. But I hope this long guide was worth your time to read it through.
The main takeaway I want you to remember is don't get mired in the technicalities of translation. There's so much more to PHP internationalization than just that.
Don't get me wrong, PHP translation is important, but it can be easily manageable with the right tools at hand. Hopefully, you know it by now and are fully ready to take on any PHP localization challenge.
For a smooth PHP translation experience, try Centus now!
Get the week's best content!
By subscribing, you are agreeing to have your personal information managed in accordance with the terms of Centus Privacy Policy ->
Keep learning
21 min. read
Software Localization Guide for Developers

11 min. read
How to Perform Mobile App Localization: The Right Way
18 min. read
JavaScript Localization Guide for Web Apps
19 min. read
Laravel Localization: A Step-by-Step Guide

21 min. read
React App Localization and i18n: Advanced Guide
8 min. read