Localization is usually a backlogged task that just keeps getting pushed to future sprints until suddenly your company needs it yesterday. And when that moment arrives, the technical decisions you’ve made earlier determine whether you're in for a smooth ride or a painful scramble.
YAML file translation, and by extension, localization is one of those decisions.
In this guide, I’ll show you how to translate YAML files. I will also cover pluralization, gender-based translations, and RTL support for YAML files.
Let’s get started!
First, what is a YAML file?
YAML (YAML Ain't Markup Language) is a human-friendly data serialization format that uses indentation and minimal punctuation to structure information. Keys and values are separated by colons, with hierarchical relationships represented through consistent indentation.
Here’s a sample YAML file to help explain it better:
welcome_message: Welcome to our application!
user:
  # Greeting will be displayed under the menu bar
  greeting: Hello, {name}!
  profile:
    title: Your Profile
    description: View and edit your personal information
Now, why does YAML makes sense for most localization projects? Because there are several advantages to using this file format:
- The hierarchical organization keeps related translations grouped
- Comments provide context for translators
- The format is clean and readable for both humans and machines
The format supports comments (prefixed with #), multiline text, lists, and complex data structures while maintaining visual clarity.
This combination of simplicity and power makes YAML especially well-suited for translation files where non-technical translators need to work directly with the content.
The same structure in JSON would look like:
{
  "welcome_message": "Welcome to our application!",
  "user": {
    "greeting": "Hello, {name}!",
    "profile": {
      "title": "Your Profile",
      "description": "View and edit your personal information"
    }
  }
}
Is YAML better than JSON?
In many ways, YAML is better for localization than JSON. Compared to JSON, YAML doesn't require quotes around every string, and feels more natural to edit. The same structure in JSON would look as follows:
{
  "welcome_message": "Welcome to our application!",
  "user": {
    "greeting": "Hello, {name}!",
    "profile": {
      "title": "Your Profile",
      "description": "View and edit your personal information"
    }
  }
}
Also, comparing to traditional .po files, YAML works well for localizing JavaScript applications. Put simply, YAML is optimized for human readability while remaining machine-parsable.
Pros and cons of using YAML localization files
Should you just pick YAML for every project if it’s simple and functional? Well… no.
You need to take that call based on your project. Here are some of the pros and cons I’ve noticed while using YAML files.
What makes YAML stand out for localization:
- Translator-friendly: No quotes, commas, or brackets to manage—translators edit plain text without touching syntax that could break your app.
- Contextual comments: Add translator instructions directly above keys like # This appears on a small button (max 10 chars).
- Logical organization: Nested keys like checkout.button.confirm naturally map to your UI component hierarchy.
- Multiline text handling: Simply use | for paragraph text that preserves line breaks, unlike JSON's awkward \n escaping.
- Full Unicode support: Japanese, Arabic, and emoji render perfectly without \u escape sequences that plague JSON files.
- Flexible formatting: Write user: {name: John, role: admin} or use indented blocks—both parse identically.
Where YAML may trip you up:
- Whitespace sensitivity: A single tab mixed with spaces can silently corrupt your entire translation file at runtime.
- Developer familiarity: Frontend teams comfortable with JSON often resist switching, despite YAML's advantages for translators.
- Slightly slower parsing: Performance impact is negligible for most apps, but becomes noticeable in high-throughput API responses.
How to localize a YAML file manually
Before you get started, make a copy of this code into an en.yaml file. We’ll use this file throughout the article to demonstrate localization.
# en.yaml
homepage:
  title: "Welcome to Our Service"
  subtitle: "The best platform for your needs"
  cta: "Get Started"

profile:
  greeting: "Hello, {name}!"
  stats:
    projects: "{count} Projects"
    followers: "{count} Followers"
  settings:
    title: "Account Settings"
    language: "Language"
    notifications: "Notifications"
I've organized the translations hierarchically. The nested structure allows you to group related translations together, and makes the file easier to maintain as it grows.
The {name} and {count} placeholders are variables that your application code will replace at runtime with actual values.
These placeholders need to remain consistent across all language files as these get replaced dynamically.
Step 1: Create a copy of the YAML file for each language you support
Once the en.yaml file is ready, you need to make copies of the file for each language you want to support.
For best practices, use ISO language codes for your file names. This practice standardizes your approach and makes integration with libraries much easier.
For example, if I'm working on an app that supports French, Romanian, Hindi, and Spanish, I'll create 4 separate files:
- fr.yaml (French)
- ro.yaml (Romanian)
- hi.yaml (Hindi)
- es.yaml (Spanish)
Save these in a dedicated directory like /locales or /translations to keep your project organized.
Here’s what your language should contain:
# <language>.yaml
homepage:
  title: ""
  subtitle: ""
  cta: ""

profile:
  greeting: ""
  stats:
    projects: ""
    followers: ""
  settings:
    title: ""
    language: ""
    notifications: ""
Each file must have the exact same keys as the en.yaml file to make sure your app works. You simply add the translations to each file as we’ll see in the next step.
Step 2: Add translations
After making copies, start adding translations to each file. Here's how I added the translations to our fr.yaml file:
# fr.yaml
homepage:
  title: "Bienvenue sur Notre Service"
  subtitle: "La meilleure plateforme pour vos besoins"
  cta: "Commencer"

profile:
  greeting: "Bonjour, {name}!"
  stats:
    projects: "{count} Projets"
    followers: "{count} Abonnés"
  settings:
    title: "Paramètres du Compte"
    language: "Langue"
    notifications: "Notifications"
📝 Note: The placeholders, which in this example are {name} and {count}, remain unchanged in the translation. This is important. If you translate or modify these placeholder names, your application code won't be able to insert the dynamic values.
When working with professional translators, try to provide them with context for each string. Include information like where the string appears, what is the surrounding text, what’s the intended action.
Say, you need to translate the following CTA into Franch:
Book a meeting
Here, the word “book” can be translated as “livre” or “reserver.” While one is a noun meaning “book”, the other is the verb “to reserve.”
To avoid this confusion in your YAML localization projects, use comments:
# This appears on the homepage hero banner (max 40 characters)
homepage:
  title: "Bienvenue sur Notre Service"
Step 3: Run your YAML files through a linter
I always like to run the localization files through the appropriate linter to catch common errors like:
- Indentation errors
- Missing quotation marks around strings with special characters
- Unintended tab characters that break indentation
- Duplicate keys that would overwrite each other
In this case, I’ll be using an online YAML linter. But you can also install a YAML linter like yamllint through npm or your package manager:
npm install -g yaml-lint
yamllint fr.yaml
For simpler files, you might be tempted to skip this step. Don't. The linting step takes seconds but can save you from painful debugging sessions later.
Step 4: Repeat this for all languages
To support all your target languages, repeat steps 2 and 3 for each language separately.
At this stage, I recommend tracking a completion percentage for each language. This helps project managers monitor translation progress and plan releases accordingly:
English (en): 100% (reference)
French (fr): 100% (completed)
Romanian (ro): 85% (in progress)
Hindi (hi): 42% (started)
Spanish (es): 0% (not started)
Even with partial translations, you can start testing your localization implementation. Most frameworks will fall back to your default language for any missing keys.
That's it for the manual approach! But don't celebrate just yet.
There's a reason why I called this the "hard way" to localize YAML files.
Why do I call this method, the “hard way”?
The files I demonstrated earlier are deceptively simple. In real production apps, localization files quickly balloon to hundreds or thousands of strings spread across deeply nested structures.
As your application grows, you'll face several challenges:
- Keeping all language files in sync as you add, remove, or modify keys
- Managing translator workflows without technical errors
- Maintaining context for translators who don't see your application
- Handling version control conflicts when multiple people edit translation files
- Scaling to dozens of languages and thousands of strings
Imagine if you have just 5 pages in your app that need to be translated to 5 languages.
That’s 25 separate sets of translation strings you need to handle.
And each UI change meant going through all YAML files, updating strings by hand, and coordinating with multiple translators when required.
That's why if you're building anything beyond a small project, integrating with a translation management platform, like Centus, becomes essential.
How to translate YAML automatically
For large localization projects, manual YAML translation won’t do. It’s slow, expensive and error-prone. Instead, use the translation management platform Centus.
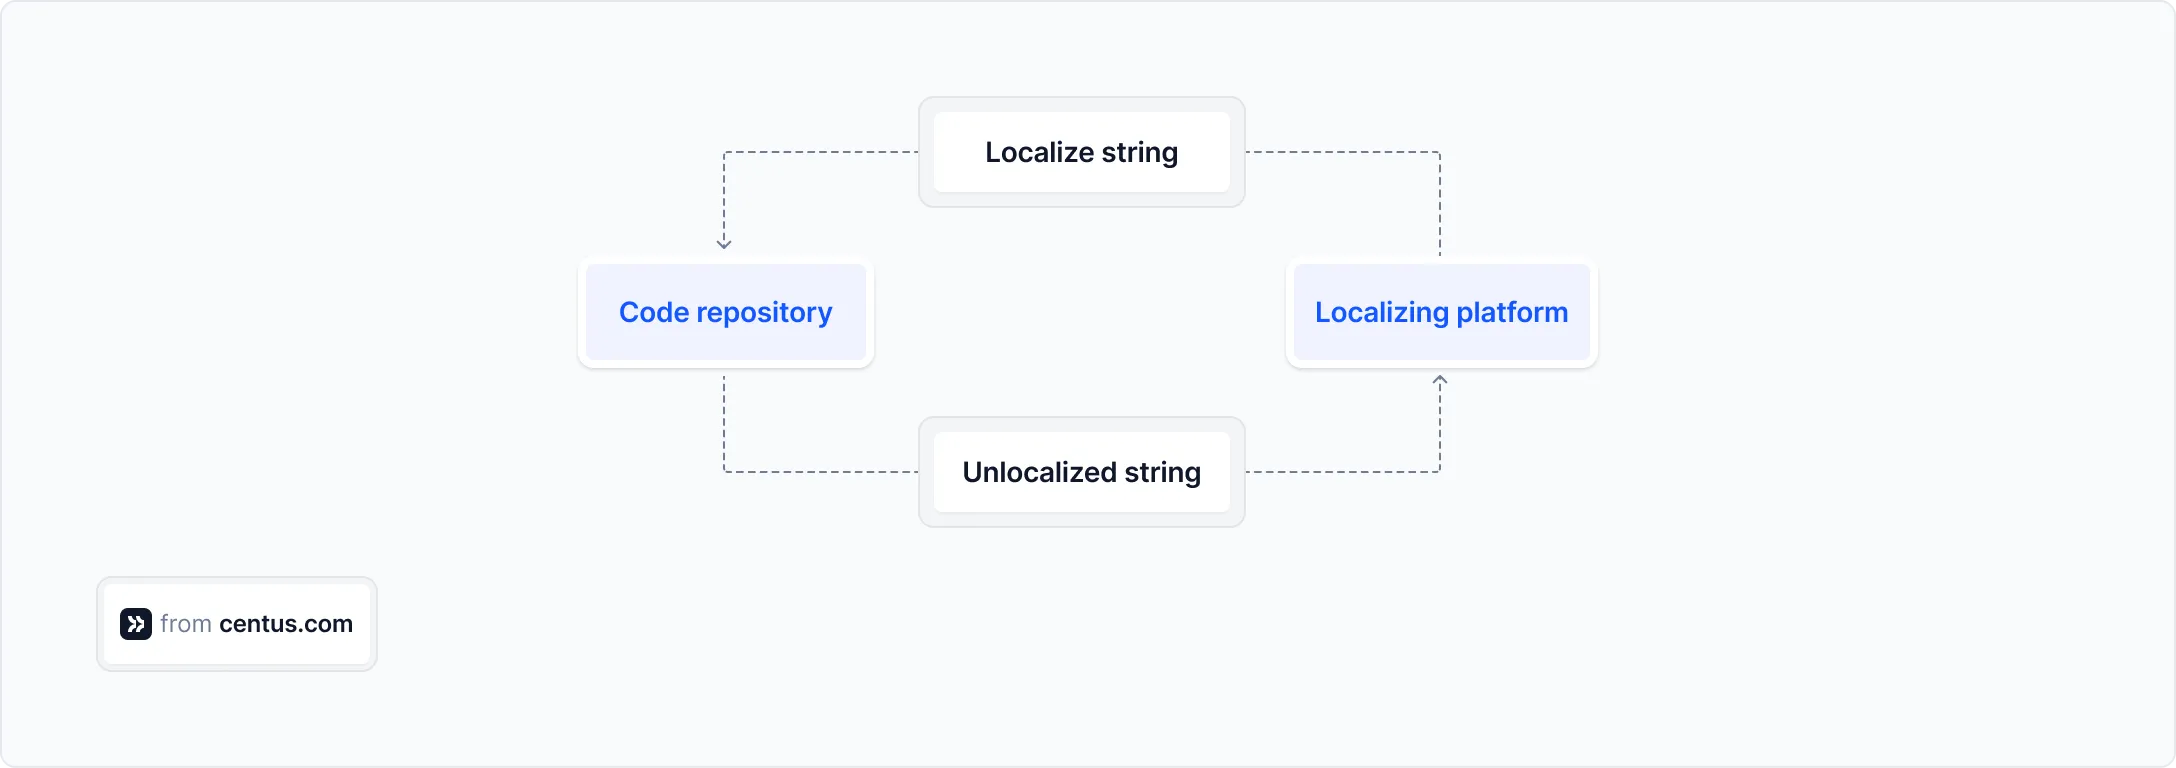
Centus integrates with your code repository and allows automating YAML translation process, shaving the weeks, if not months, off your development cycle.
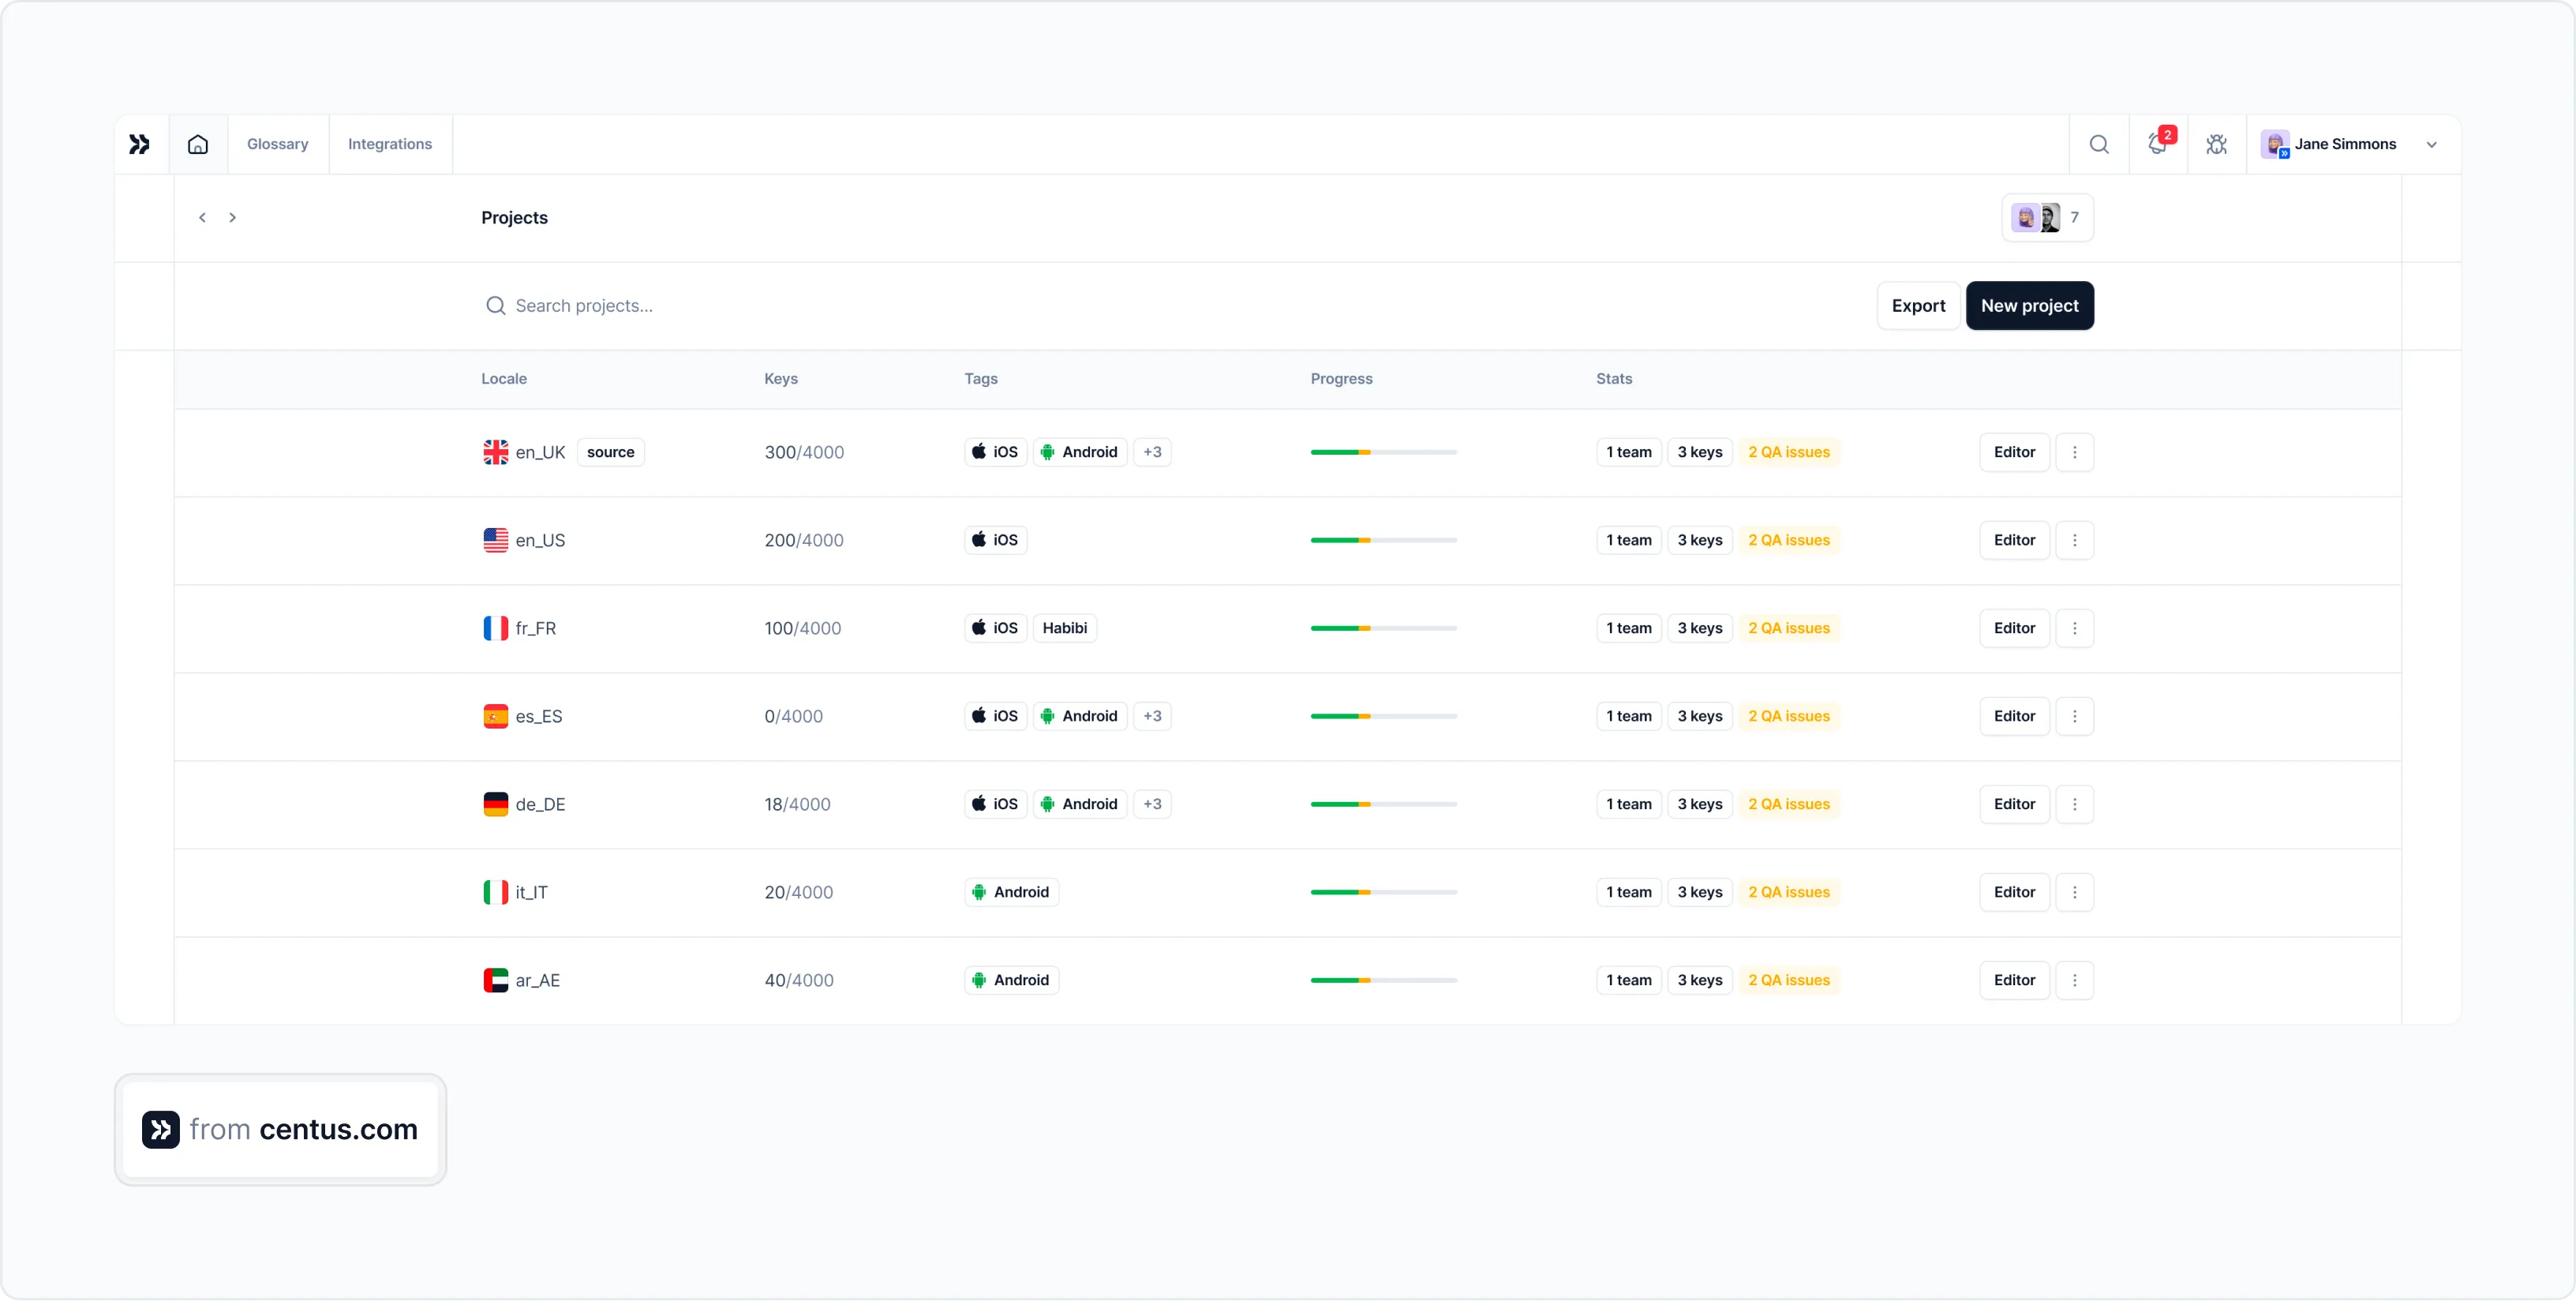
Here’s how to translate YAML files with Centus:
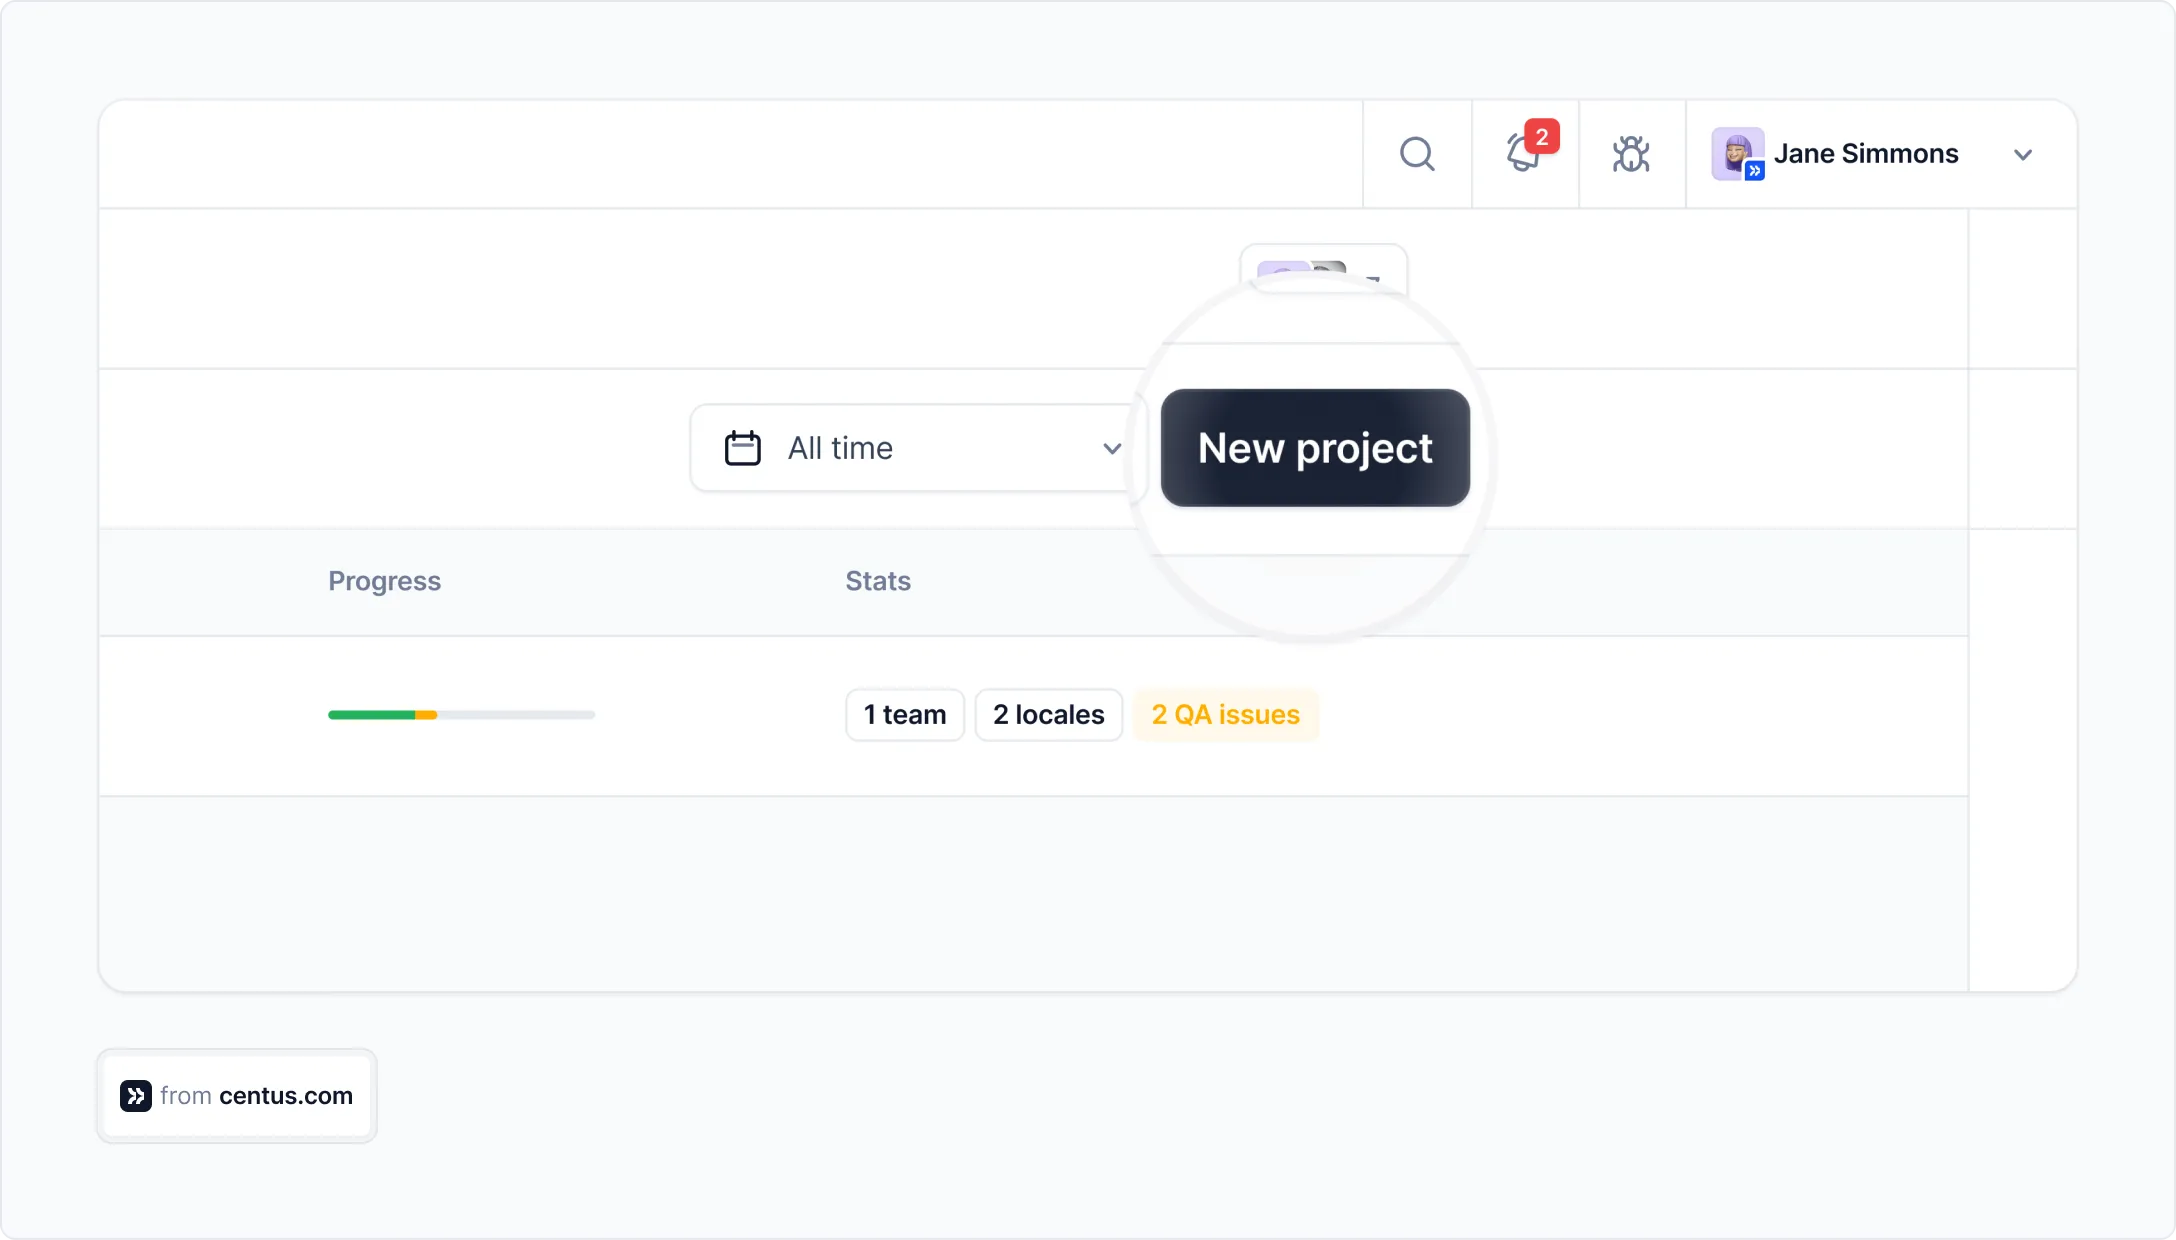
- Sign up to Centus and click New project
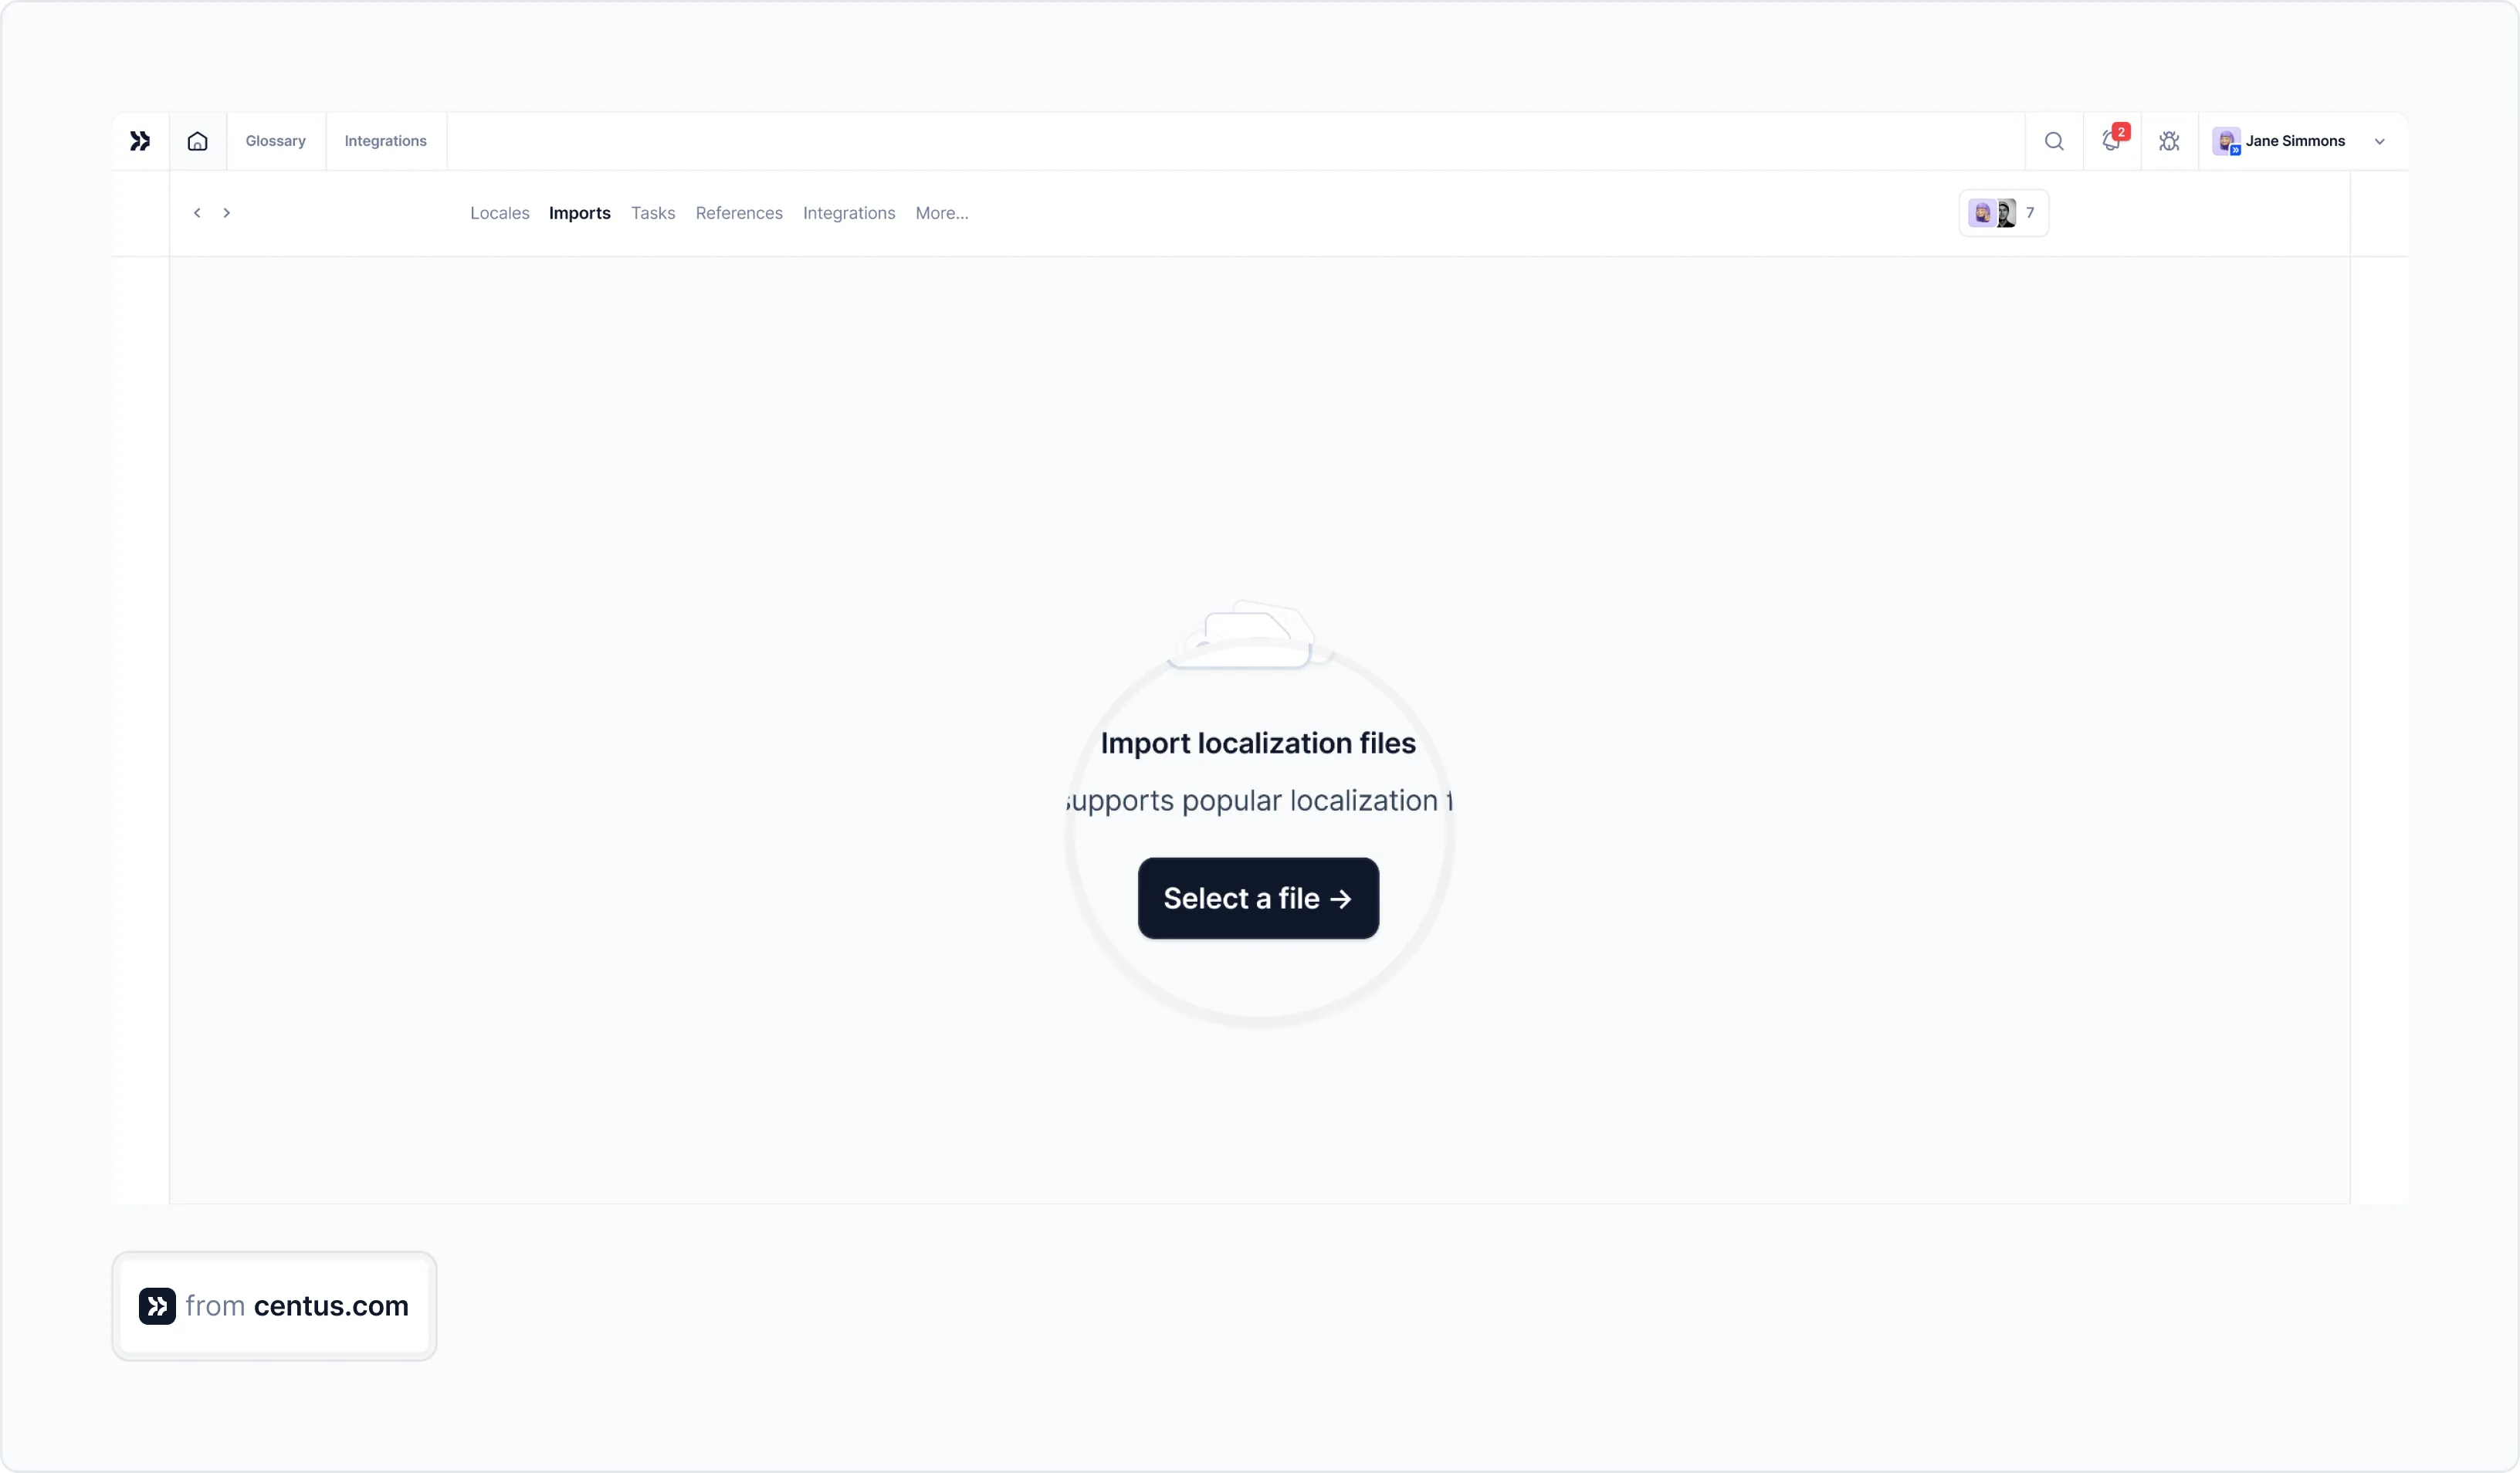
- In the Imports section, click Select a file
- Upload your YAML files
Note: Centus also handles other localization file formats like XML, PO, JSON, PHP, and many more.
Now your YAML file is ready for automatic translation with built-in DeepL, Google Translate, or Microsoft Translator integrations. Centus preserves YAML indentation, syntax, placeholders, variables, line breaks, and special character—so you don’t have to worry about machine translation ruining them.
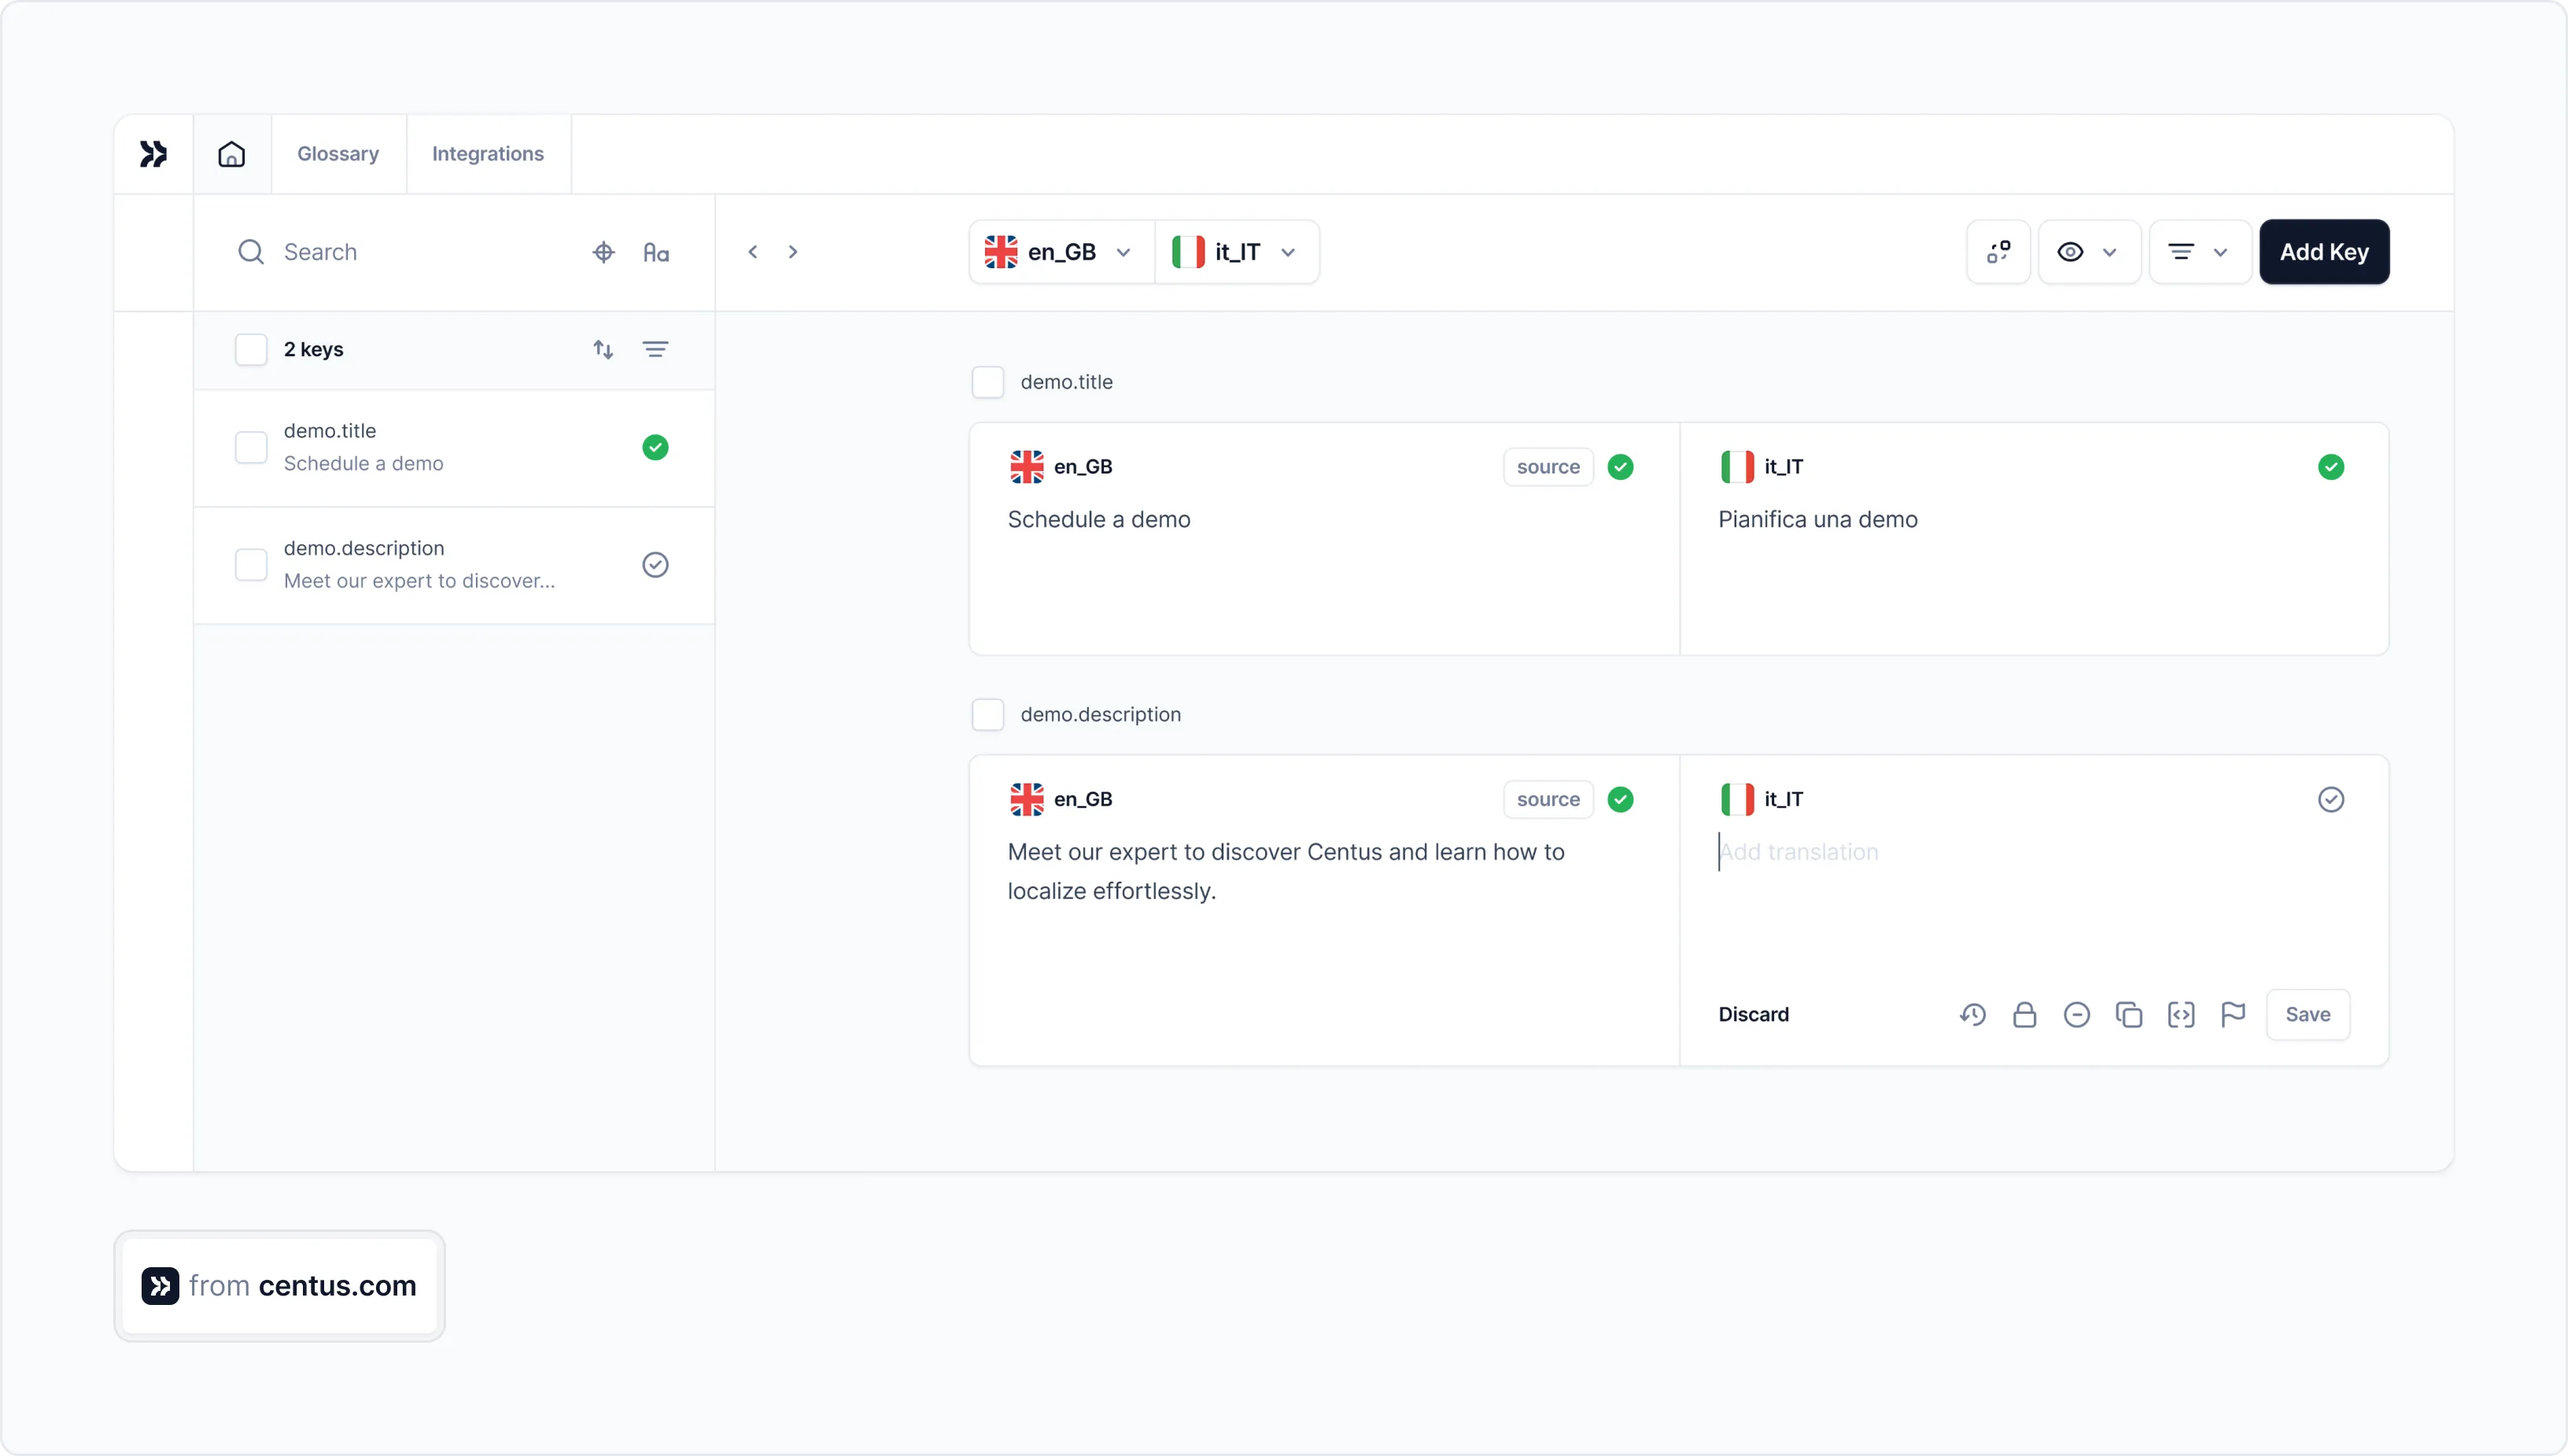
Automatic YAML translation process is incredibly simple:
- In Centus Editor, select manually or auto-select checkboxes next to the keys you want to translate
- In the modal that opens, click More options
- Click Machine translate
- Select a machine translation provider and locales
- Click Translate
That’s it! With just a few clicks, you can save you days of work and up to 90% of your translation budget.
No matter how accurate, your team’s linguists might want to refine the automatic YAML translations further. Nothing can be easier:
- In the Contributors section, click Invite contributors
- Enter the team member’s details
- Choose the team member’s role from the dropdown menu
- Click Add contributor

Now your team can edit translations while using automatic glossary and translation memory suggestions.
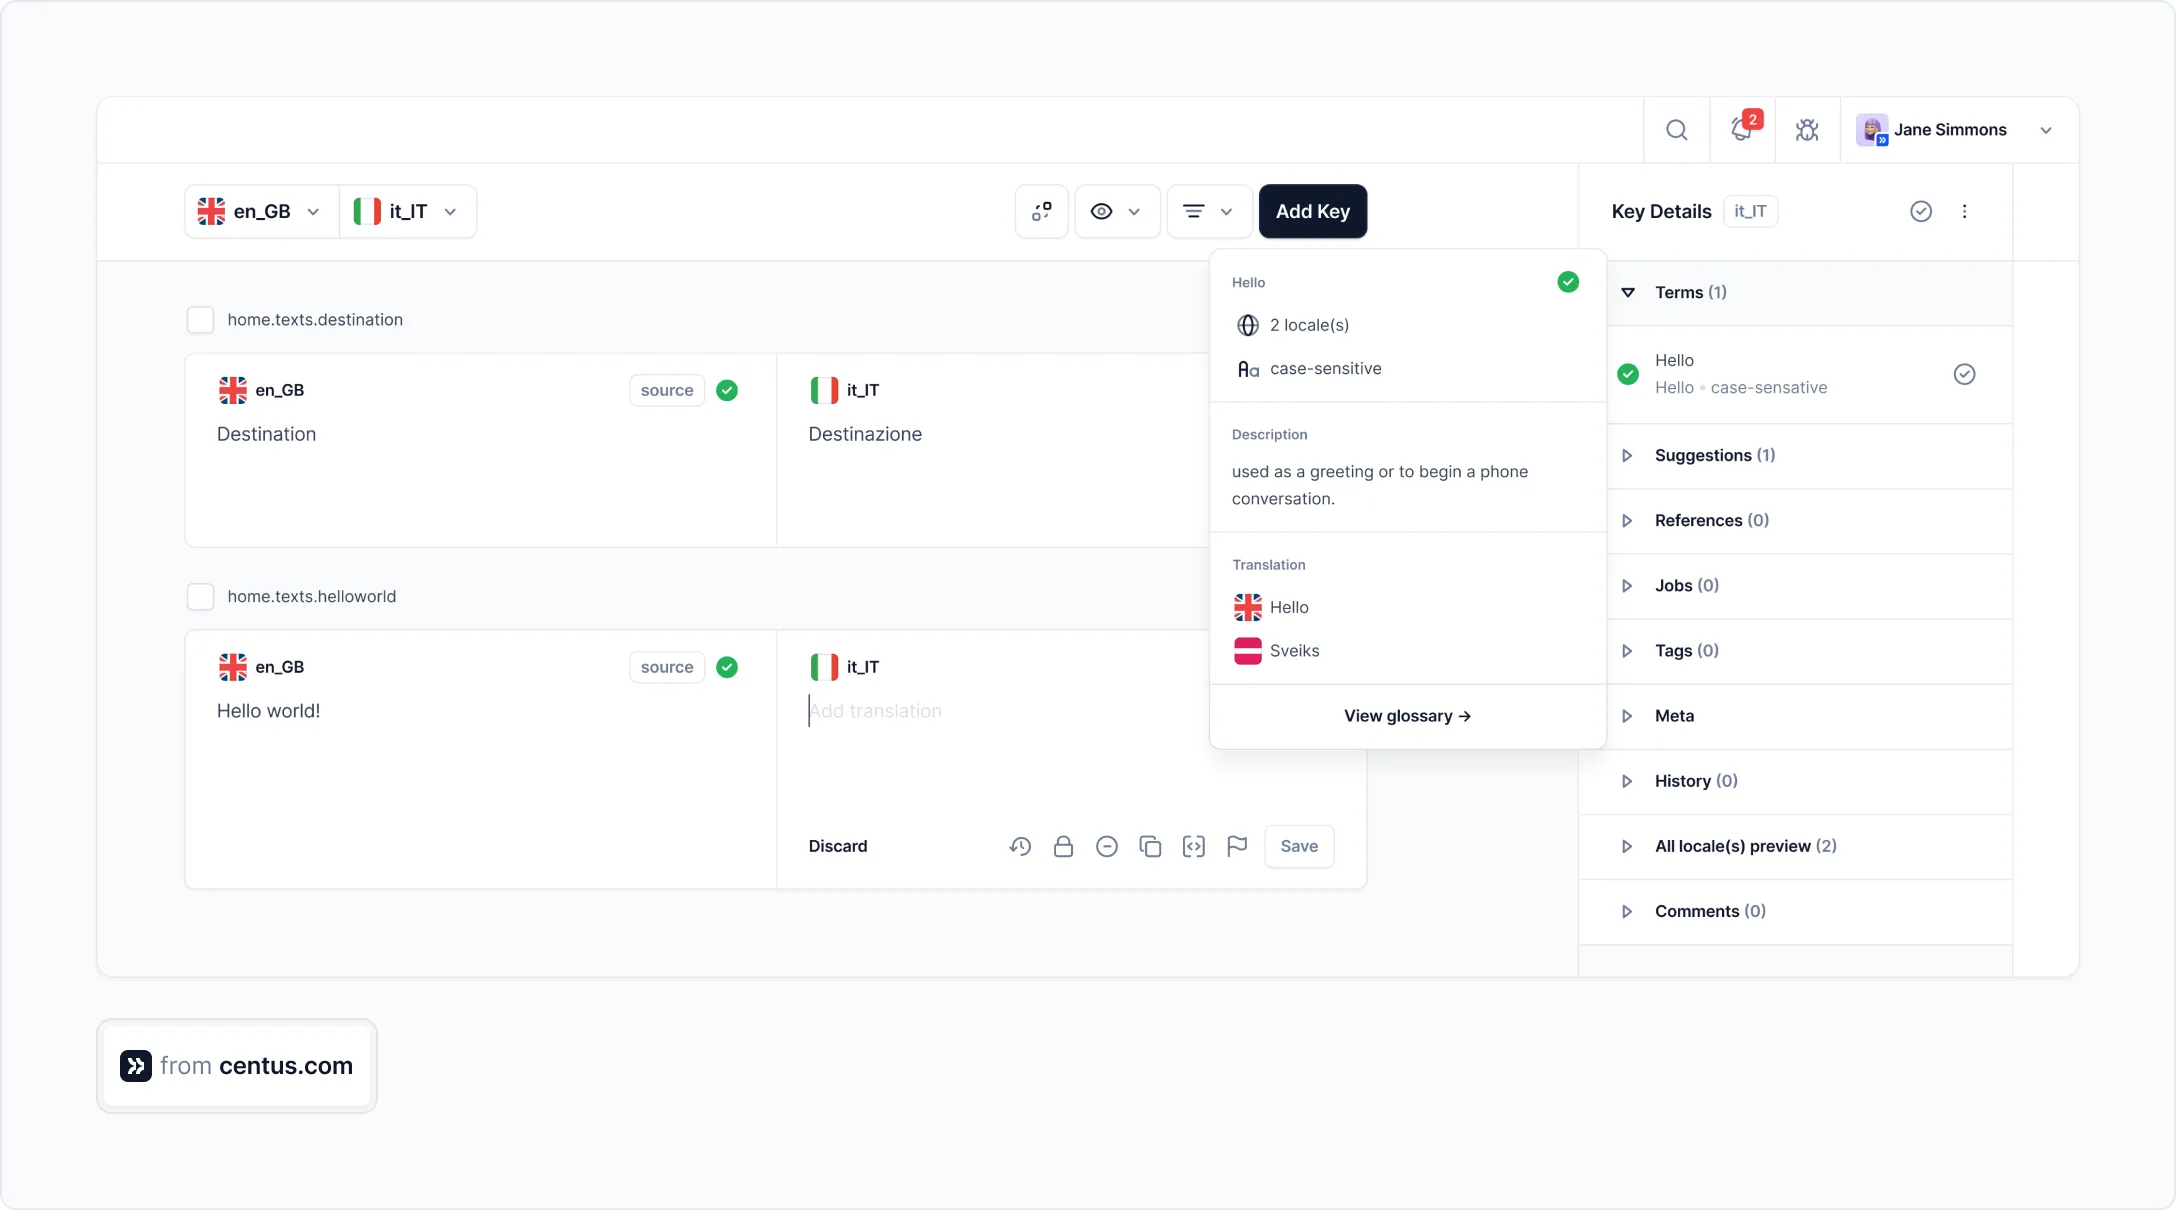
Your linguists can also communicate directly in Centus to ensure high translation accuracy.

To keep your project on track, monitor the team’s progress in the dashboard.
When your YAML translations are ready, push them to your code repository using Centus-GitHub integration.
See how simple it is? Try Centus now!
Advanced localization with YAML files
There’s more to localization than just adding translation strings. Think about the grammatical rules, nuances, and more that comes with
Pluralization
Different languages handle plurals differently. English has two forms (singular/plural), but Slavic languages can have up to six! YAML can represent these variations effectively:
# en.yaml
items:
  zero: "No items"
  one: "{count} item"
  other: "{count} items"

# ru.yaml
items:
  zero: "Нет элементов"
  one: "{count} элемент"
  few: "{count} элемента"  # 2-4 items
  many: "{count} элементов"  # 5+ items
The function you create for fetching localization strings will pick the text for the zero key when the item cound is 0, one when the number of items passed is 1, few when the items are between 2 and 4 (for Russian) and anything more than that, it’ll return the value of manu.
Gender-based translations
Some languages require different translations based on the user's gender. And that requires changing more than just the pronoun. There are other words in a sentence that need to be updated. For instance, look at these three examples:
- Il a mis à jour son profil.
- Elle a mis à jour son profil.
- Ils ont mis à jour leur profil.
You see, while the first word changes, so does the auxiliary verb (ont), possessive adjective (leur), and some other words depending on the sentence.
YAML's structure handles this elegantly:
# fr.yaml
welcome:
  male: "Bienvenu, {name}!"
  female: "Bienvenue, {name}!"
  neutral: "Bienvenue, {name}!"
RTL languages
Right-to-left languages like Arabic and Hebrew present unique challenges. Your YAML structure remains the same, but you'll need additional properties and handling in your application:
# ar.yaml
direction: rtl  # Add a direction property
homepage:
  title: "مرحبًا بك في خدمتنا"
  # ... rest of translations
Your application can then check this property and apply appropriate CSS:
const direction = t('direction') === 'rtl' ? 'rtl' : 'ltr';
document.documentElement.dir = direction;
This code sets the dir attribute on your HTML root element, which tells the browser to render text and layout elements from right to left.
You might also need to mirror your layouts and swap directional icons for a fully localized experience.
Make YAML translation a breeze, not a burden
YAML files are clean, user-friendly, and overall great for localization.
But these files can become complicated to maintain manually, especially when there are many people working on them.
So, if you plan to grow your app, consider using a TMS like Centus. It lets you:
- Translate YAML files automatically
- Collaborate with translators, editors, managers, and designers
- Export translation to your code repository
- And more!
Sign up for a free trial and see how much simpler Centus can make your localization workflows!
Get the week's best content!
By subscribing, you are agreeing to have your personal information managed in accordance with the terms of Centus Privacy Policy ->
Keep learning
18 min. read
7 Localization File Formats Explained with Examples
30 min. read
Python i18n and Localization Guide

12 min. read