One morning I opened my React app's analytics dashboard and saw the disheartening numbers:
- 67% of users from non-English regions abandoned the app within 10 seconds
No wonder—with 82% of the world not speaking English, my React app was essentially invisible to 6.6 billion potential users. It was clear: the app desperately needed localization.
Let me show you exactly how I localized my React app using i18next.
What localization options can you use for React apps
Before jumping into the code, let's draw a distinction between two key terms:
- React internationalization (i18n) is a design approach to prepare your app for future support of various languages and dialects. In the process, you separate translatable content and prepare the app for bidirectional text.
- React localization (l10n) takes the i18n process further by creating versions of your project for different regions. It involves translating content and adapting it to local customs and preferences.
To internationalize and localize your React app, you can choose from these options:
- react-native-localize: This is a lightweight, core module that gives you access to the device's locale information. It's great for finding out what language and area the user prefers, but it doesn't make the changes for you.
- i18next with react-i18next: We’re using this exact combo throughout the article as it’s simple and comprehensive enough to get all the localization done. It also includes pluralization, formatting, and interpolation within the module.
- react-intl: While not a comprehensive localization library, react-intl helps you with date and number formatting and can be quite useful when combined with other comprehensive localization and internationalization libraries.
- Translation management platform: If you have a large, complex app with many pages and many translators working on it, using just the React translation libraries will be cumbersome and unorganized. You need a platform to help you organize translations, collaborate across teams working on the translations, and also track progress.
Getting started with React-i18next localization
Now, let's get down to business. I found a lot of different libraries to make React apps work in different languages. But react-native-localize and i18next tools were the most complete and simple to use among the ones I tried. Let's use these.
Step 1: Set up your React project
First things first, let's create a new React Native project:
npx react-native init LocalizationDemo
cd LocalizationDemo
Step 2: Install the required libraries
Now, let's install the necessary packages for localization:
npm install react-native-i18n i18next react-i18next i18next-browser-languagedetector i18next-http-backend
You can choose to exclude packages that you do not need from the ones listed above. If you just want the bare minimum set of packages, you could work with the below command:
npm install i18next react-i18next
Step 3: Setting up i18next
Now, let’s set up our localization structure. I like to create a localization folder in my project root to keep everything organized.
Here, create a file called i18n.js to set up our localization config. Here’s what your i18n.js file might look like:
import i18n from 'i18next';
import { initReactI18next } from 'react-i18next';
import LanguageDetector from 'i18next-browser-languagedetector';
import HttpApi from 'i18next-http-backend';

i18n
  .use(initReactI18next)
  .use(LanguageDetector)
  .use(HttpApi)
  .init({
    fallbackLng: 'en',
    detection: {
      order: ['cookie', 'localStorage', 'navigator', 'querystring', 'htmlTag', 'path', 'subdomain'],
      caches: ['cookie'],
    },
    backend: {
      loadPath: '/locales/{{lng}}/homepage.json',
    },
    react: {
      useSuspense: false,
    },
  });

export default i18n;
This might look like a lot, but the code is setting up i18n to work seamlessly with React, detect the user's language preferences, and load translations from external files. It's like setting up the perfect workstation—once it's done, everything just flows.
Step 4: Create translation files
Now, let’s create those translation files. In the same localization folder, create two folders, en and es for English and Spanish locales. Then, create homepage.json in both of these folders. Here’s what the directory structure would look like:
locales/
  en/
    homepage.json
  es/
    homepage.json
We’ll be making one translation file per page to make this setup easier to manage down the line.
Next, add your translation strings to both files.
// locales/en/homepage.json
{
  "welcome": "Welcome",
  "description": "This is a localized app"
}

// locales/es/homepage.json
{
  "welcome": "Bienvenido",
  "description": "Esta es una aplicación localizada"
}
Step 4: Integrate i18next into your React Native app
Great! Now we have our basic setup. But how do we use it in our app? Let’s update our App.js:
import React from 'react';
import { Text, View } from 'react-native';
import { useTranslation, I18nextProvider } from 'react-i18next';
import i18n from './i18n';

const App = () => {
  const { t } = useTranslation();

  return (
    <View>
      <Text>{t('welcome')}</Text>
      <Text>{t('description')}</Text>
    </View>
  );
};

export default () => (
  <I18nextProvider i18n={i18n}>
    <App />
  </I18nextProvider>
);
The useTranslation hook is a key feature of the react-i18next library. It provides an easy way to access translation functions within your React components, allowing you to dynamically translate React text based on the user's selected language.
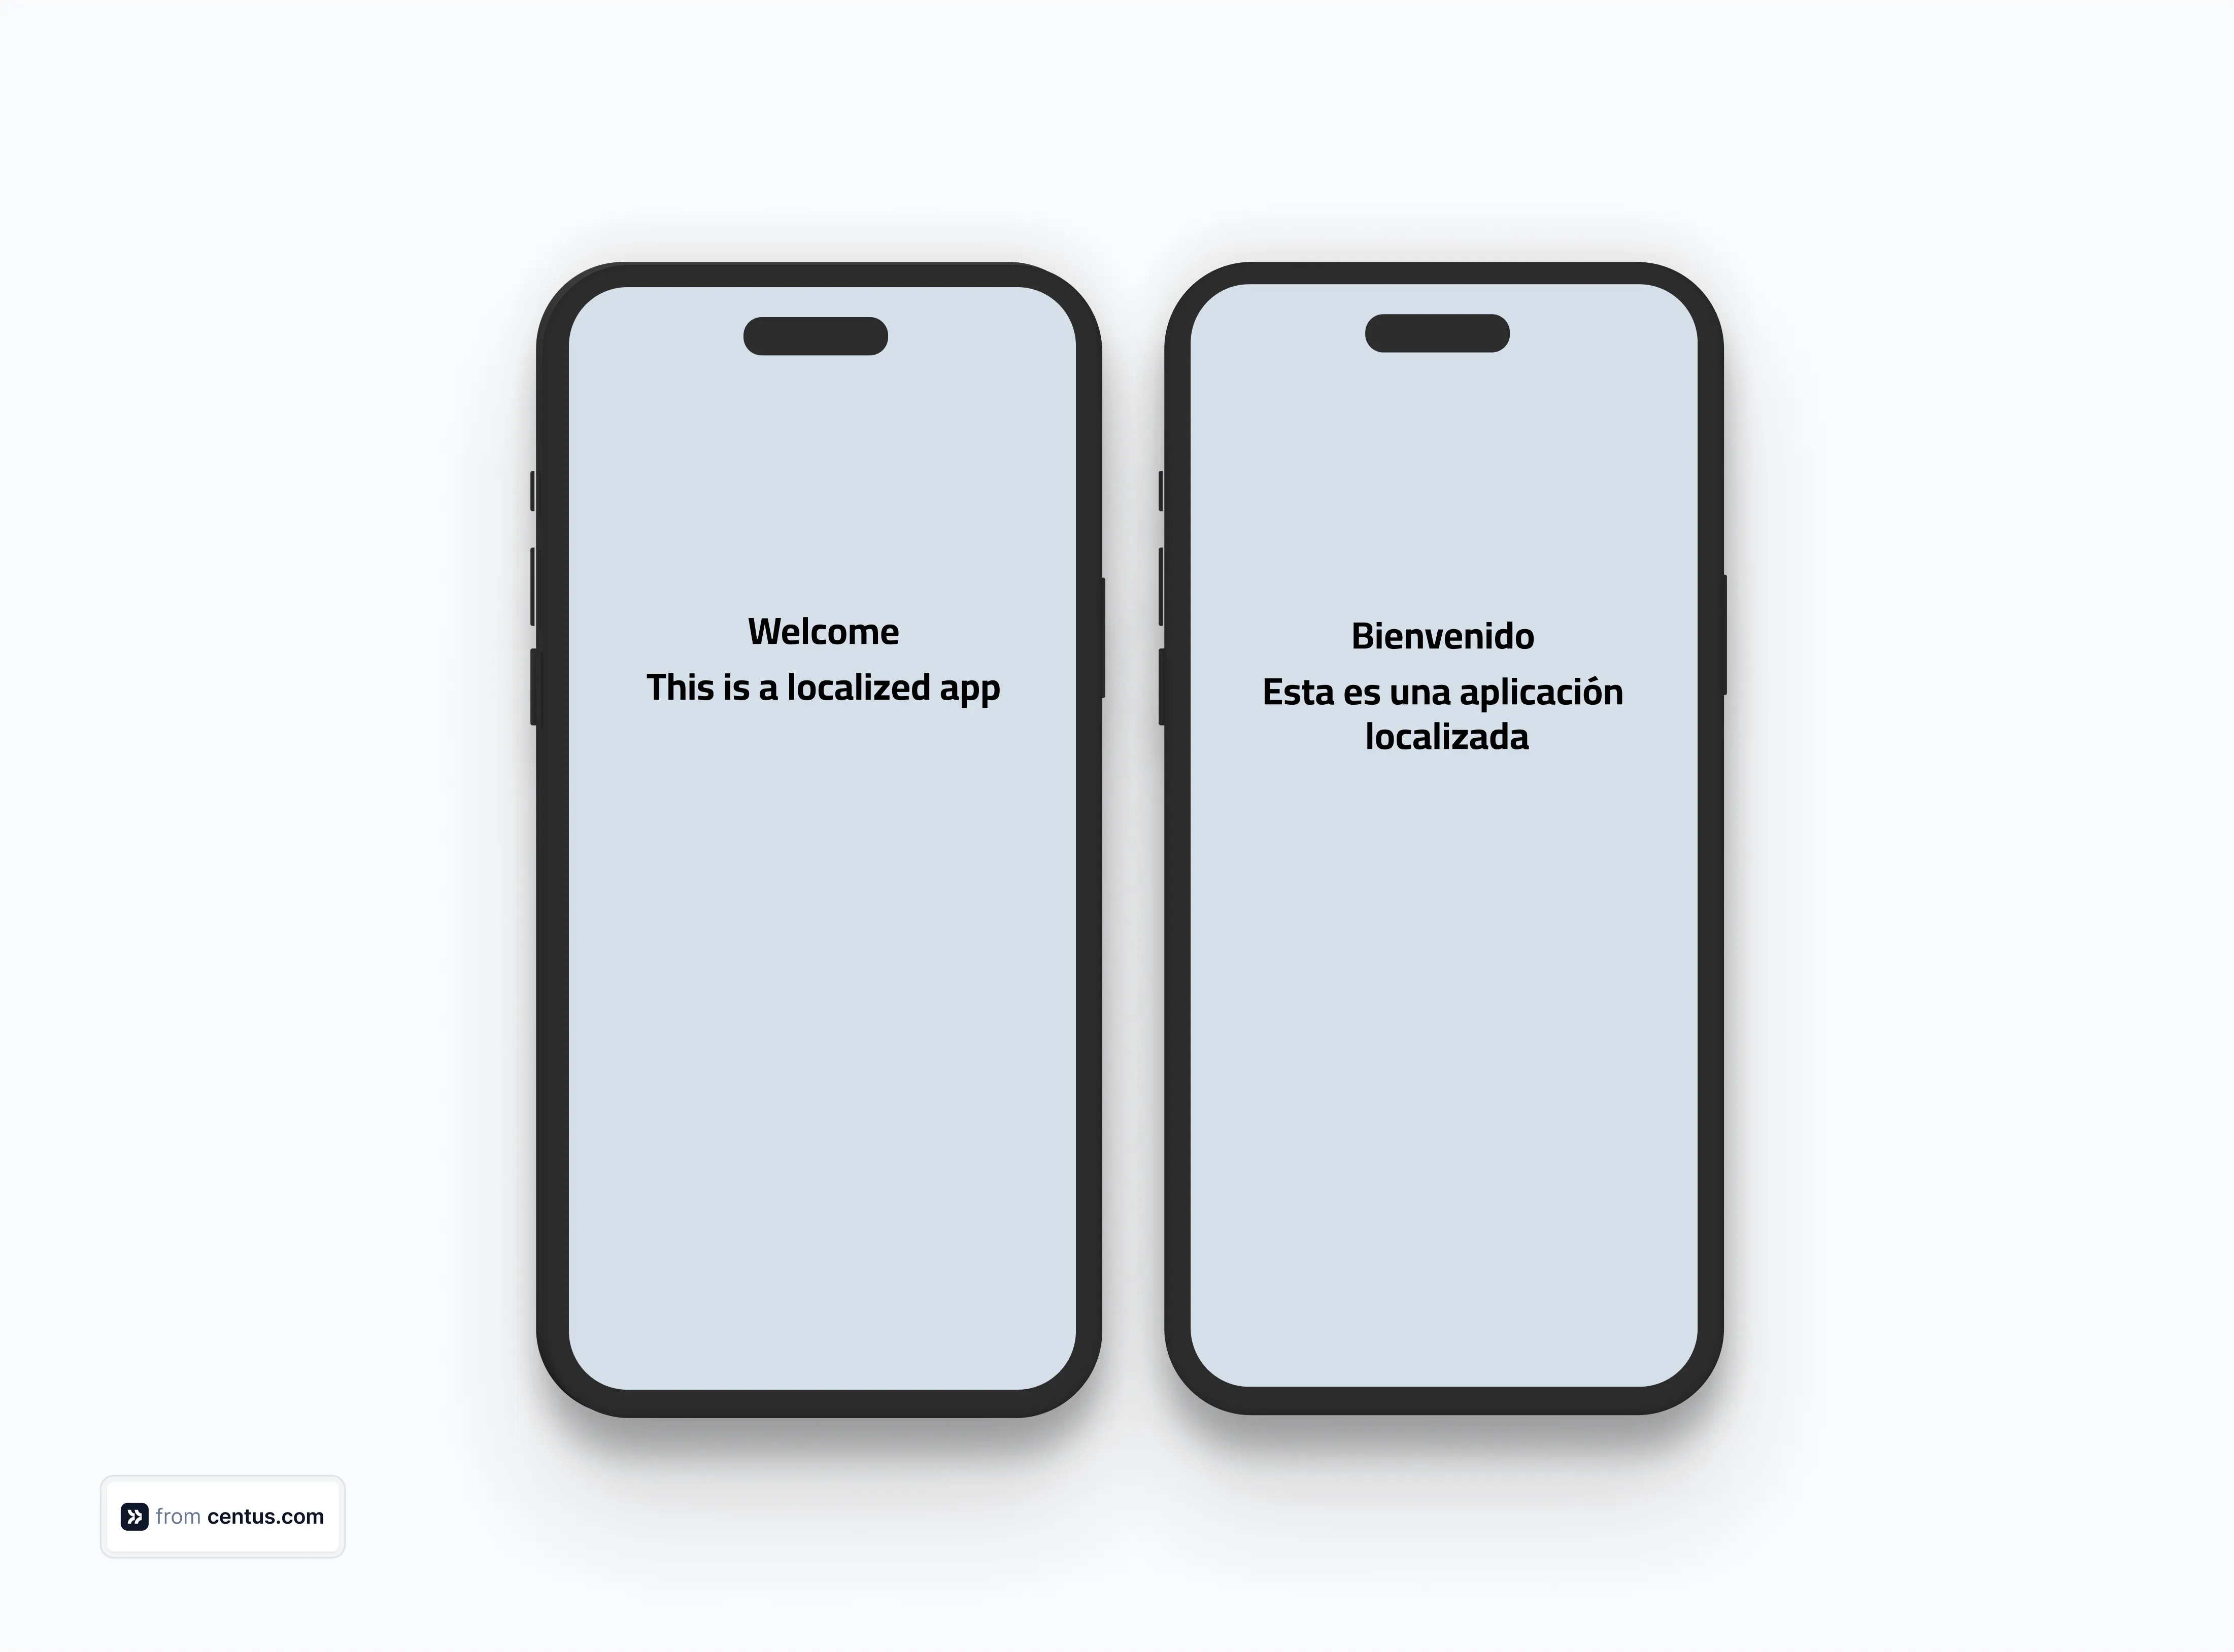
Now, when you run your app, you should see the text in either English or Spanish, depending on your device settings.
But this setup works great for simple apps, but what if you’re working on something more complex? That’s where things can get a bit tricky.
Advanced localization of React apps
Now that we've got the basics down, let's dive into some advanced techniques that'll help you go beyond just text translation.
Handling plurals
Remember learning about singular and plural in school? Well, it seems easy for our brains, but when coding, you actually have to let i18next know what the plural for every word should be.
Let me give you an example here.
// locales/en/homepage.json
{
  "items": "{{count}} item",
  "items_plural": "{{count}} items"
}

// locales/es/homepage.json
{
  "items": "{{count}} artículo",
  "items_plural": "{{count}} artículos"
}
You can use the above translation in your components, as I’ve done below:
<Text>{t('items', { count: 1 })}</Text>
<Text>{t('items', { count: 5 })}</Text>
i18next will automatically use the correct form based on the count.
Context-based translations
Sometimes, a word might have different translations depending on the context. I18next helps you easily handle this with the underscore naming convention.
// locales/en/homepage.json
{
  "read": "Read",
  "read_past": "Read"
}

// locales/es/homepage.json
{
  "read": "Leer",
  "read_past": "Leído"
}
Now, when you use these translations in your app as below:
<Text>{t('read')}</Text>
<Text>{t('read', { context: 'past' })}</Text>
This way, you can have different translations for the same word based on context.
Formatting dates and numbers
Last year, I scheduled a critical client demo for "01/03/2024" with our international team. For me, that was a New Year planning call. And developers from our New York team hopped on the call as expected. But people in London thought it was scheduled for March 1st.
Well, the call never happened.
That expensive mistake highlights something important: there’s much more to localization than the text (as I’ve already talked about before)
See the example from Wise below where the currency format changes the moment the language is changed.
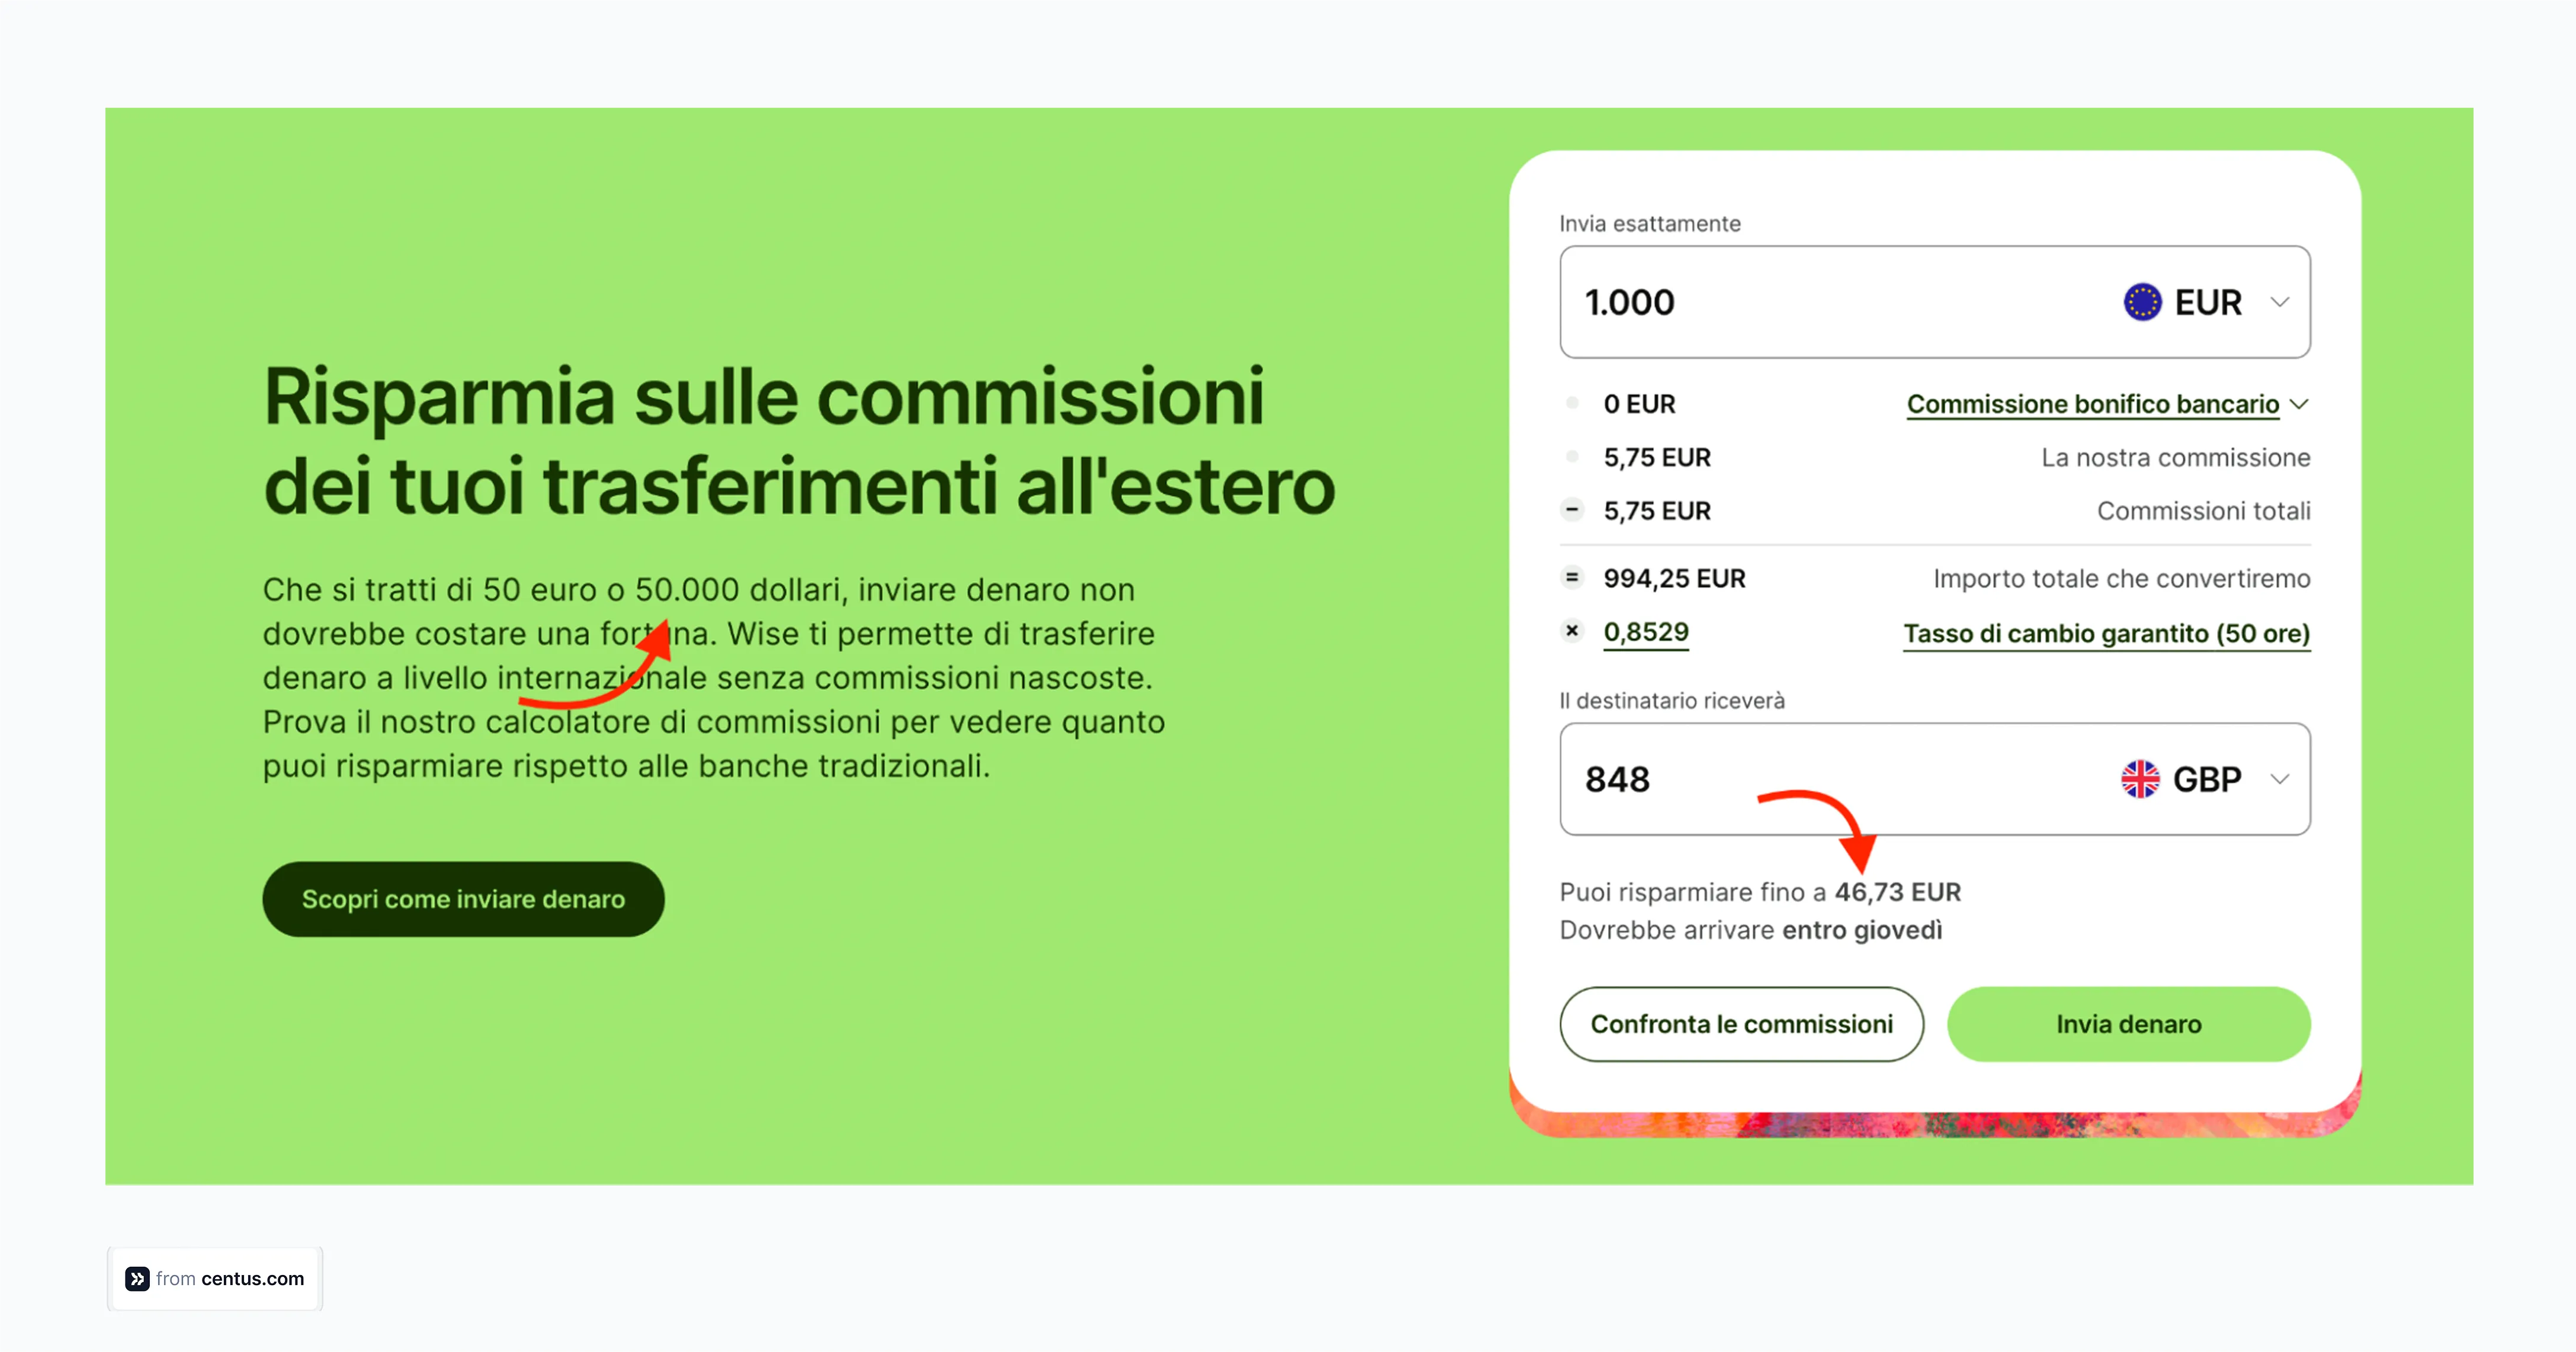
Instead of using commas as thousands separators, they use a period and the exact opposite for displaying decimal places.
There are many more nuances that become difficult to manage, especially as our apps begin to grow.
Luckily, React has a react-intl package that tracks these differences and automatically applies them to our app text. Let’s first install the package using npm:
npm install react-intl
Now, I’ve created a simplistic example of how we can format numbers and dates using the react-intl package here:
import React from 'react';
import { Text, View } from 'react-native';
import { IntlProvider, FormattedDate, FormattedNumber } from 'react-intl';
import { useTranslation, I18nextProvider } from 'react-i18next';
import i18n from './i18n';

const App = () => {
  const { t } = useTranslation();

  return (
    <View>
      <Text>{t('welcome')}</Text>
      <Text>{t('description')}</Text>
      <FormattedDate value={new Date()} year="numeric" month="long" day="numeric" />
      <FormattedNumber value={1000} />
    </View>
  );
};

export default () => (
  <I18nextProvider i18n={i18n}>
    <IntlProvider locale="en">
      <App />
    </IntlProvider>
  </I18nextProvider>
);
Note these two lines:
<FormattedDate value={new Date()} year="numeric" month="long" day="numeric" />
<FormattedNumber value={1000} />
These use the react-intl methods to automatically internationalize the specific date and number strings based on the locale being used in the app.
Right-to-left (RTL) languages
While our eyes are trained to read from left to right, there are quite a few languages like Hebrew, Persian, and Arabic that are written from the right-to-left. If you plan to serve users from this locale, you want to make sure that the UI is built so it supports the writing direction.
For instance, while the language switcher below supports RTL languages, the UI is not inverted.
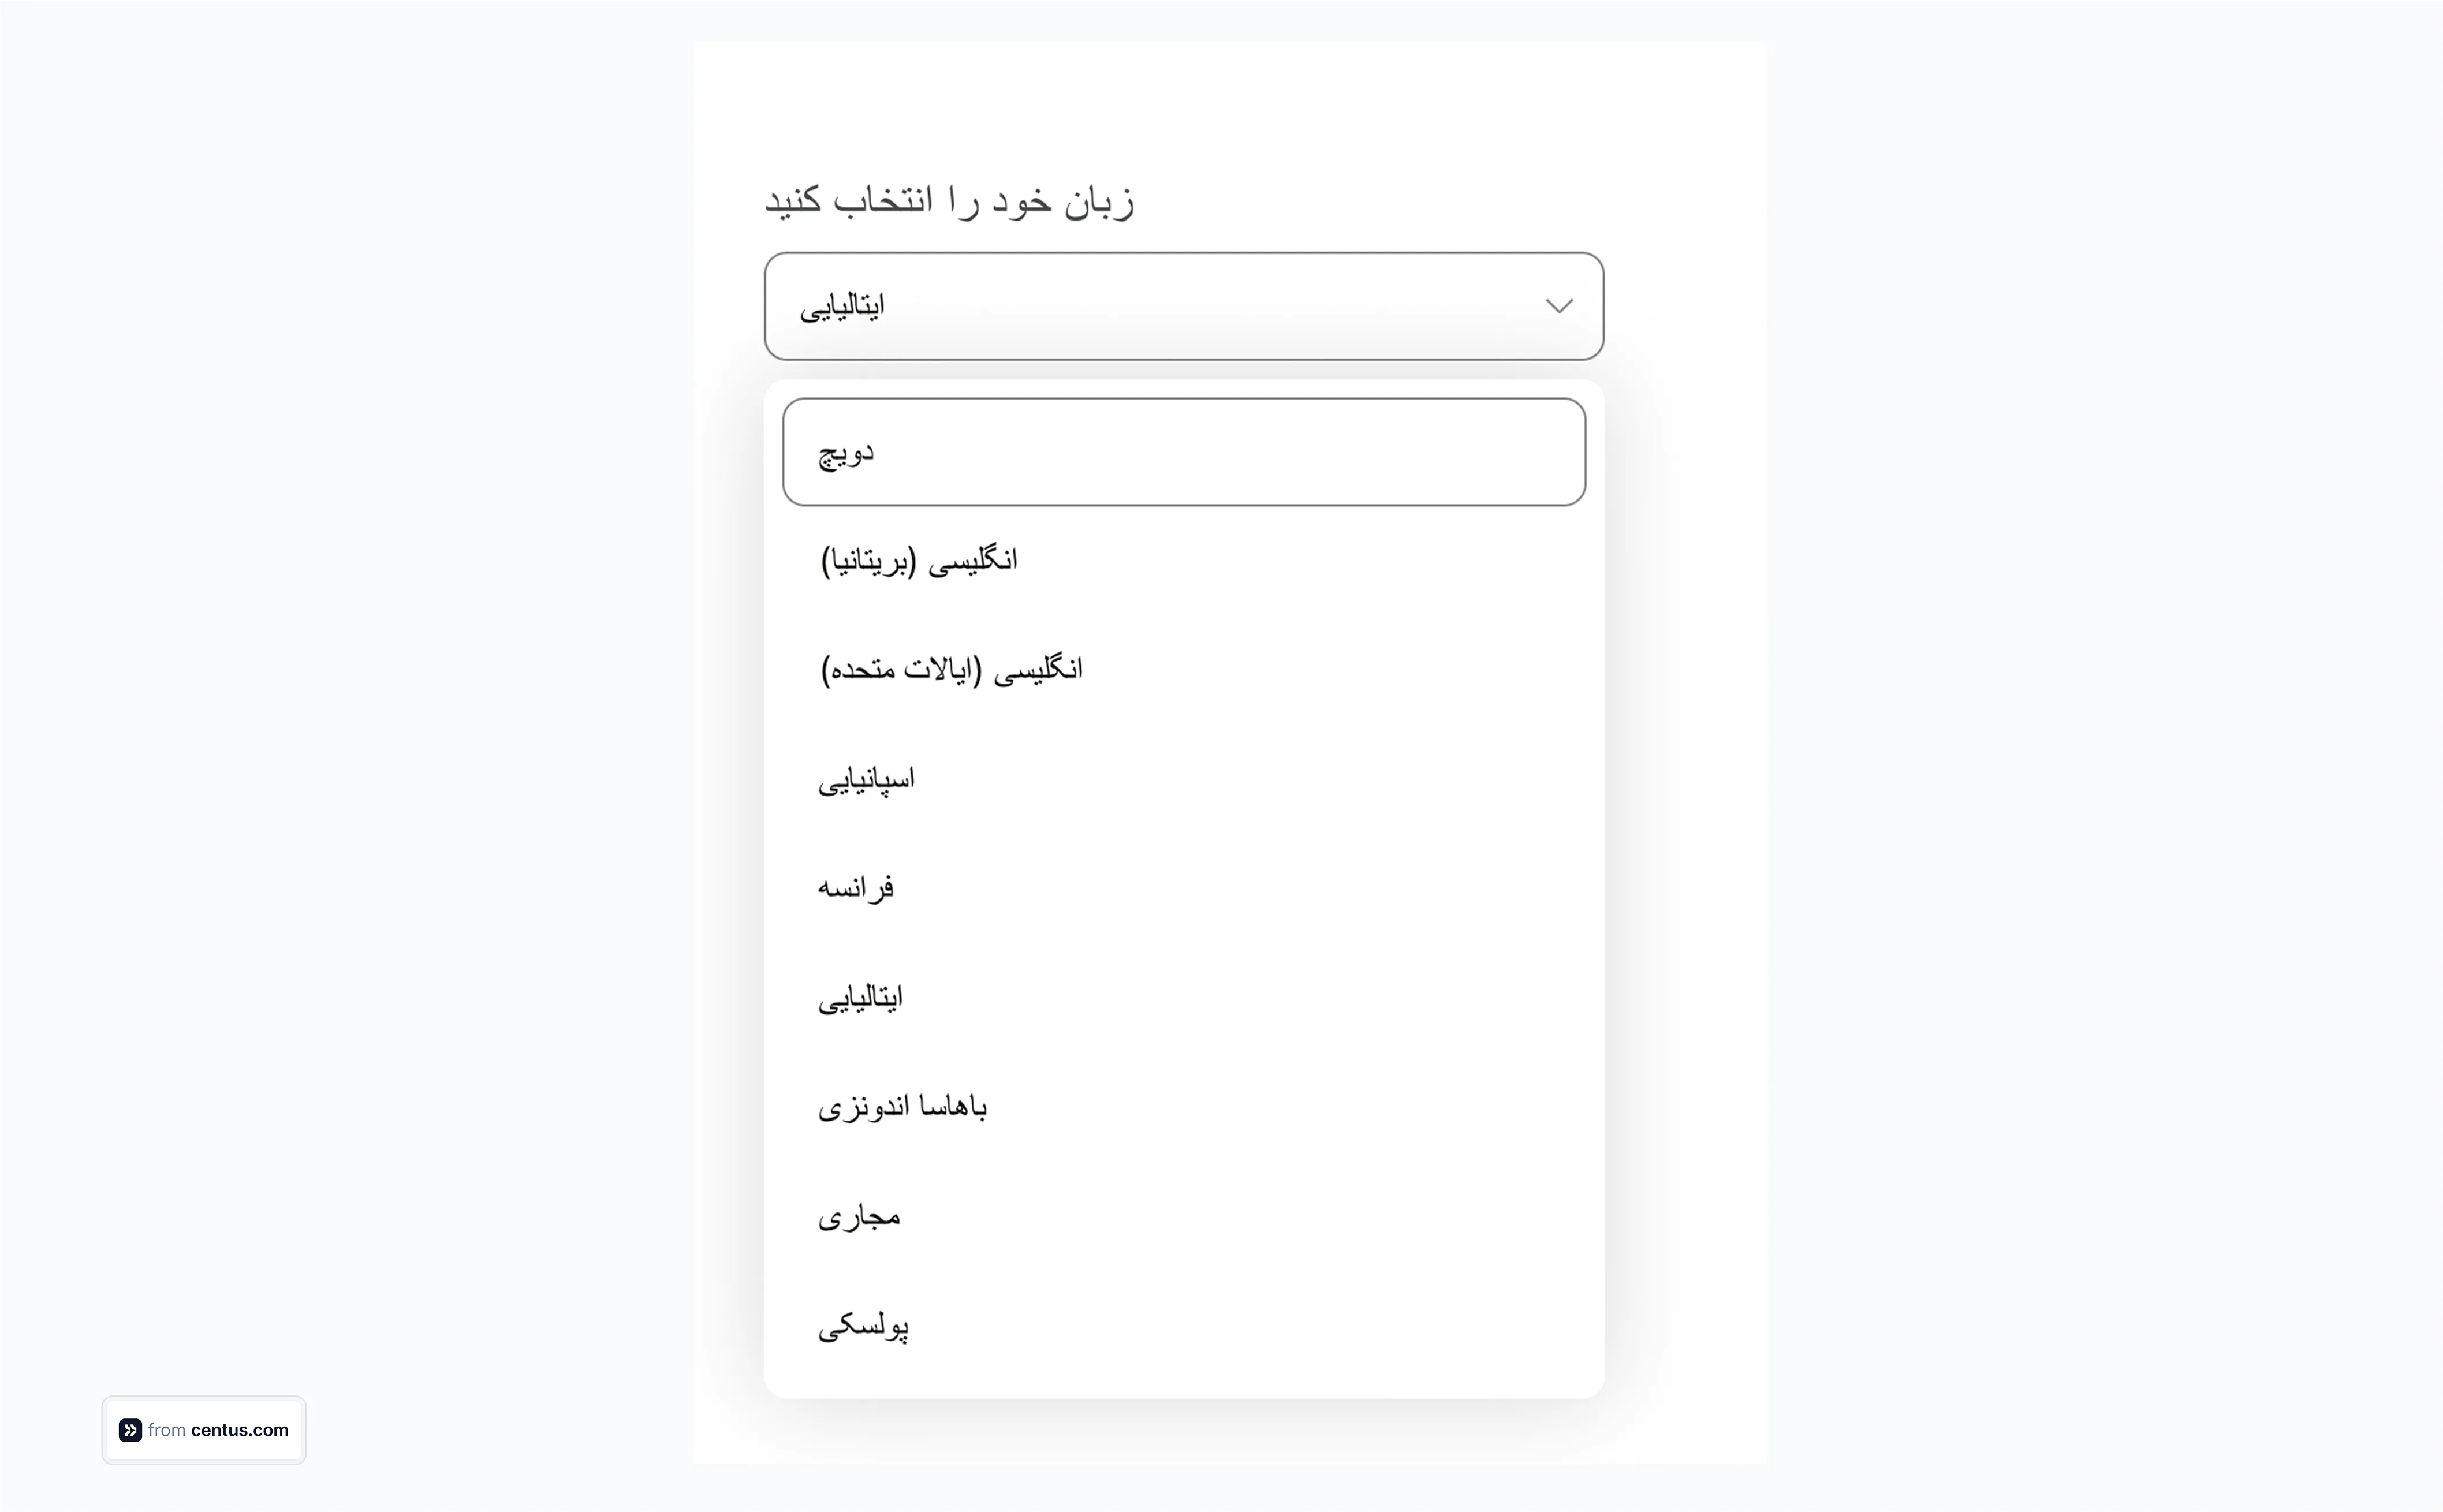
And while this seems normal to our left-to-right trained eyes, it can be a disaster for the RTL user to read and understand.
To fix this, you can add the dir attribute to the index.html
. This attribute dynamically sets the direction of text on the front-end.import React from 'react';
import { useTranslation } from 'react-i18next';
import { useTranslation, I18nextProvider } from 'react-i18next';
import i18n from './i18n';
import './App.css';
function App() => {
const { t, i18n } = useTranslation();
document.body.dir = i18n.dir();
return (
<div className="App">
{t('welcome')}
</div>
);
}
export default App;
The current language direction will be given by i18n.dir(), and then the direction (ltr or rtl) will be given to the body dir property.
Some general RTL tips:
- If you don't want to use flexbox, you can use text-align: start too.
- Also, avoid padding-left and instead go with padding-inline-start.
Dynamically changing locale based on user selection
Automatic locale detection is good for user experience. But it doesn’t always work perfectly.
For instance, if someone from the UK, travels to Lithuania and we auto-detect and switch the language to Lithuanian, that’s going to be difficult for the end user.
They may not understand the language.
For that reason, you’ll need to have a visible language-switching dropdown.
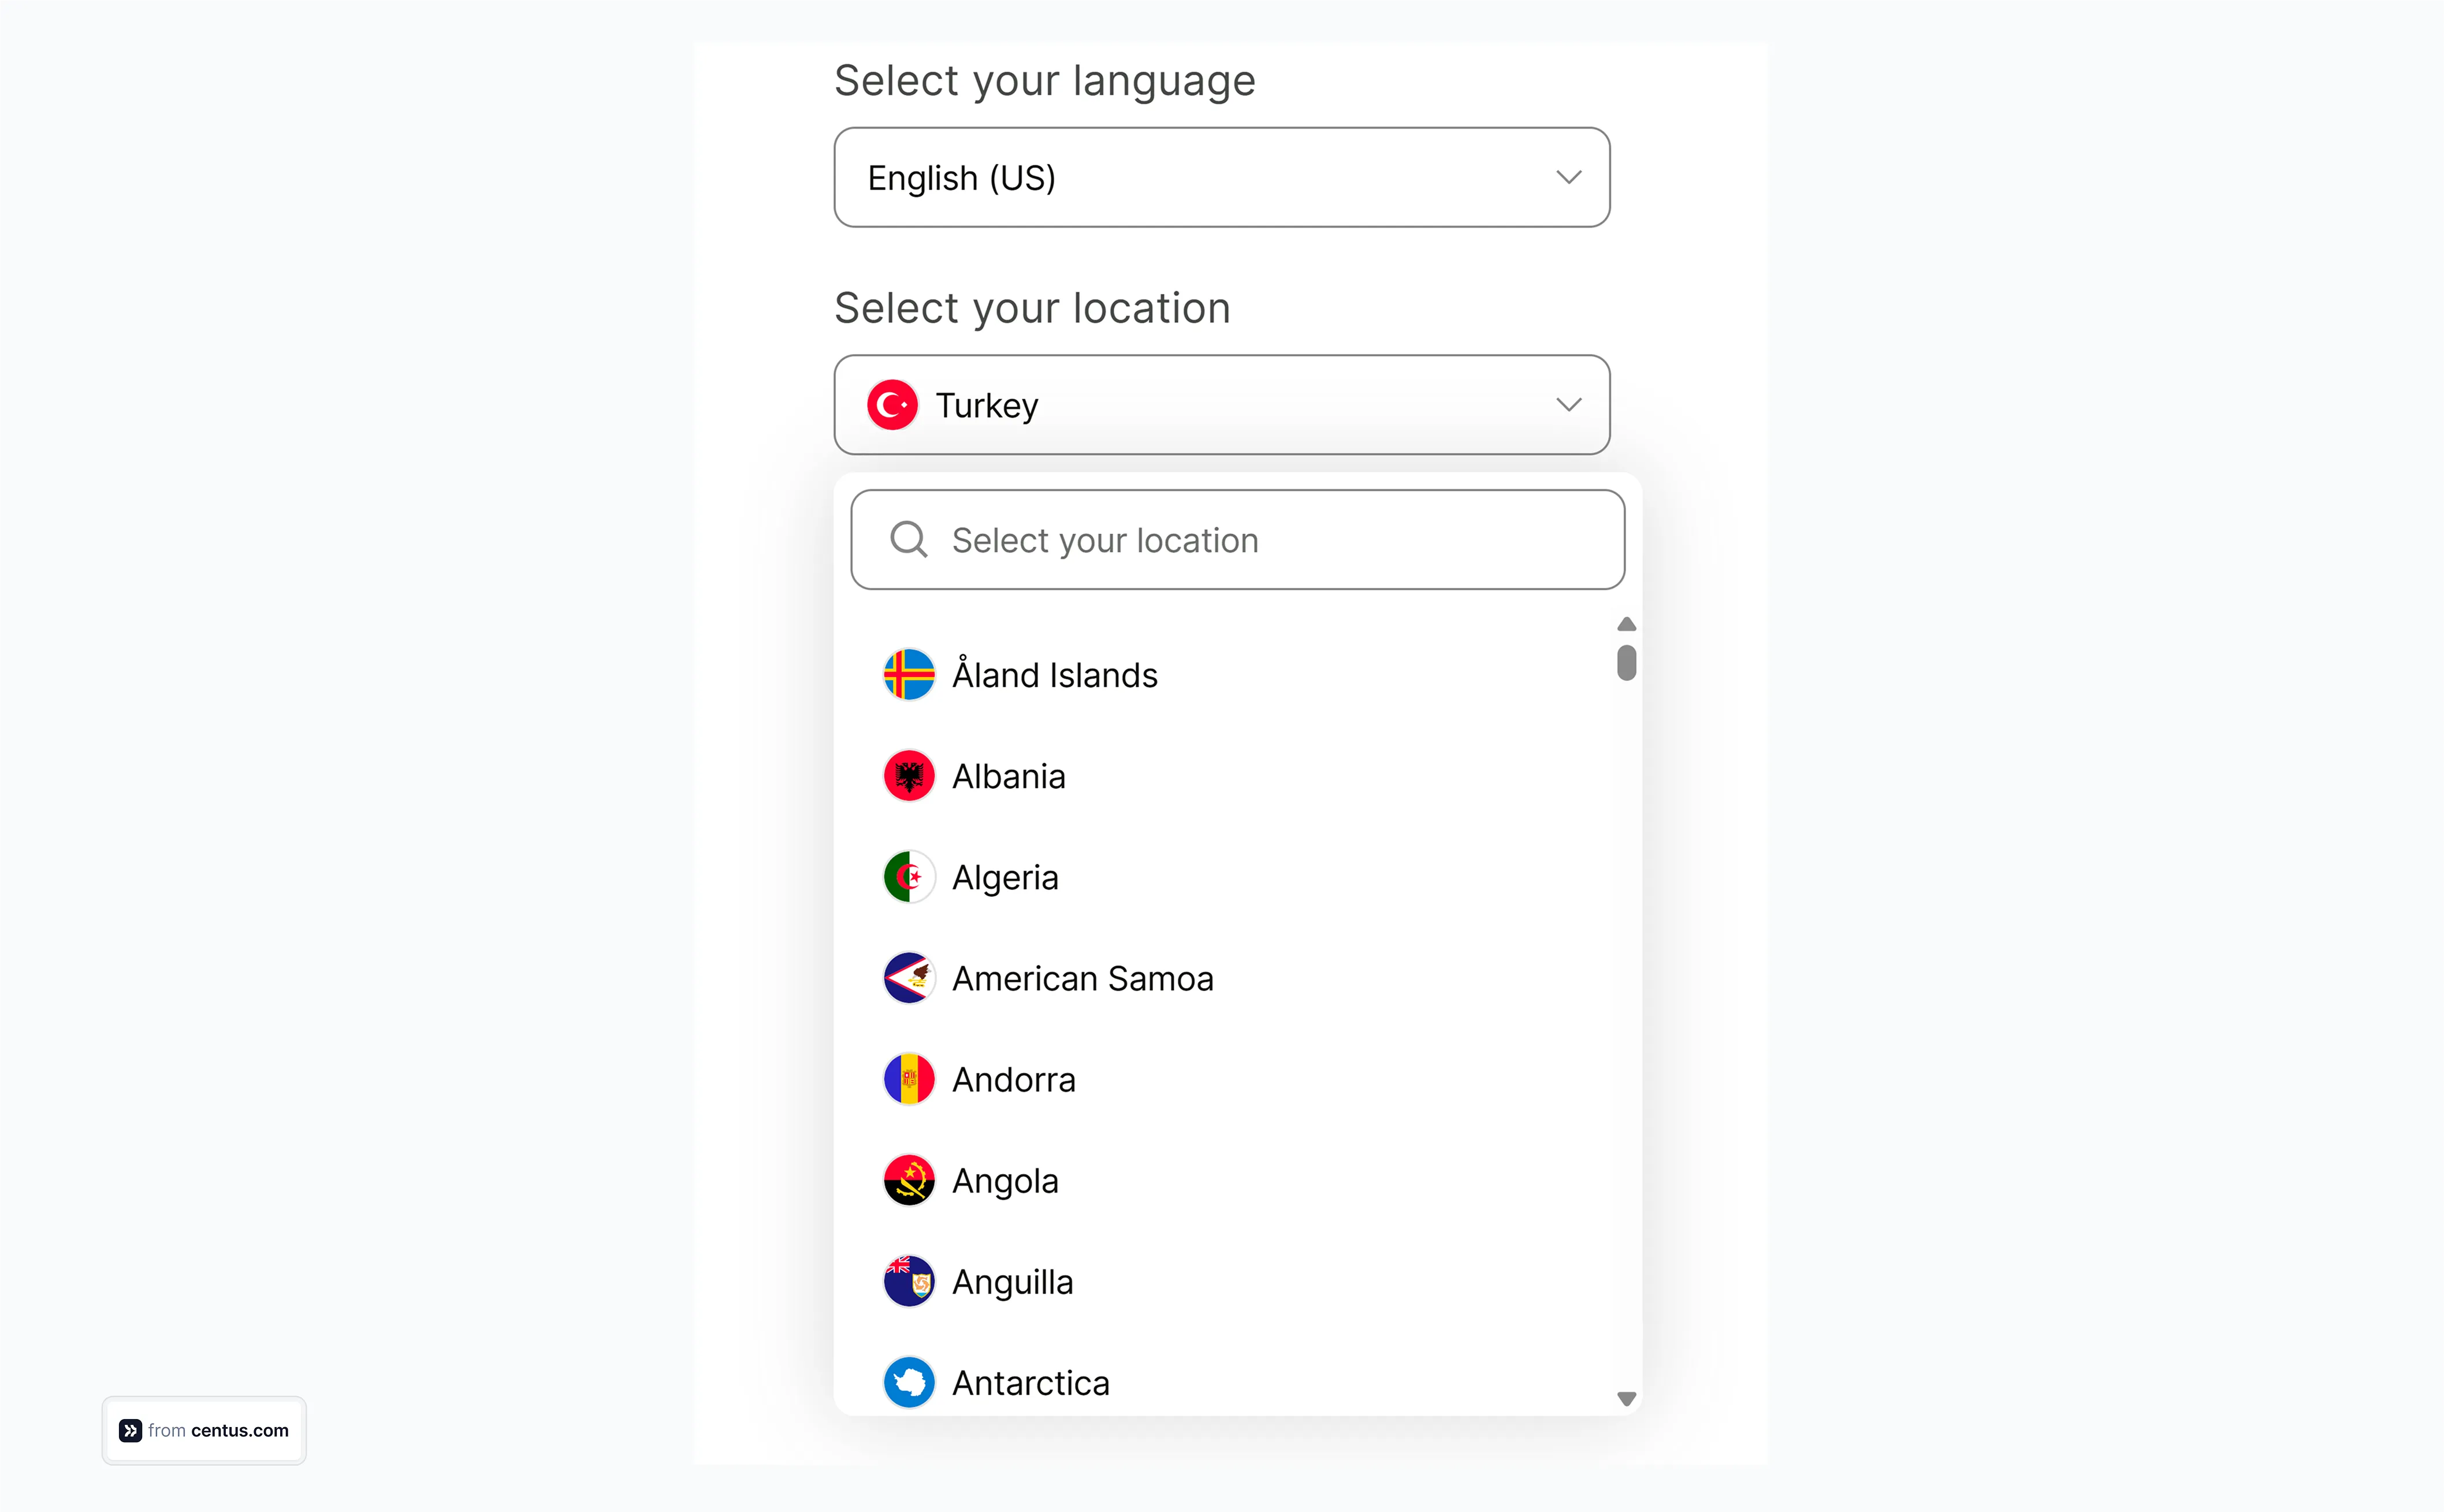
Now depending on how many languages you have, you could display just a button to switch or a dropdown like the one above. Let me show you a simple example of how to implement a basic language switcher.
import React, { useState } from 'react';
import { Text, View, Button } from 'react-native';
import { useTranslation } from 'react-i18next';

const App = () => {
  const { t, i18n } = useTranslation();
  const [language, setLanguage] = useState('en');

  const changeLanguage = (lng) => {
    i18n.changeLanguage(lng);
    setLanguage(lng);
  };

  return (
    <View>
      <Text>{t('welcome')}</Text>
      <Button title="Switch to Spanish" onPress={() => changeLanguage('es')} />
      <Button title="Switch to English" onPress={() => changeLanguage('en')} />
    </View>
  );
};
All I’m doing is creating two buttons to switch to Spanish or English. Clicking any of these buttons will change the language automatically and pull the required files.
Lazy loading of translation files
Lazy loading is exactly what it sounds like—a way to load files gradually instead of all at once.
This does two things:
- Speeds up the website for the end user
- Reduces server load when there are many users on the website
Technically, you want to lazy load as many translation files as you can, even going as far as loading the file that’s required only for the page that the user is viewing.
If you have organized your translation files for each page separately, this can be quite easy to execute.
Let me put this in perspective with a simple example:
// i18n.js
i18n
  .use(initReactI18next)
  .use(LanguageDetector)
  .use(HttpApi)
  .init({
    fallbackLng: 'en',
    backend: {
      loadPath: '/locales/{{lng}}/{{ns}}.json',
    },
    ns: ['common', 'homepage', 'profile'],
    defaultNS: 'common',
  });
You can see here that I’ve added a dynamic filepath with a set of variables like lng and ns. Whenever a user switches languages, the variables are populated with the required details, and only that language file is downloaded from the server.
For instance, if the user is on the home page and changes to Spanish, the file path will become /locales/es/homepage.json.
Challenges with localizing complex React apps
Remember that simple translation we started with? Adding a few JSON files felt manageable. But the reality hits when you start focusing on app growth.
Think of how difficult it is to grow a React app from 10 components to 100+. Our translation files exploded from neat, organized JSONs to a maze of nested keys. One morning, a developer on my team spent an hour hunting down a single mistranslated string across five different files.
Here's what we learned about scaling localization:
- String management becomes exponentially complex
- Context gets lost between developers and translators
- Version control for translations turns into a nightmare
- QA time multiplies with each new language
But the biggest challenge? Translation drift.
We discovered that identical English strings had different translations across our app. "Post" meant one thing in our social features and another in our file system.
There had to be a better way.
Spoiler alert: We found one!
How to streamline your React app localization
To streamline our React app localization process, we used a localization management platform Centus.
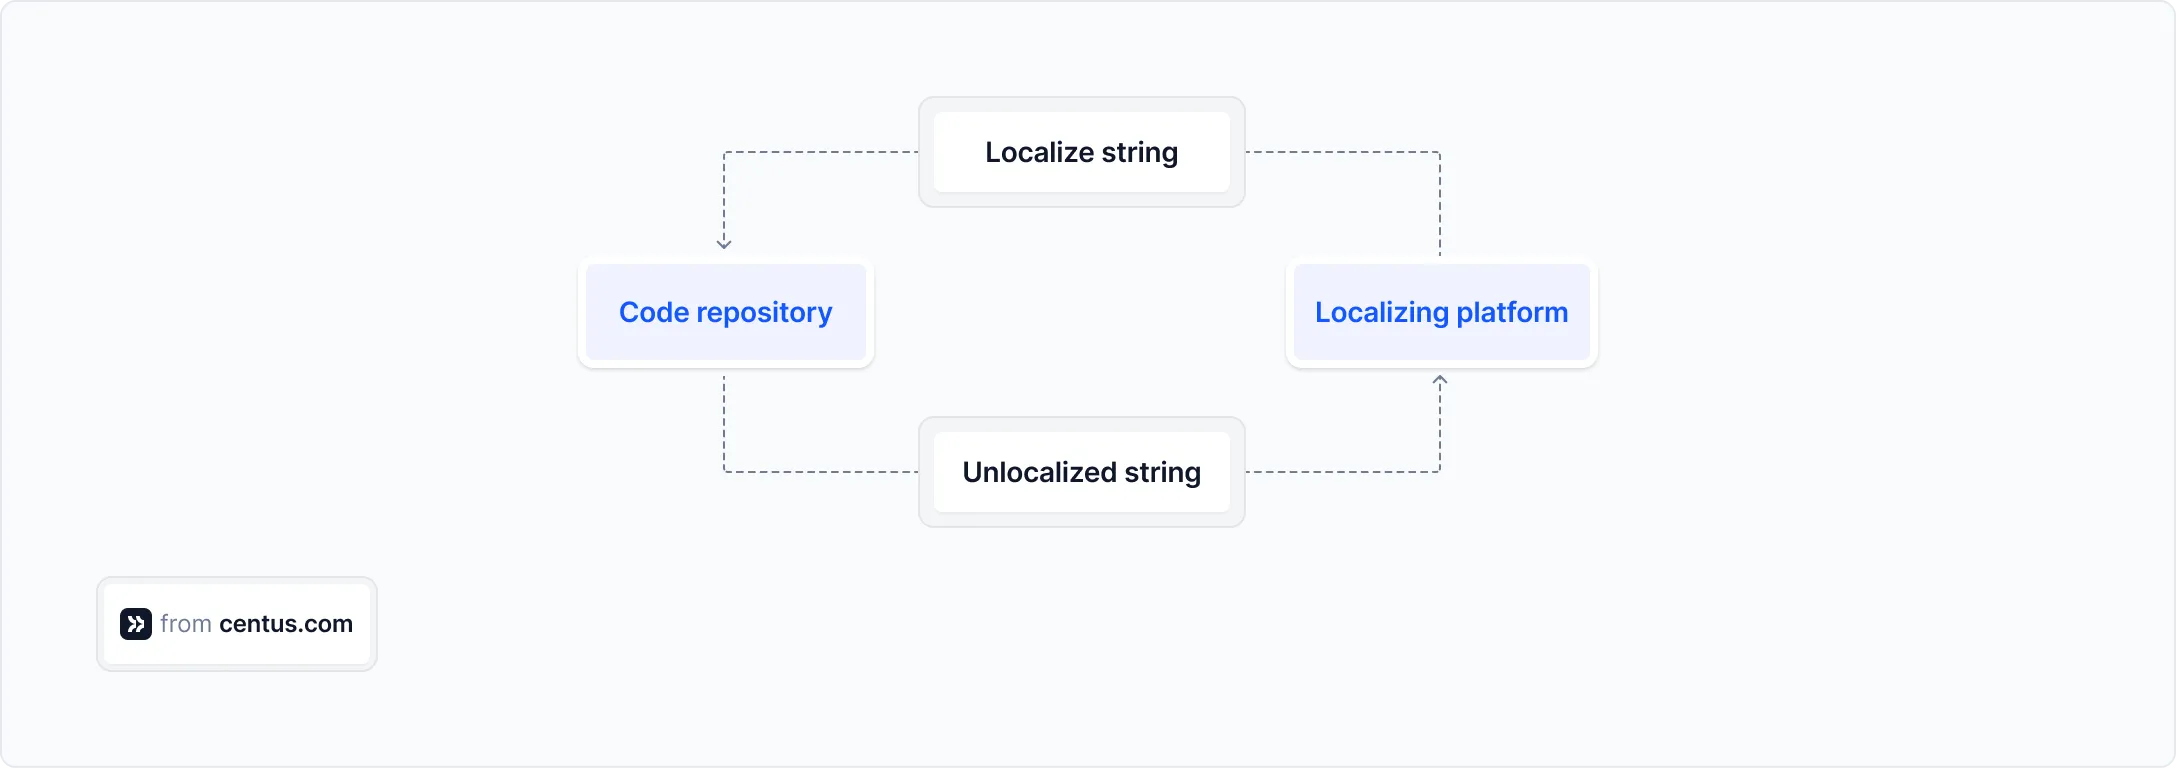
Centus let us implement continuous localization workflows, with translations updated in real time. Specifically, using Centus API, we integrated our code repository with the localization platform, automating the push and pull of translation strings. A huge time saver!
Whether you synchronize Centus with your code repository or not, it offers a great way to translate JSON files.
Here’s how to start:
First, sign up to Centus and click New project. Then, enter project details.

Next, navigate to the Imports section and add your JSON files.
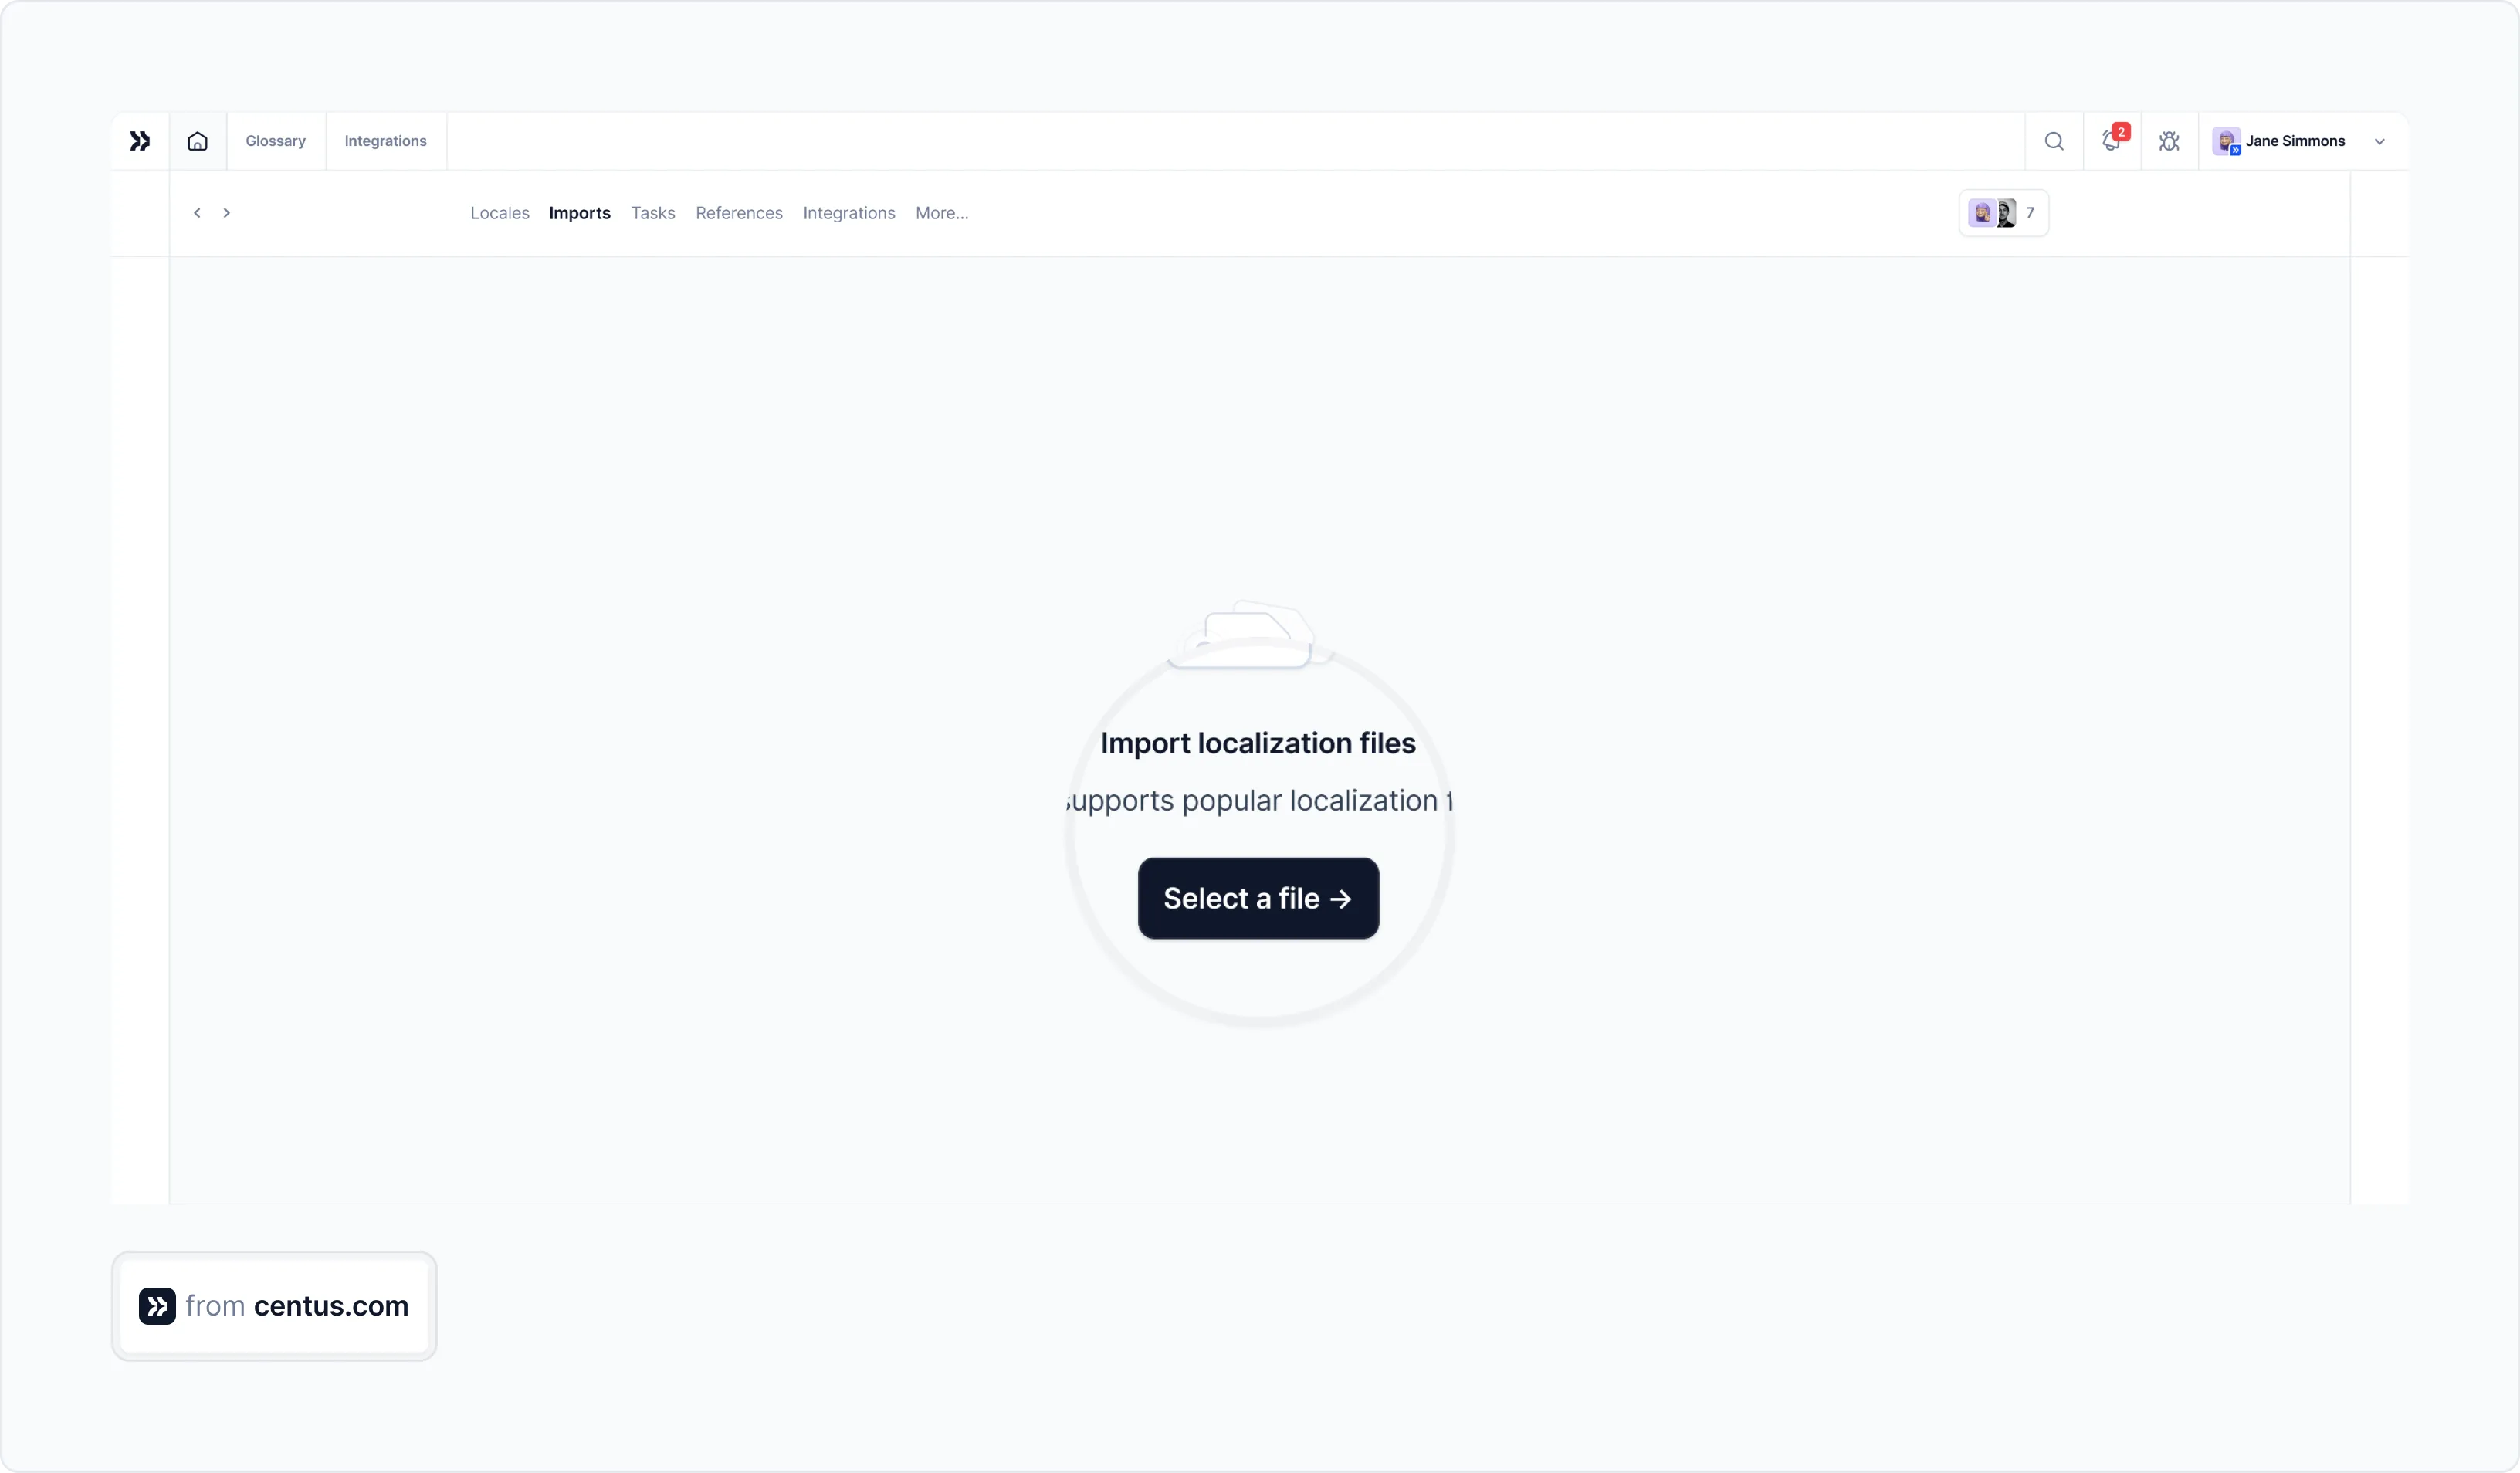
Centus automatically segments React translation files, helping your linguists translate them. Now they can focus on translation without wading through code and introducing syntax errors.
The best part? Your linguists can translate the React app automatically, using Google Translate, Microsoft Translator, or DeepL. Afterward, they can manually refine imperfect automatic translations, speeding up the project.
To bring translators to your project, go to the Collaborators section and click Invite collaborators. There, click Invite collaborators and enter their details and roles. You can manage their permissions to ensure that everyone has access to the information they need.

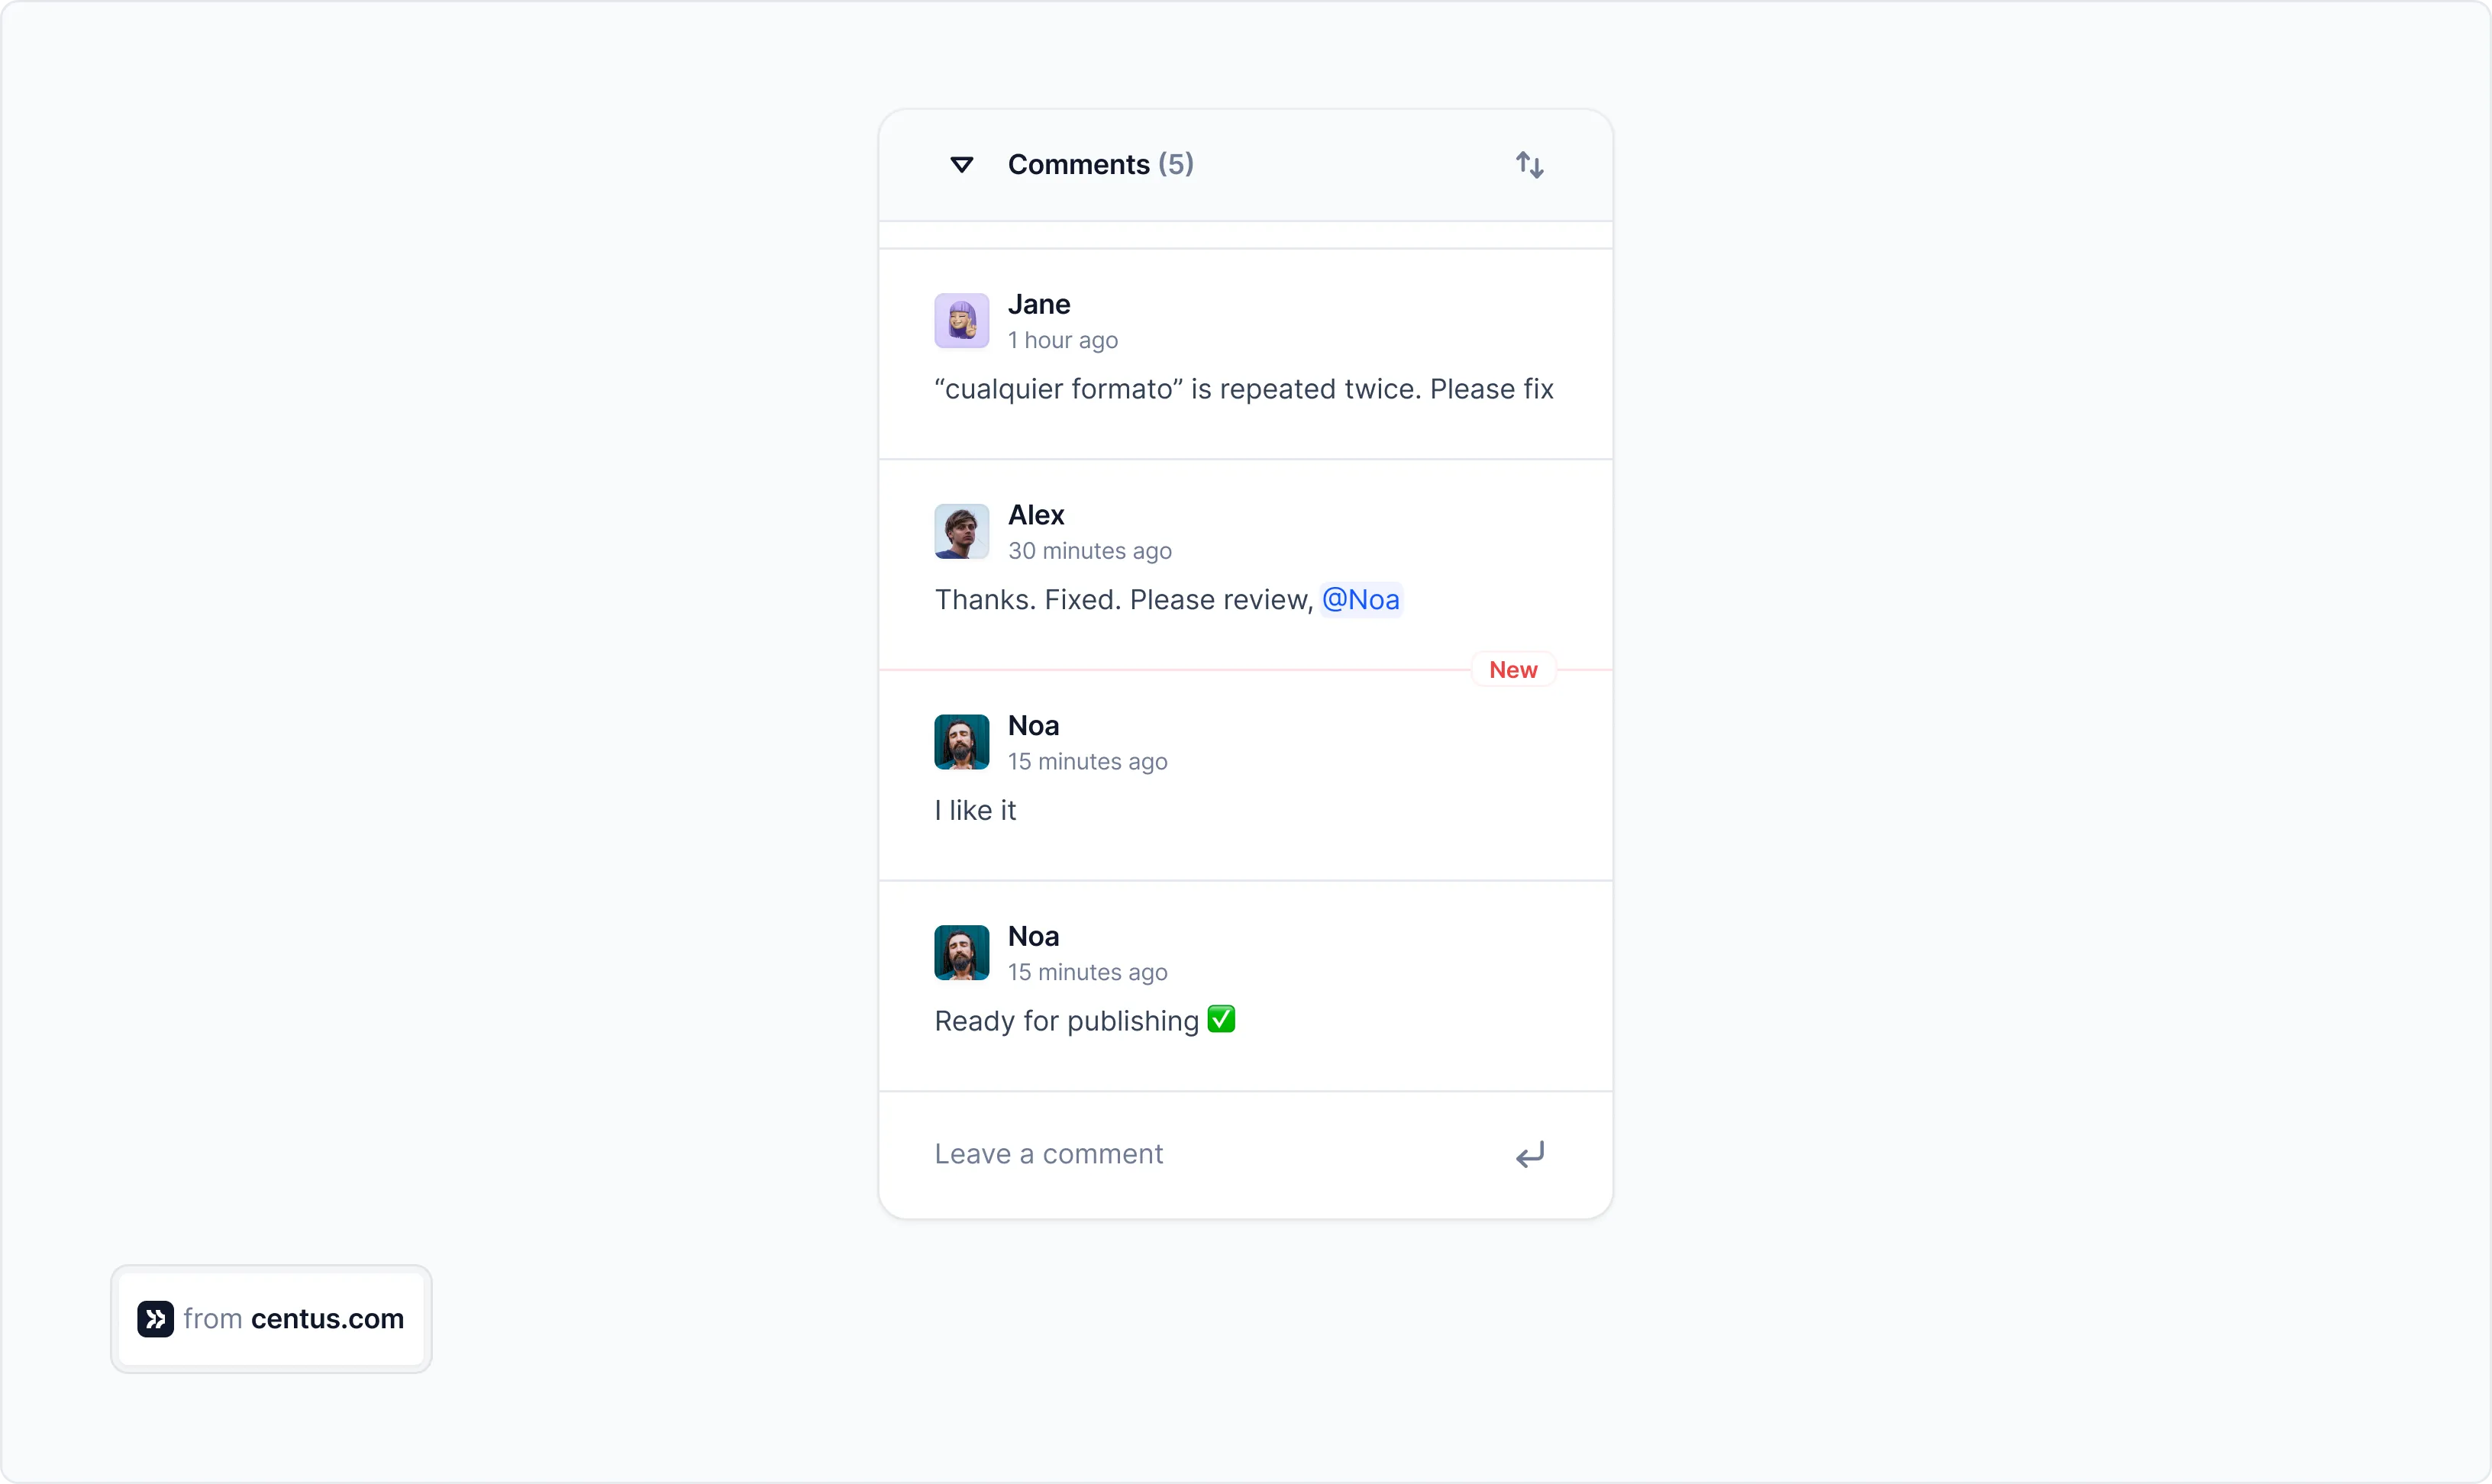
Encourage your linguists to share feedback, especially at the editing and review stages. This helps prevent critical errors down the line.
You can monitor the progress of your React localization project right in the dashboard.
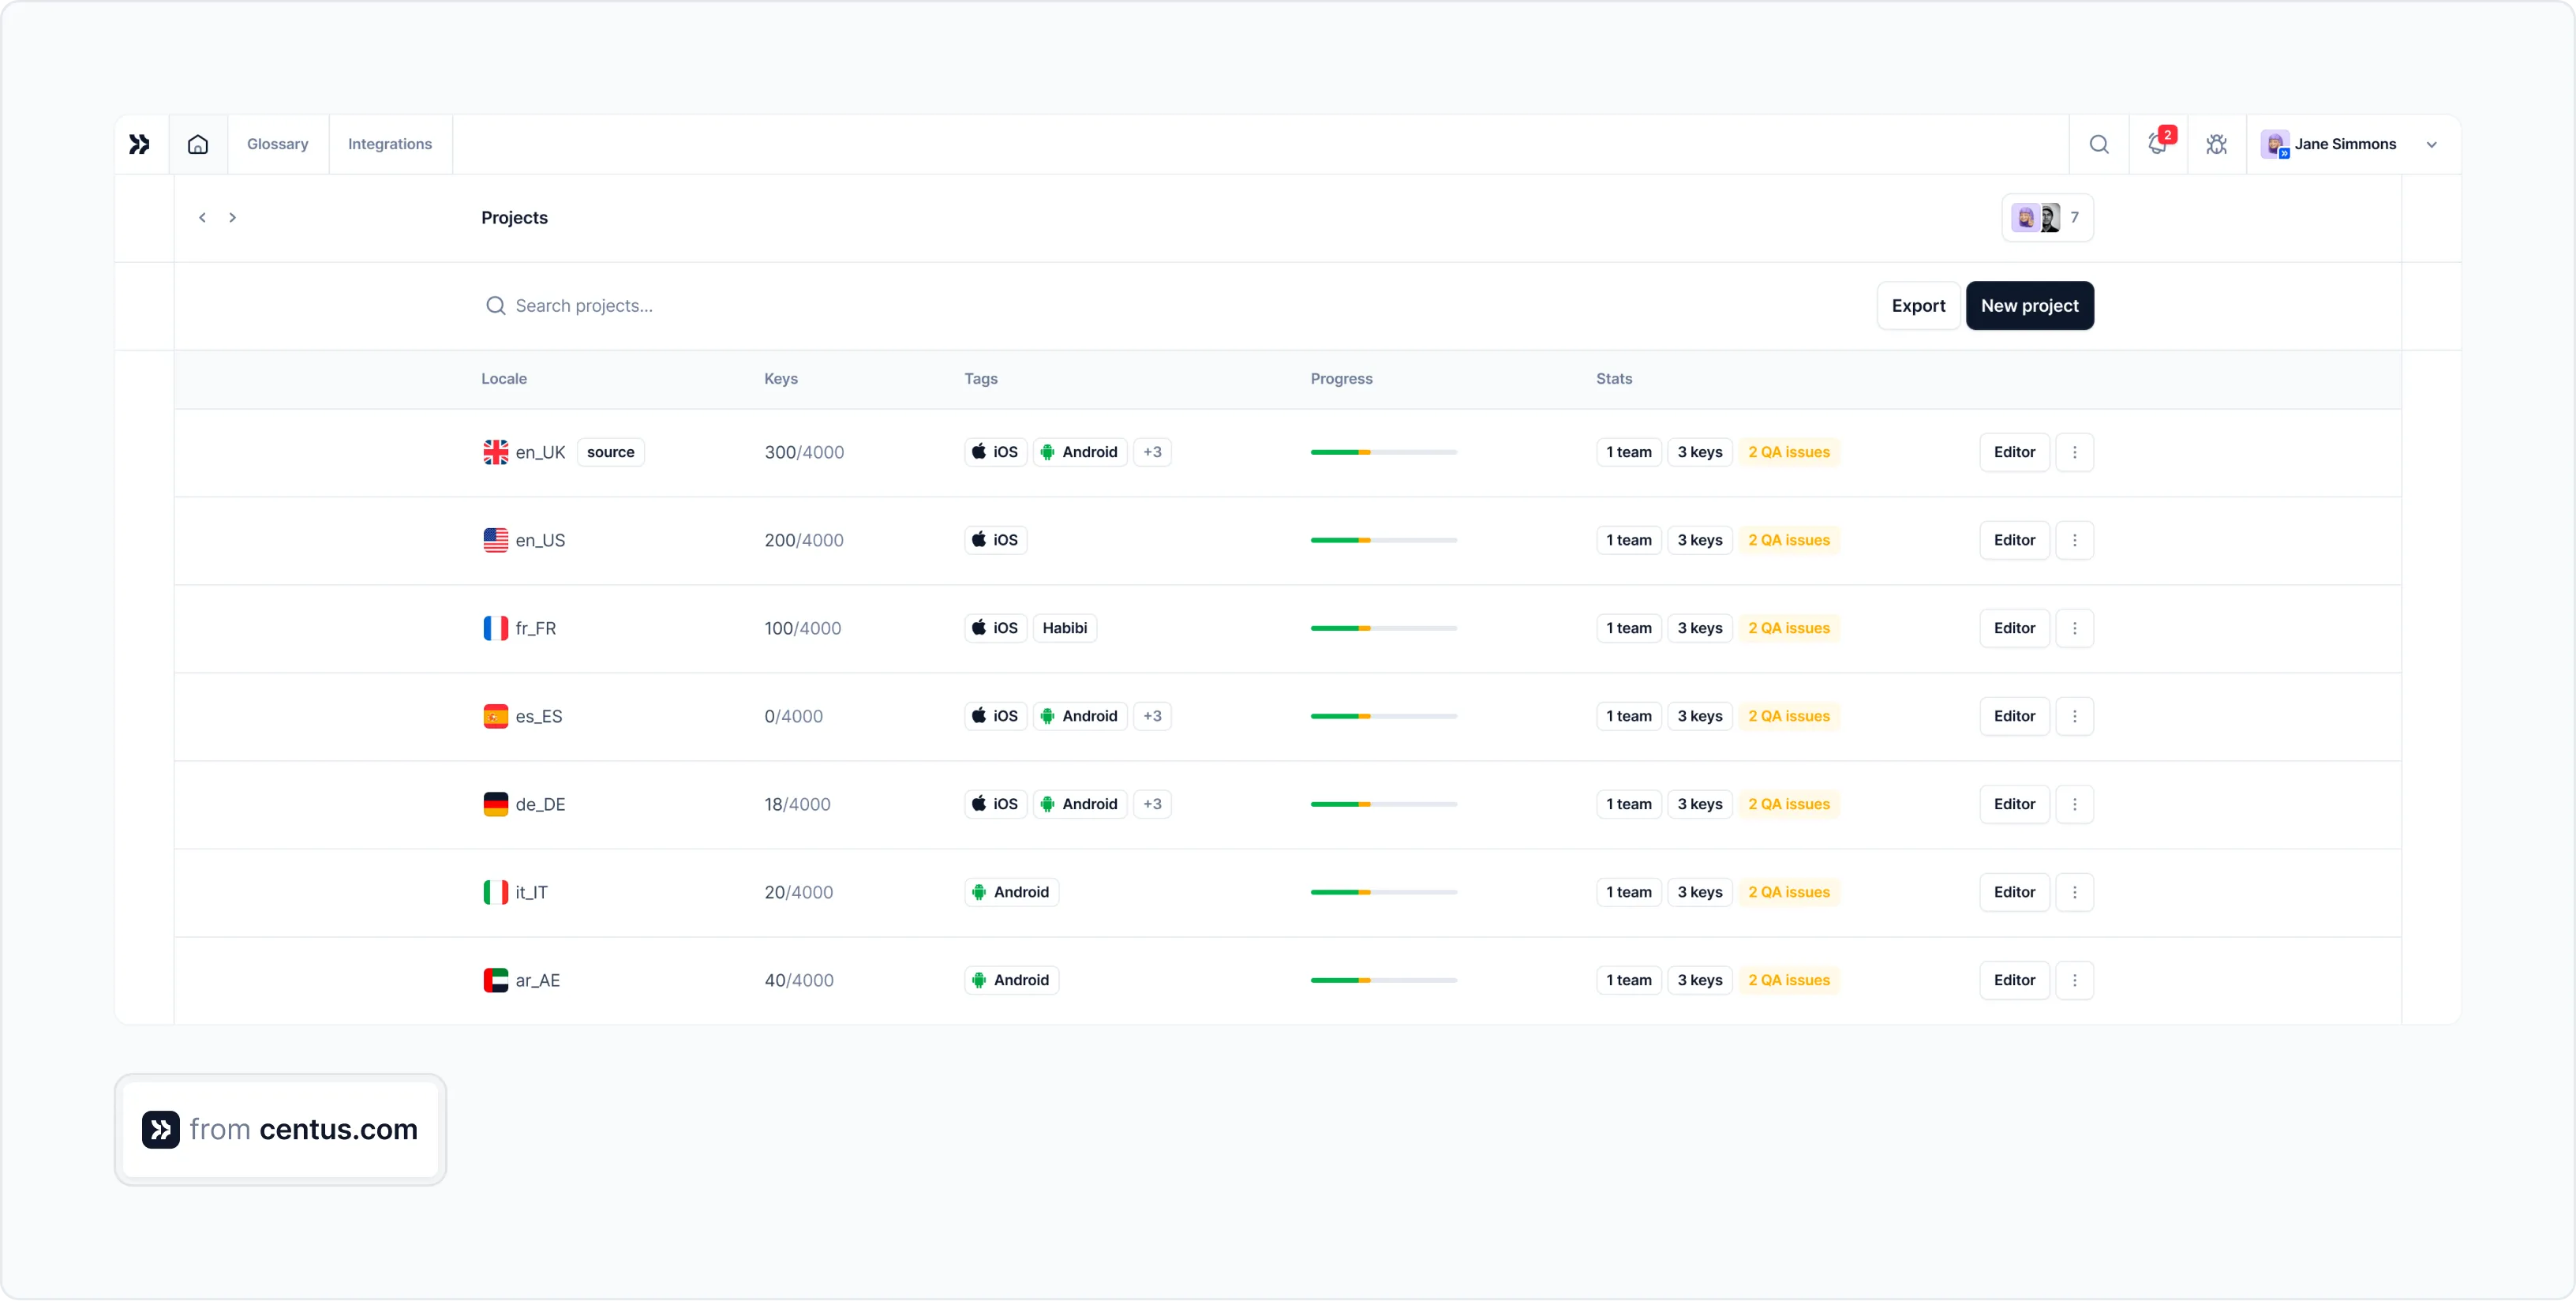
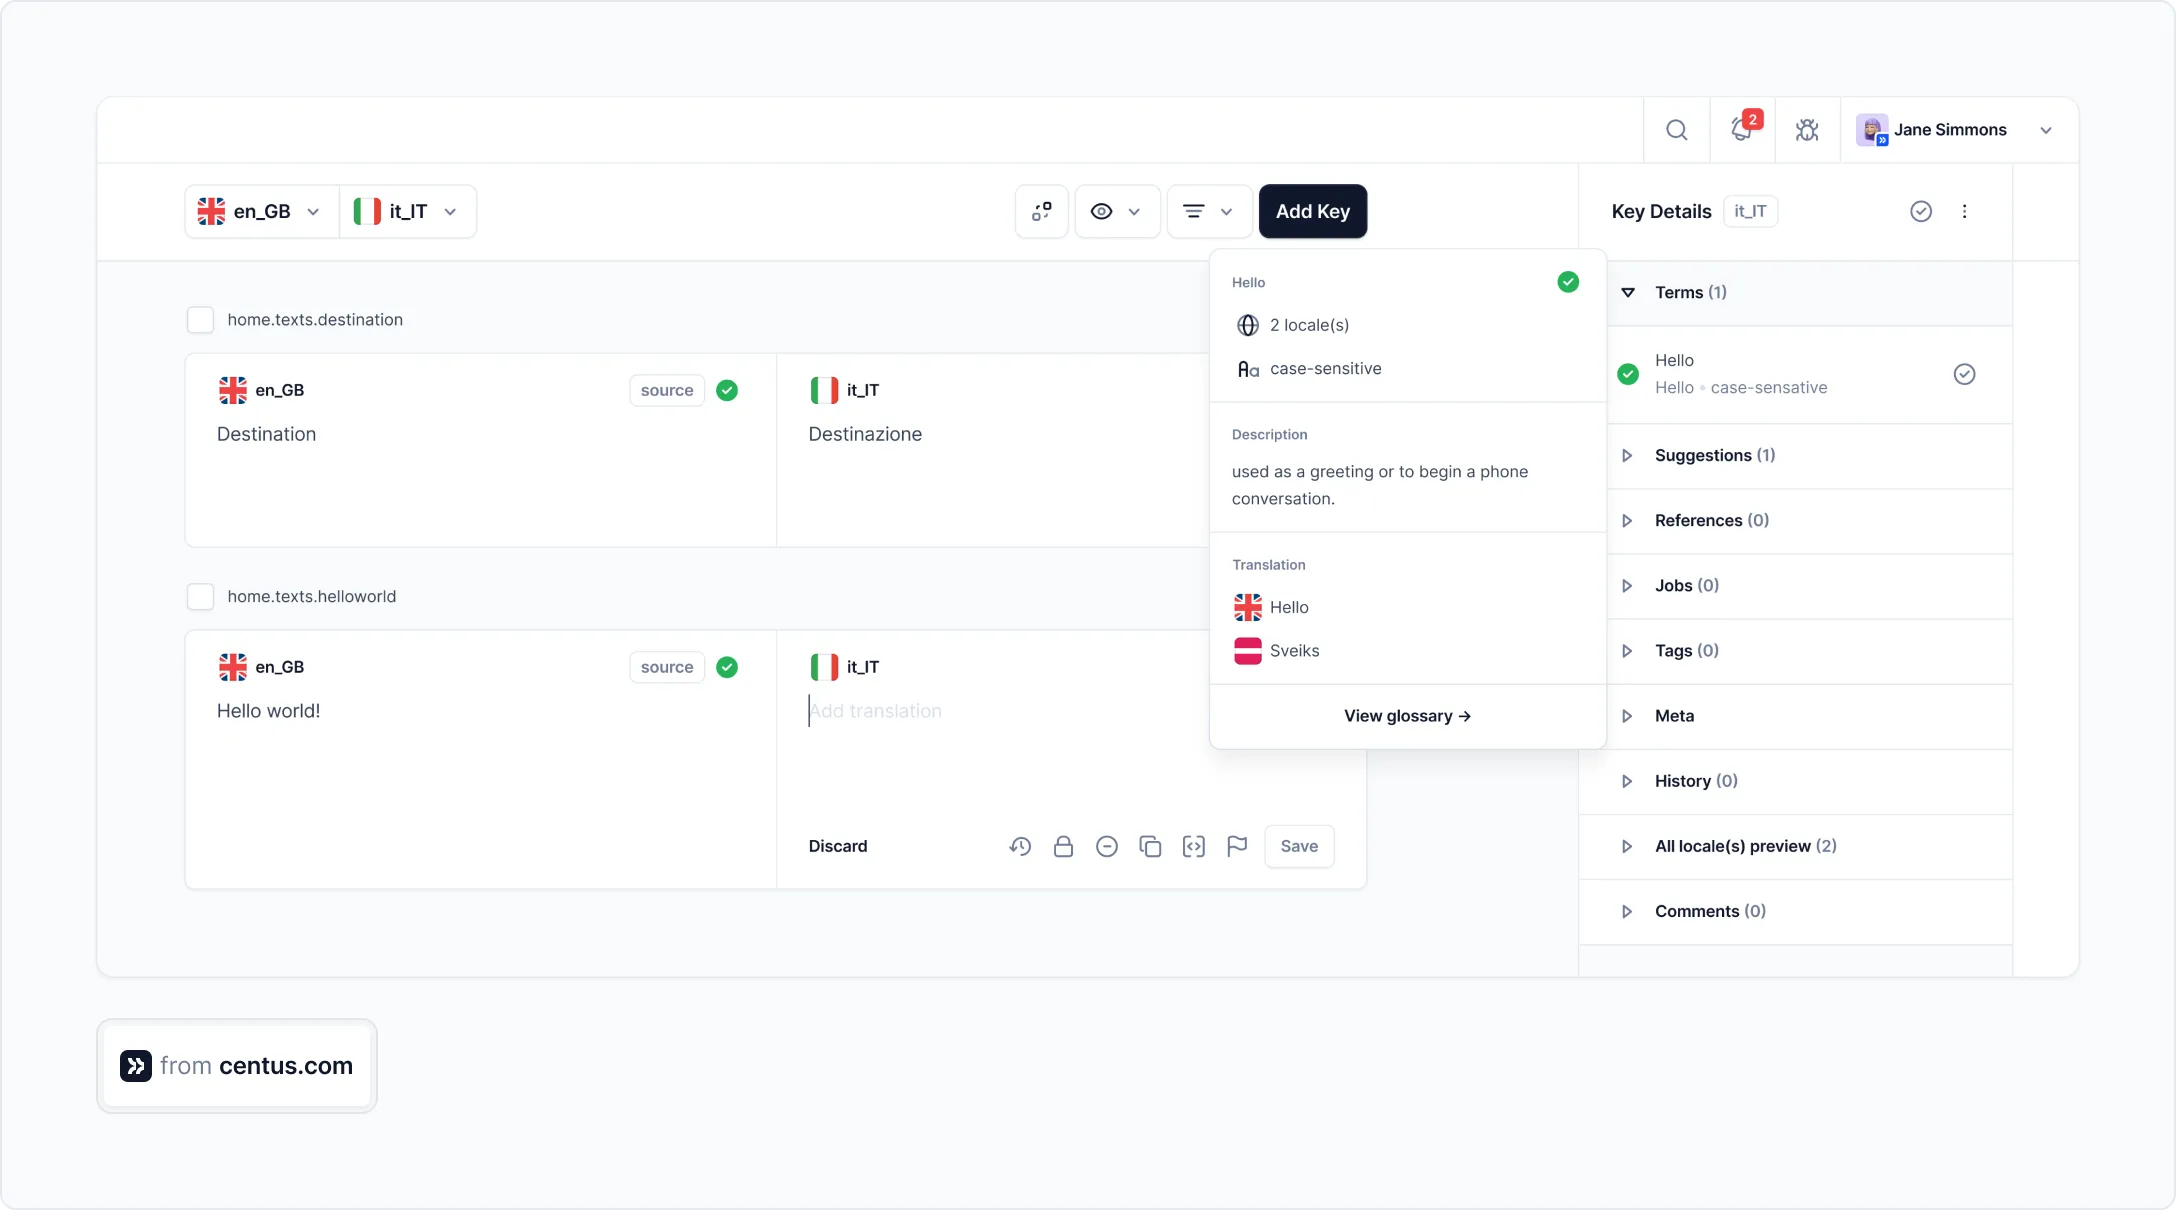
For a more granular view, go to the Editor to see translated, reviewed, and approved React translation keys.
As you can see, Centus offers a convenient way to organize localization. You can use it for React or any other app and software localization projects.
Wrapping up
Standing here six months after the first localization commit, a lot has changed. My translation workflow, once the chaos of spreadsheets and JSON files, now flows through Centus with remarkable ease.
I hope my experience will inspire you to localize your own React app. And with Centus, the experience can be a whole lot smoother. Try Centus now!
Get the week's best content!
By subscribing, you are agreeing to have your personal information managed in accordance with the terms of Centus Privacy Policy ->
Keep learning

23 min. read
Angular Localization and Internationalization (i18n) Guide
30 min. read
Your Complete Guide to Django i18n
12 min. read
How to Translate JSON Files: A Simple Guide

19 min. read
NextJS Internationalization: A Complete Walkthrough

19 min. read
NodeJS Internationalization (i18n) and Localization
21 min. read