Vue i18n and Localization: How to Localize a Vue App
There's a problem with building Vue apps, and we all address it way too late in the development lifecycle:
Localization.
I know localizing can be a whole project in itself.
It takes time and requires a lot of people to be on board collaborating and putting pieces together to make everything work—there's just so much to do.
And yet it's worth it because only about 18% of the world speaks English. If you support just one language, you're leaving 82% of the potential market untapped.
Let's fix it!
In this article, you'll learn how to localize your Vue application, step-by-step, using the Vue 3 i18n plugin.
Prerequisites for Vue localization
Before you start, here are three things you need:
- Node.js installed on your computer
- Visual Studio Code (or any IDE you're comfortable with)
- Basic knowledge of how to use npm, working with packages, etc.
Creating a demo app for our testing
For this demonstration, I'll be creating an extremely simple Vue app to show you how Vue internationalization and localization work.
First, create a new Vue 3 project using the Vue CLI:
npm init vue@latest
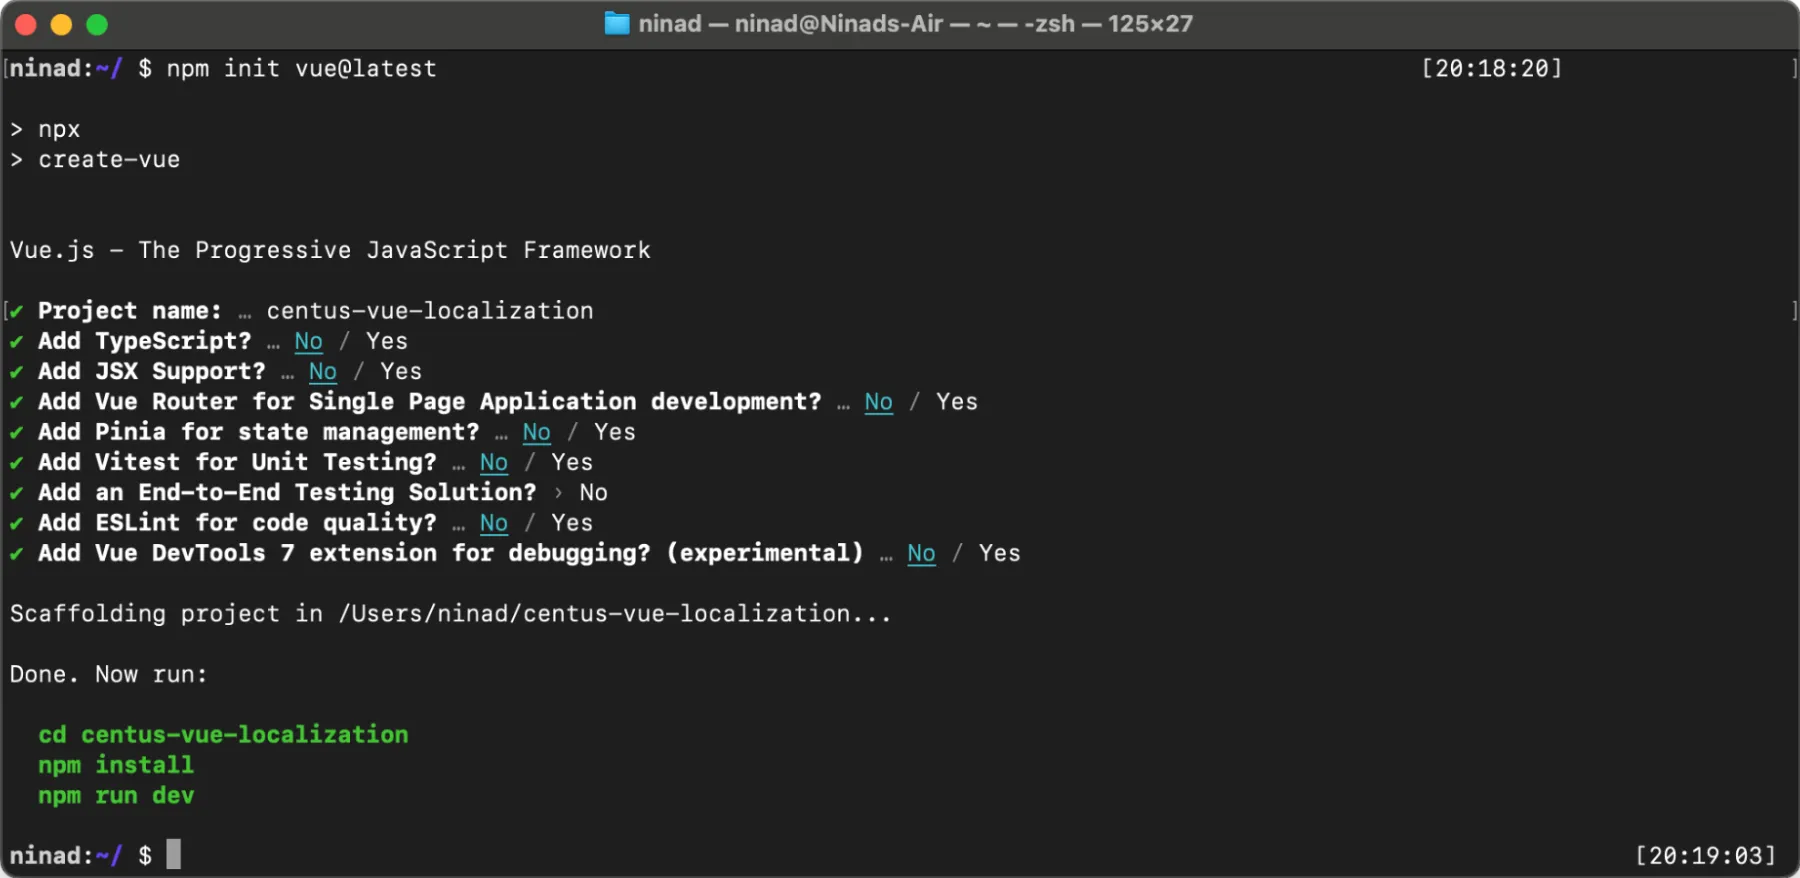
When prompted for the project name, enter the name without spaces and follow through the rest of the questions. You can go with the default answers, unless your project has any specific requirements.
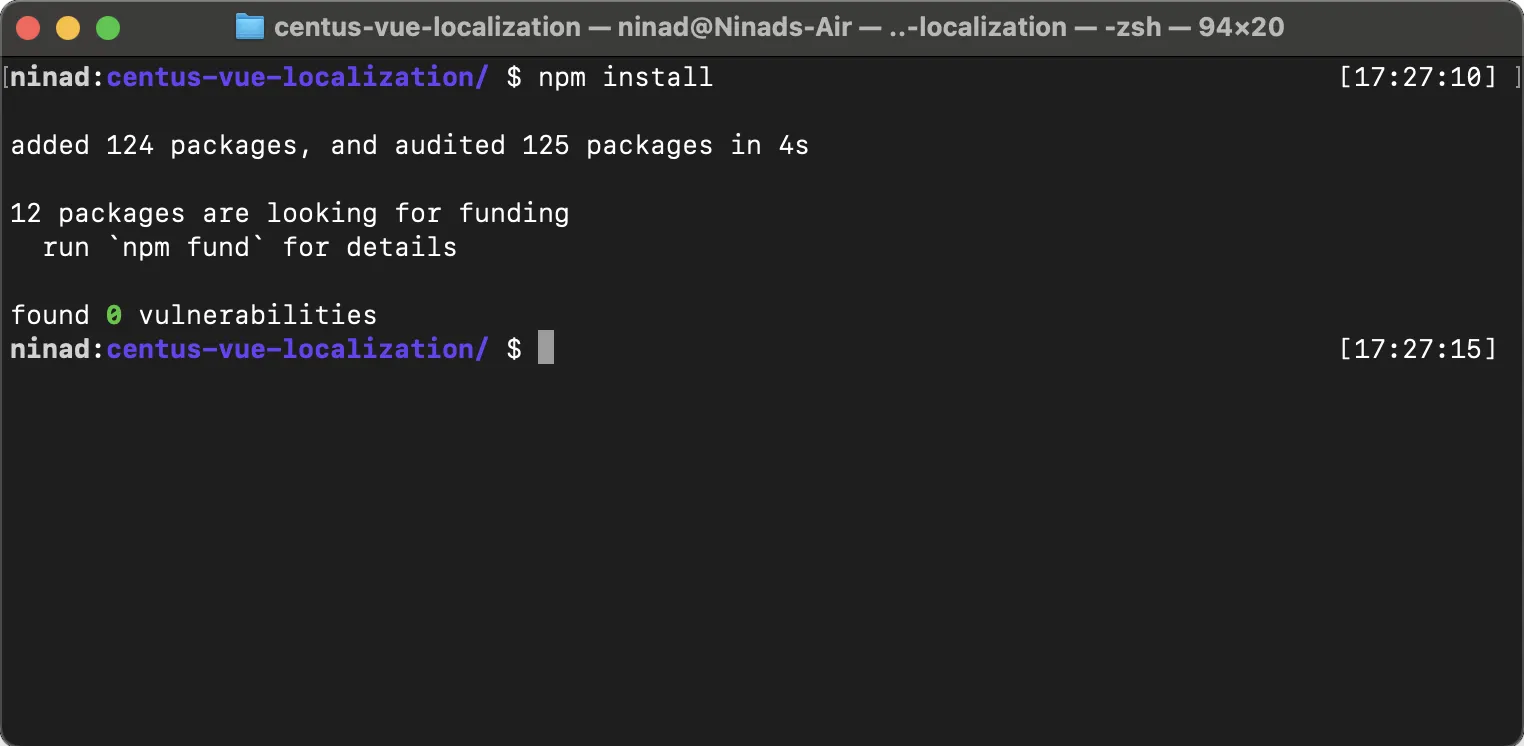
Then, cd into the directory and run npm install.
cd centus-vue-localization
npm install
Now if you run npm run dev, your app should get served on localhost:5173:
npm run dev
The default page will look like this.
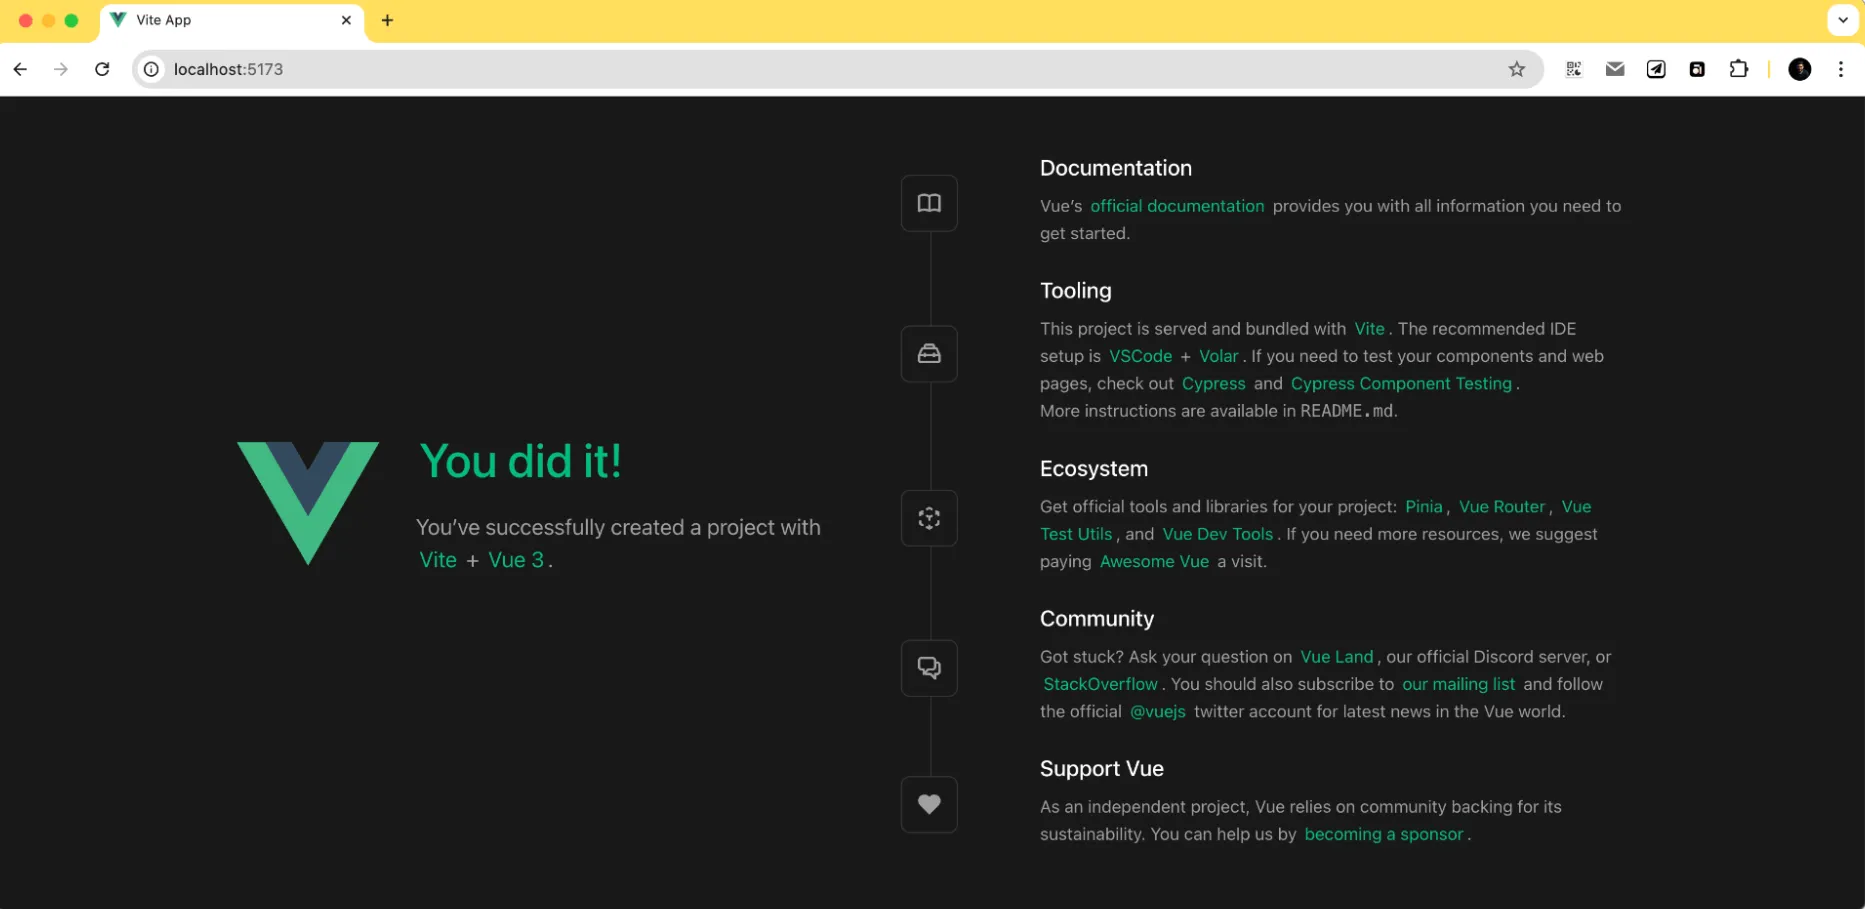
If you see this, you're ready to move further!
Creating a basic view to work with
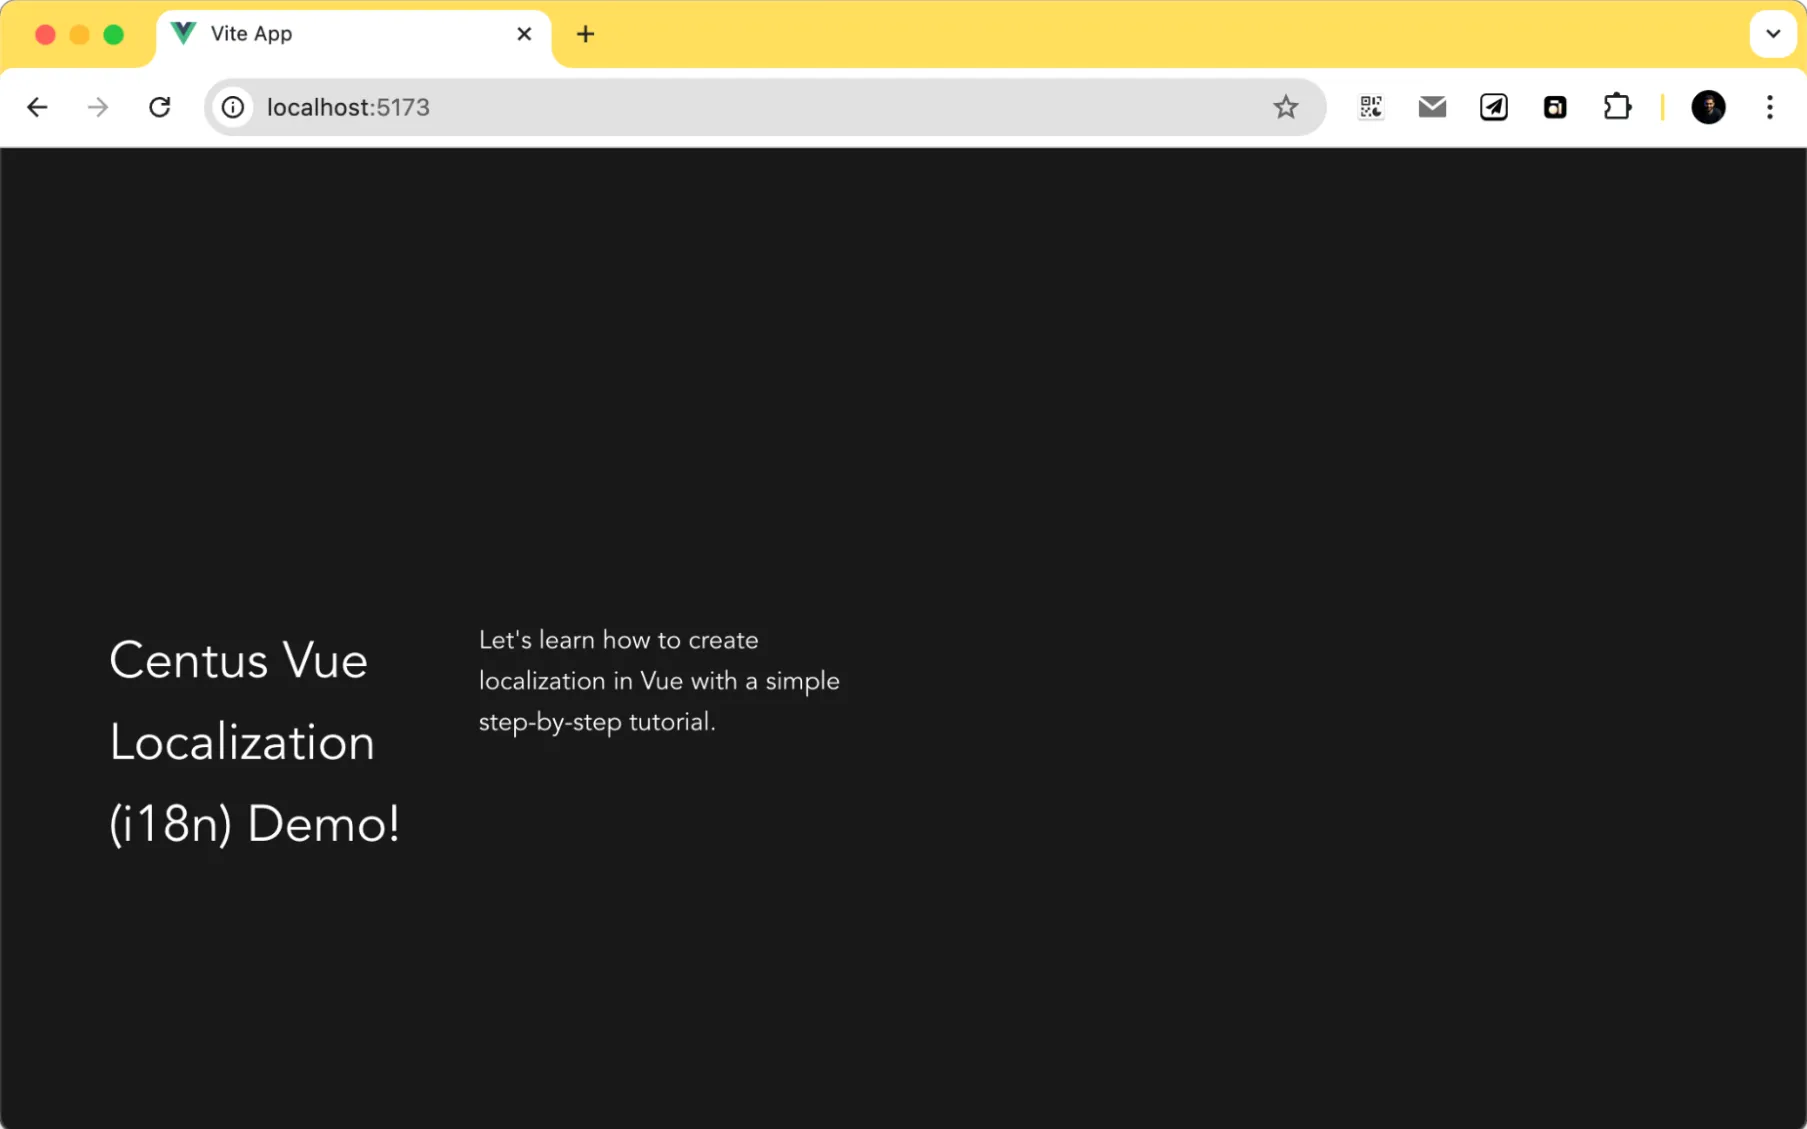
Now, let's move to creating a couple of views/pages that we can later localize. I'll edit the App.vue file to add some content there.
<template>
 <div id="app">
 <h1>Centus Vue Localization (i18n) Demo!</h1>
 <p>Let\'s learn how to create localization in Vue with a simple step-by-step tutorial.</p>
 </div>
</template>

<script>
export  default {
name: 'App'
}
</script>

<style>
#app {
 font-family: Avenir, Helvetica, Arial, sans-serif;
 text-align: left;
 color: white;
 margin-top: 60px;
}
</style>
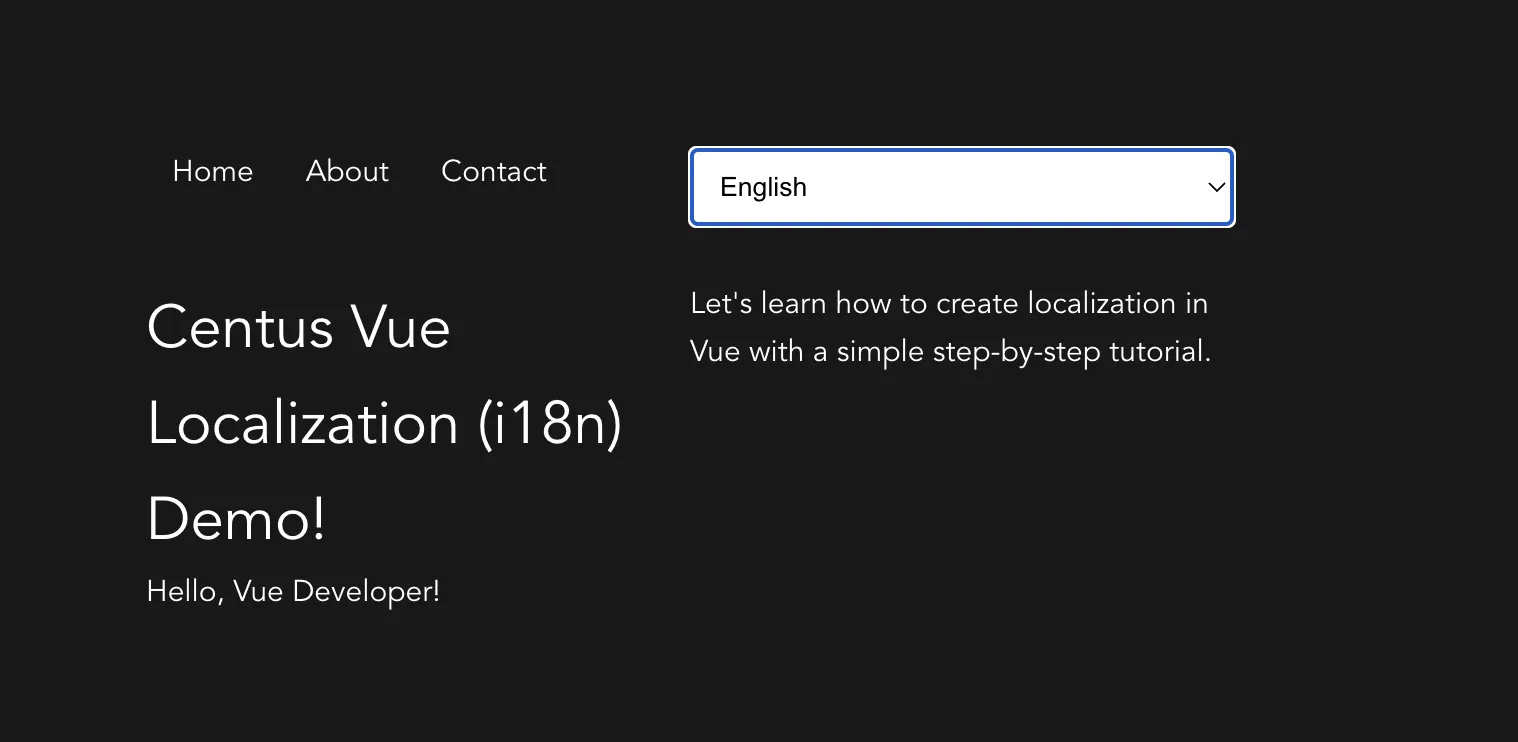
If you did it right, you should see the below page after running npm run dev:
If that works, let's add a navigation bar to the same. We'll create a component NavMenu.vue with the navlinks.
<template>
 <nav>
 <ul>
 <li><a href="#home">Home</a></li>
 <li><a href="#about">About</a></li>
 <li><a href="#contact">Contact</a></li>
 </ul>
 </nav>
</template>

<script>
export  default {
name: 'NavMenu'
}
</script>

<style scoped>
nav  ul {
 list-style-type: none;
 padding: 0;
}
nav  ul  li {
 display: inline;
 margin: 0  10px;
}
nav  ul  li  a {
 color: white;
 text-decoration: none;
}
</style>
And we also need to make a small change to our App.vue file:
<template>
 <div id="app">
 <NavMenu />
 <h1>Centus Vue Localization (i18n) Demo!</h1>
 <p>Let\'s learn how to create localization in Vue with a simple step-by-step tutorial.</p>
 </div>
</template>

<script>
import NavMenu from  './components/NavMenu.vue'

export  default {
name: 'App',
  components: {
    NavMenu
  }
}
</script>
You'll see the navigation bar is now visible on the left side of the page.

Our page elements did move around a bit, but that's only because I haven't focused on the aesthetics of the page.
Let's move on to the actual localization of our Vue app.
Installing the vue-i18n plugin with basic configuration
With the basic app setup, I'll now add the most important component of our localization setup: the vue i18n plugin
First, install the vue plugin. Go to your project directory from your terminal and run:
npm install vue-i18n@next
I'm using the @next tag to ensure that the version compatible is with Vue 3.
Alright, so the plugin is installed. Next, you'll need to do some basic configuration here. I'll create an src/i18n.js file and add the following code:
import { createI18n } from  'vue-i18n'

const messages = {
  en: {
    message: {
hello: 'Hello world!'
    }
  },
  es: {
    message: {
hello: '¡Hola mundo!'
    }
  }
}

const i18n = createI18n({
locale: 'en', // set locale
fallbackLocale: 'en', // set fallback locale
messages, // set locale messages
})

export  default i18n
In this code, I started with a new i18n instance and set the default locale and fallback to English.
Now, let's write a very simple app to play with Vue localization.
Open up src/main.js and update it like this:
import { createApp } from  'vue'
import App from  './App.vue'
import i18n from  './i18n'

createApp(App).use(i18n).mount('#app')
The app is now i18n-ready. But we're not done yet—we still need to use the translations.
Performing basic translations using the vue-i18n plugin
Alright, the localization file is ready, and our page is working. Now I'll go ahead with translating the content on our App.vue page.
Go ahead and replace the section of the App.vue as below:
<template>
 <div id="app">
 <NavMenu />
 <h1>{{ $t('message.welcome') }}</h1>
 <p>{{ $t('message.intro') }}</p>
 </div>
</template>
What I've done here is replaced our hardcoded, English-language messages with the $t() function calls—a vue translation function that's globally available across all components.
Right now, our app will show these variable names since the translate function doesn't have the required values for the variables. Let's modify our src/i18n.js to add these values now:
import { createI18n } from  'vue-i18n'

const messages = {
  en: {
    message: {
      welcome: 'Centus Vue Localization (i18n) Demo',
      intro: Let\'s learn how to create localization in Vue with a simple step-by-step tutorial.'
    },
    nav: {
      home: 'Home',
      about: 'About',
      contact: 'Contact'
    }
  },
  es: {
    message: {
      welcome: '¡Demostración de localización de Centus Vue (i18n)!',
      intro: 'Aprendamos cómo crear una localización en Vue con un sencillo tutorial paso a paso.'
    },

    nav: {
      home: 'Inicio',
      about: 'Acerca de',
      contact: 'Contacto'
    }
  }
}

const i18n = createI18n({
  locale: 'en',
  fallbackLocale: 'en',
  messages,
})

export default i18n
We also need to change the NavMenu.vue file to ensure that the menu items are variable values.
Here's what the menu items will look like with our variables added:
<template>
<nav>
 <ul>
 <li><a href="#home">{{ $t('nav.home') }}</a></li>
 <li><a href="#about">{{ $t('nav.about') }}</a></li>
 <li><a href="#contact">{{ $t('nav.contact') }}</a></li>
 </ul>
</nav>
</template>

<script>
export  default {
name: 'NavMenu'
}
</script>

<style scoped>
... retain the styles ...
</style>
If you did this right, the page should be back to what it looked like previously, with the English messages.
But this time, the messages are pulled from the variables, and we can add a language switcher to allow language switching.
Let's do just that.
Add the following code to the App.vue file just under <NavMenu />, making the complete file looks like this:
<template>
 <div id="app">
 <NavMenu />

    <select v-model="$i18n.locale">
 <option value="en">English</option>
 <option value="es">Español</option>
 </select>
 <h1>{{ $t('message.welcome') }}</h1>
 <p>{{ $t('message.intro') }}</p>
 </div>
</template>

<script>
import NavMenu from  './components/NavMenu.vue'

export  default {
name: 'App',
  components: {
    NavMenu
  }
}
</script>
<style>
#app {
 font-family: Avenir, Helvetica, Arial, sans-serif;
 text-align: left;
 color: white;
 margin-top: 60px;
}
select {
 padding: 10px;
 margin-bottom: 10%;
}
</style>
I've also added some spacing to the select element in our <style> block.
Now, on your app, switching the language will automatically switch the sentences that we've translated.

Great job! You now have a translated app with a locale switcher ready. Let's move ahead!
Using translation keys
You might've noticed that I'm using dot notations to access translations. For instance, nav.home.
Does that mean we can have multiple nested keys inside? Absolutely. You can nest as deeply as you need (so long as it's logical to you and your team).
Let's see how that works:
const messages = {
 en: {
    user: {
 profile: {
name: 'Name',
        email:  'Email',
        password: {
          current:  'Current Password',
          new:  'New Password',
 confirm: 'Confirm New Password'
        }
      }
    }
  }
}
I have three separate messages under the password key here, which is nested under profile, which is again nested under the user key.
So, how do we access this? Here's how:
<template>
 <div>
 <label>{{ $t('user.profile.name') }}</label>
 <label>{{ $t('user.profile.password.new') }}</label>
 </div>
</template>
If you replace the .new in user.profile.password.new here with "current" or "confirm," you'll get a different message on the UI.
I think you get the point by now. Remember this since we'll be using these nested keys for our more advanced localization methods.
Check if a translation exists before applying (conditional translation)
One problem you'll experience as you expand your translations is missing translations. You refer to a key that doesn't exist, and your app shows the variable name instead.
If that happens to you, don't worry; even the biggest of businesses make mistakes. Here's Alibaba's homepage when translated into Italian.
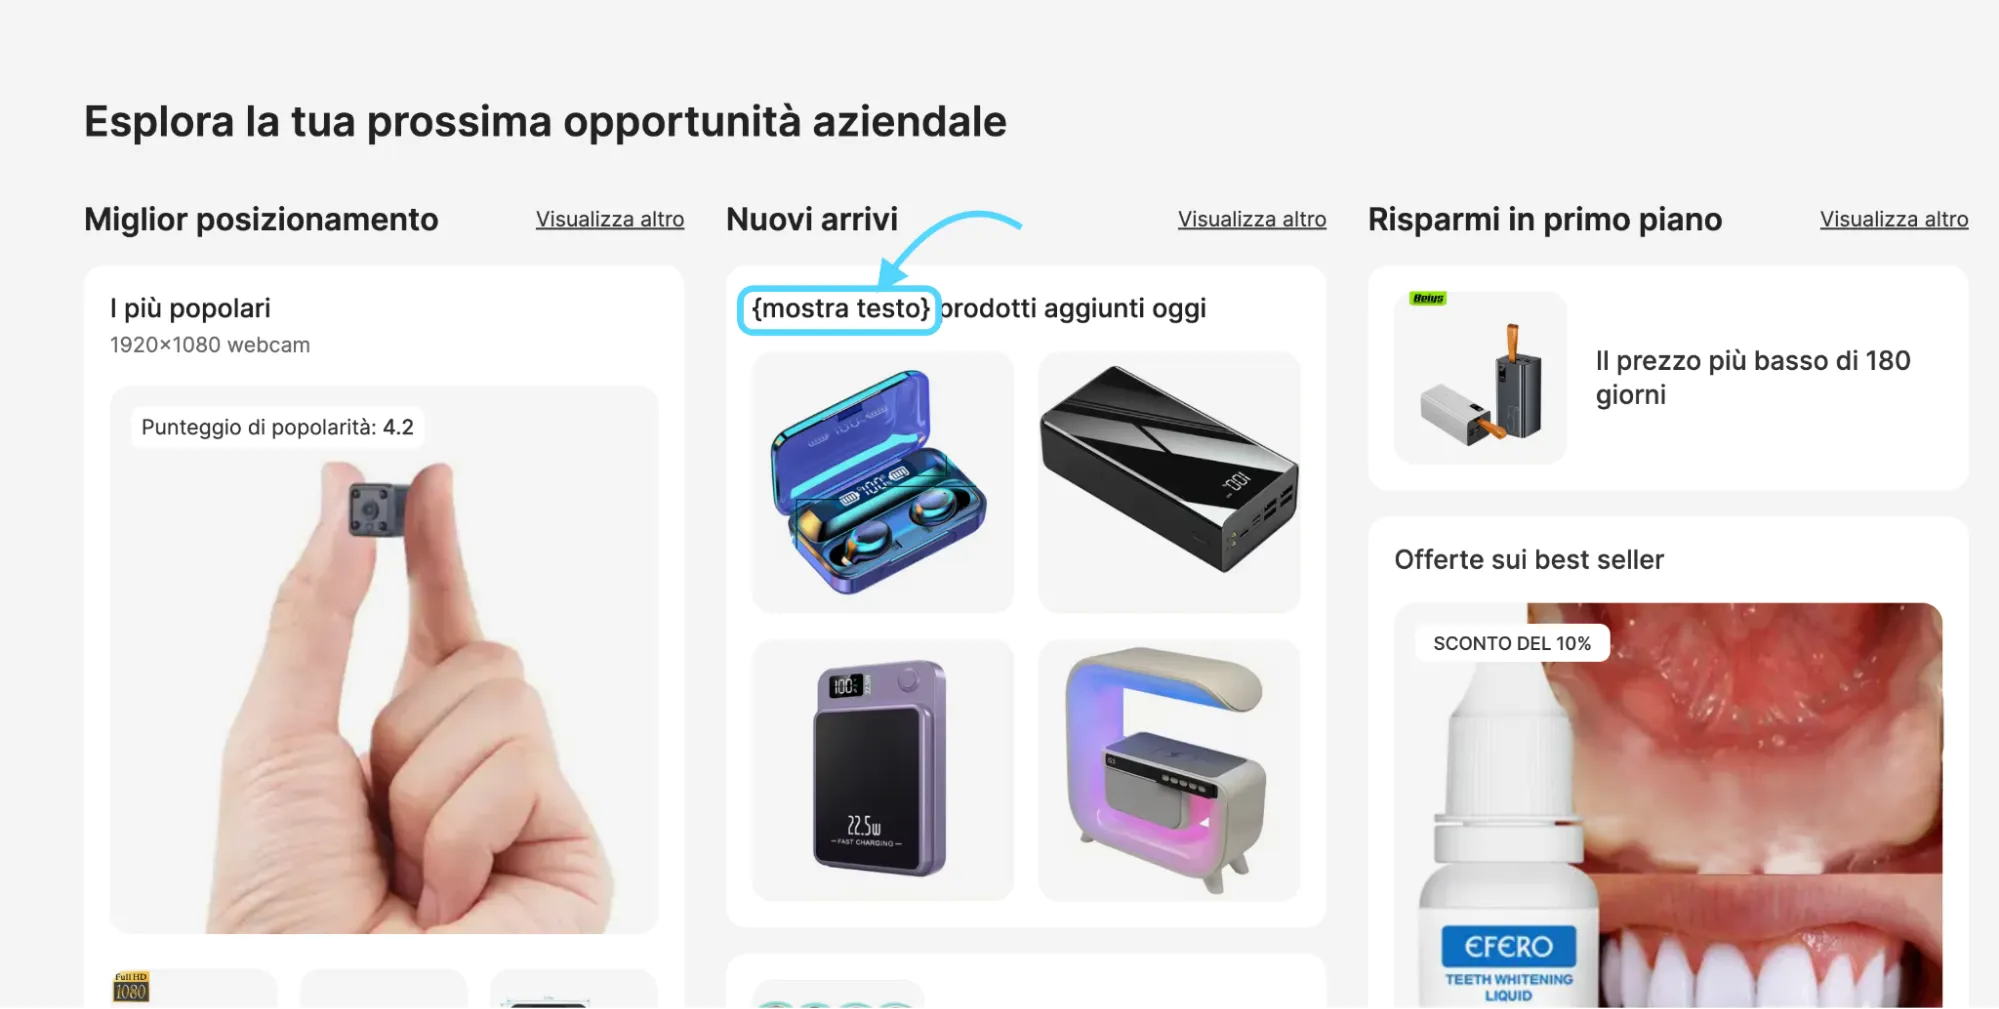
But how can you avoid this from happening? For that, vue-i18n provides the $te method. Let me show you how you can implement it.
Using the $te function
The $te function (which stands for "translate exists") is a method provided by Vue I18n that returns a Boolean value indicating whether a given translation key exists in the current locale.
Here's how I used it in my application:
<template>
 <div>
 <p v-if="$te('some.translation.key')">
 {{ $t('some.translation.key') }}
 </p>
 <p v-else>
      Fallback content
 </p>
 </div>
</template>
In this example, we're using $te('some.translation.key') to check if the translation exists.
If it does, we display the translated content using $t. If it doesn't, we show some fallback content.
Handling dynamic keys
You won't always use static translation keys. If, for instance, you have a numbered list that gets dynamically generated, you need the translation keys to be dynamic as well.
$te becomes particularly useful in this case since we can always check if the dynamic key exists before printing it out.
Here's how I'd use the $te function:
<template>
 <div>
 <p v-for="item in items" :key="item.id">
 {{ $te(`items.${item.type}`) ? $t(`items.${item.type}`) : item.fallbackName }}
 </p>
 </div>
</template>
In this example, we're dynamically generating translation keys based on item.type.
We use $te to check if a translation exists for each type, and if not, we fall back to item.fallbackName.
Advanced translation features with Vue I18n
Okay, you have learned all the basics required to get your Vue app localized. Let's get into some of the more advanced features that can help you create more dynamic and flexible translations.
Interpolation
Just as we dynamically generate translation keys, you might also want to dynamically insert values in your translated text. Vue i18n makes it easy with interpolation.
For demonstration, I'll update our App.vue to call out the username in our welcome message.
<template>
 <div id="app">
 <!-- ... (previous content) ... -->
 <p>{{ $t('message.greeting', { name: username }) }}</p>
 </div>
</template>

<script>
import NavMenu from  './components/NavMenu.vue'

export  default {
name: 'App',
  components: {
    NavMenu
  },
  data() {
 return {
username: 'Vue Developer'
    }
  },
 // ... (previous methods) ...
}
</script>
Now, you also need to modify the i18n.js file to include this greeting key. Simply nest the greeting: key under the messages key as I've done below and you're good to go.
const messages = {
  en: {
 //  ... (previous translations) ...
    message: {
 //  ... (previous message translations) ...
      greeting: 'Hello, {name}!'
    }
  },
  es: {
 //  ... (previous translations) ...
    message: {
 //  ... (previous message translations) ...
      greeting: '¡Hola, {name}!'
    }
  }
}
If everything's right, your app will look like this:
Even if you switch the language, the Vue Developer variable will remain unchanged as that's being interpolated.
Vue-i18n Pluralization
This is a tricky one since different languages have different plural forms. English has just two forms, singular and plural. But languages like Arabic and Welsh have six forms.
Let me show you how you can handle two forms, and you can modify the code for other languages too. You can copy-paste the entire script section as-is after appending the button and counter HTML:
<template>
 <div id="app">
 <!-- ... (previous content) ... -->
 <div>
 <button @click="decrementCount">-</button>
 {{ count }}
 <button @click="incrementCount">+</button>
 </div>
 <p>{{ $t('items', count) }}</p>
 </div>
</template>

<script>
import NavMenu from  './components/NavMenu.vue'

export  default {
name: 'App',
  components: {
    NavMenu
  },
  data() {
 return {
username: 'Vue Developer',
count: 0
    }
  },
  methods: {
    incrementCount() {
 this.count++
    },
    decrementCount() {
 if (this.count > 0) this.count--
    }
  }
}
</script>
And in the i18n.js file, I'm adding the different plural forms separated by vertical bars (| |).
const messages = {
 en: {
    // ... (previous translations) ...
    items:  'no items | one item | {count} items'
  },
 es: {
    // ... (previous translations) ...
    items:  'ningún artículo | un artículo | {count} artículos'
  }
}
And you're all ready with pluralization support now. You should now see the plus icon that increments the count right below our greeting.

As you increase the count, you'll see that the noun changes from item to items and back as you decrease the count.
💡Pro tip: I learned that Vue had a $tc function (now obsolete) for handling plurals. However, now the same functionality can be achieved with the $t function. If you have code using $tc, I'd recommend replacing it before the Vue team removes support for it.
Formatting numbers and currencies
The US formats numbers in one way, while the EU sticks to a different way. If the number formats are mixed up, people from both regions could be confused.
For example:
- In the US, ten thousand dollars and fifty cents is written as $10,000.50
- When translated to Spanish, the same amount will be written as $10.000,50
So, we have to learn to showcase these differences on our app. Luckily, vue-i18n handles this automatically, and we only need to pass the i18n locale to it.
I've added a simple paragraph tag with a random currency value.
<template>
 <div id="app">
 <!-- ... (previous content) ... -->
 <p>{{ $t('price', { price: $n(19.99, 'currency') }) }}</p>
 </div>
</template>
Now, you also need to update the i18n.js file to handle these currency formats.
const messages = {
 en: {
    // ... (previous translations) ...
price: 'Price: {price}'
  },
 es: {
    // ... (previous translations) ...
price: 'Precio: {price}'
  }
}

const i18n = createI18n({
locale: 'en',
fallbackLocale: 'en',
 messages,

// add these lines right after the messages parameter
  numberFormats: {
 en: {
      currency: {
style: 'currency',
currency: 'USD'
      }
    },
 es: {
      currency: {
style: 'currency',
currency: 'EUR'
      }
    }
  }
})
Alright, we're done. This is what your app should look like now:

Notice the price (Precio) below our increment and decrement buttons? That format was automatically handled by the Vue I18n plugin.
Formatting date and time
Like currencies and numbers, dates and times are formatted differently. Some countries will write it as DD/MM/YYYY whereas some would do MM/DD/YYYY.
Suppose you display the date: 01/10/2024.
Customers from different countries can interpret it as January 10, 2024 or October 1, 2024.
That's why we need to get the date and time formats right. Let's modify the App.vue file and add a date line right below it:
<template>
 <div id="app">
 <!-- ... (previous content) ... -->
 <p>{{ $t('date', { date: $d(new Date(), 'long') }) }}</p>
 </div>
</template>
Now, I'll modify the i18n.js
const messages = {
  en: {
 // ... (previous translations) ...
date: 'Today is {date}'
  },
  es: {
 // ... (previous translations) ...
date: 'Hoy es {date}'
  }
}

const i18n = createI18n({
locale: 'en',
fallbackLocale: 'en',
  messages,

// ... (previous number formats) ...
  dateTimeFormats: {
    en: {
 long: {
 year: 'numeric',
 month: 'long',
 day: 'numeric'
      }
    },
    es: {
 long: {
 year: 'numeric',
 month: 'long',
 day: 'numeric'
      }
    }
  }
})
Storing Vue 3 translations in JSON files
As your app grows, you will find it more manageable to use separate JSON files for storing translations. In my experience, doing this made translating larger apps easier and more efficient.
Let me show how you can create separate JSON files for English and Spanish and use them in the app. In your src folder, create a new folder called locales.
Inside this folder, create two files: en.json and es.json.
It goes like this:
src/locales/en.json
{
    "message": {
"welcome": "Centus Vue Localization (i18n) Demo!",
"intro": "Let's learn how to create localization in Vue with a simple step-by-step tutorial.",
"greeting": "Hello, {name}!"
    },
    "nav": {
"home": "Home",
"about": "About",
"contact": "Contact"
    },
"items": "no items | one item | {count} items",
"price": "Price: {price}",
"date": "Today is {date}"
  }
src/locales/es.json
{
    "message": {
"welcome": "¡Demostración de localización de Centus Vue (i18n)!",
"intro": "Aprendamos cómo crear una localización en Vue con un sencillo tutorial paso a paso.",
"greeting": "¡Hola, {name}!"
    },
    "nav": {
"home": "Inicio",
"about": "Acerca de",
"contact": "Contacto"
    },
"items": "ningún artículo | un artículo | {count} artículos",
"price": "Precio: {price}",
"date": "Hoy es {date}"
  }
And once these translation files are created, we'll change our i18n.js to import and use translations.
Here's the full file:
import { createI18n } from 'vue-i18n'
import en from './locales/en.json'
import es from './locales/es.json'

const i18n = createI18n({
locale: 'en',
fallbackLocale: 'en',
  messages: {
    en,
    es
  },
  numberFormats: {
    en: {
      currency: {
style: 'currency',
currency: 'USD'
      }
    },
    es: {
      currency: {
style: 'currency',
currency: 'EUR'
      }
    }
  },
  dateTimeFormats: {
    en: {
      long: {
year: 'numeric',
month: 'long',
day: 'numeric'
      }
    },
    es: {
      long: {
year: 'numeric',
month: 'long',
day: 'numeric'
      }
    }
  }
})

export default i18n
That's all! You can add new files to the locales directory and import them in the i18n.js file so they can be used in your app.
Using multiple translation files per locale
You can further break down the translations into separate files. For instance, you could create one translation file per page of your app, per locale.
Alternatively, you can also break up files based on what team handles which part of the app. One team may be working on the navigation and hero sections while another may be working on the footer.
Now, let see how to implement this. In your locales folder, create two new folders: en and es.
Move en.json into the en folder and es.json into the es folder.
Now, let's split our translations. In the en folder, create two new files: nav.json and messages.json.
Let's split our translations into the appropriate files now:
src/locales/en/nav.json
{
"home": "Home",
"about": "About",
"contact": "Contact"
  }
src/locales/en/messages.json
{
"welcome": "Centus Vue Localization (i18n) Demo!",
"intro": "Let's learn how to create localization in Vue with a simple step-by-step tutorial.",
"greeting": "Hello, {name}!"
}
Do the exact same split for Spanish files. We also need to change the imports in our i18n.js file now. Here's what it'll look like:
import { createI18n } from  'vue-i18n'
import enNav from  './locales/en/nav.json'
import enMessages from  './locales/en/messages.json'
import esNav from  './locales/es/nav.json'
import esMessages from  './locales/es/messages.json'

const i18n = createI18n({
locale: 'en',
fallbackLocale: 'en',
messages: {
  en: {
    nav: enNav,
    message: enMessages
  },
  es: {
    nav: esNav,
    message: esMessages
  }
},
Using Centus to simplify translation management
Noticed how difficult things can get when handling JSON translation files?
And this is only you, single-handedly working on a demo app right now. Imagine what it would be like with multiple teams handling different parts of the project.
That's why you need a localization management system, like Centus. Using it, you can translate your JSON files into multiple languages simultaneously.
Here's how:
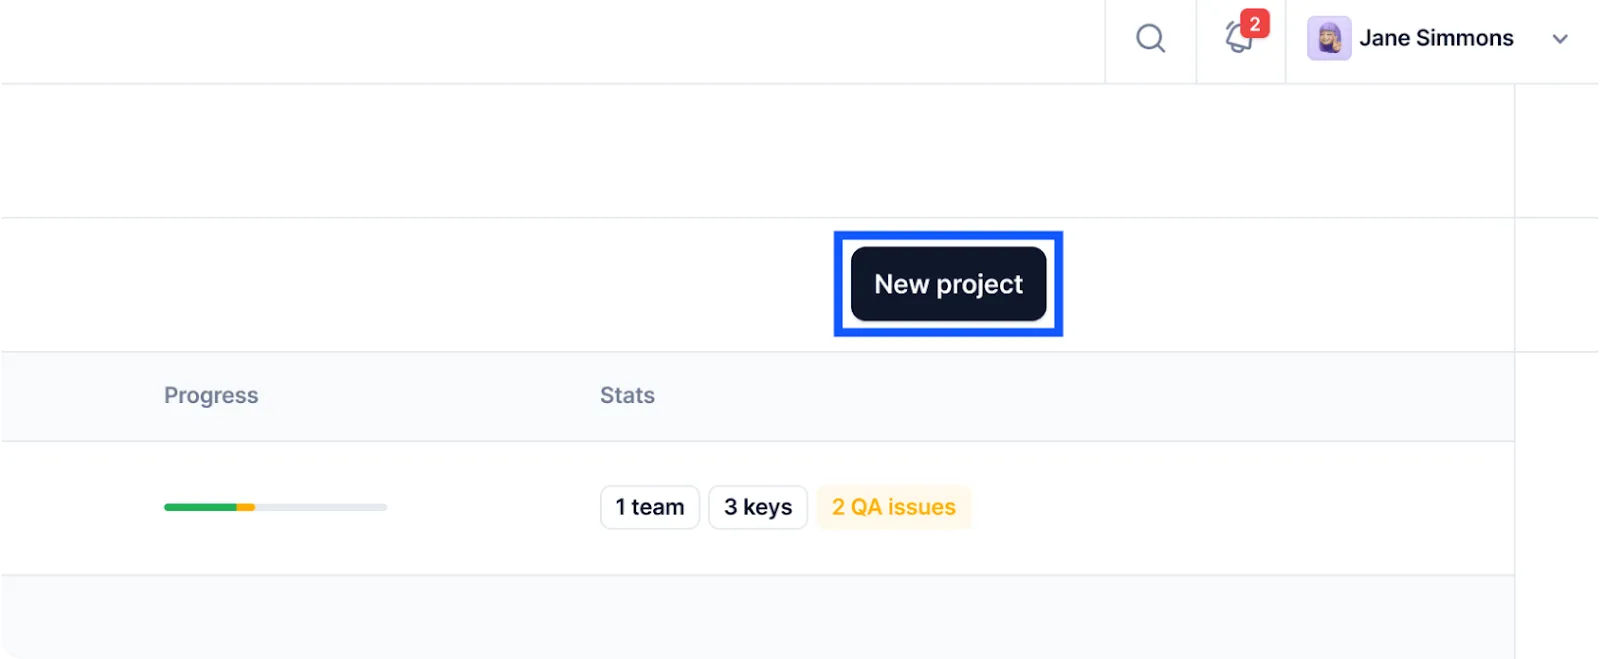
First, sign up to Centus and set up a new project. It's super easy to do.
In the dashboard, click New project and enter project details in the window that opens.
Ready to continue?
Head over to the Imports section and import your JSON files.

In case you like Centus so much you want to keep using it for other projects—which is quite likely—you'll be pleased to know it supports a wide range of file types, such as HTML, XLSX, PHP, or YAML.
Alright, now your project is set up and ready for language experts.
Hand over the project to your team that can quickly generate automatic translations using Google Translate, DeepL, or Microsoft Translate. Each translation can be adjusted manually in Centus' editor.
If you're working on a personal project and don't know where to find translators, check our handy guide.
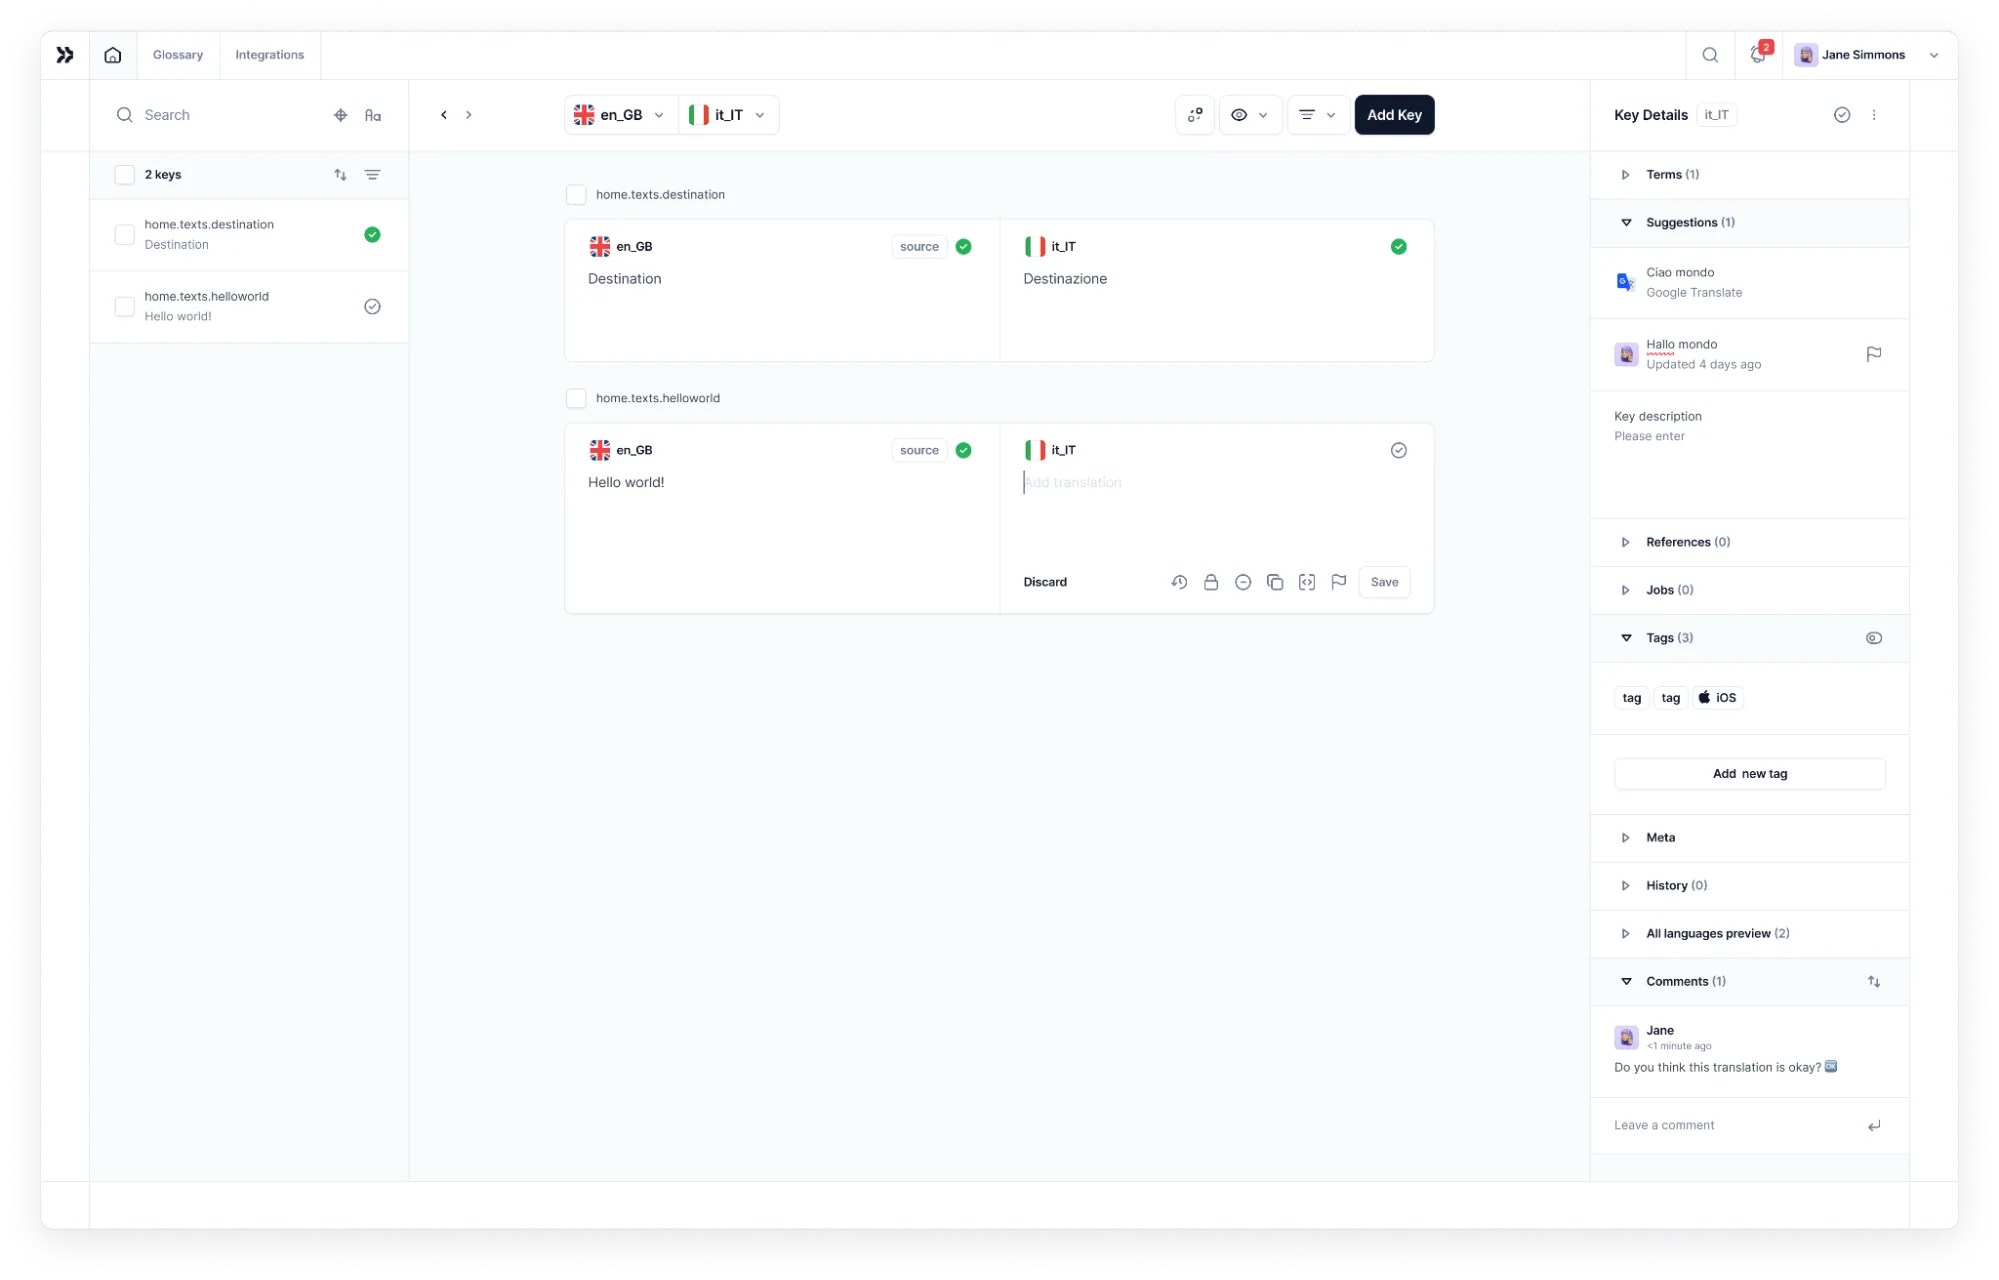
If you want to ensure all translations are spot-on, bring editors on the project. Just go to the Contributors section and click Add people. There, enter the editor's details and click Add project contributor.
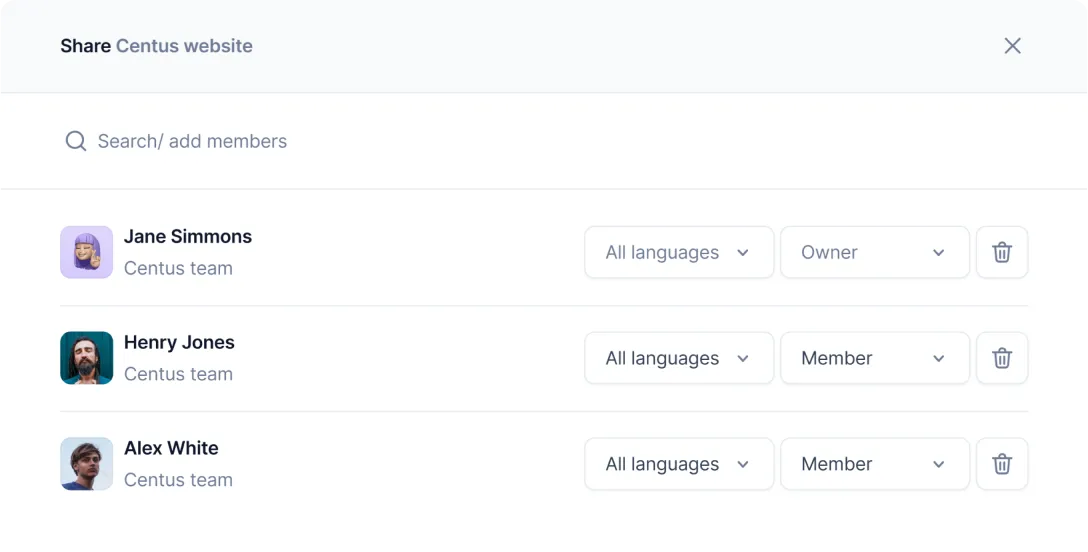
Repeat these steps for all translators, editors, and other project contributors.
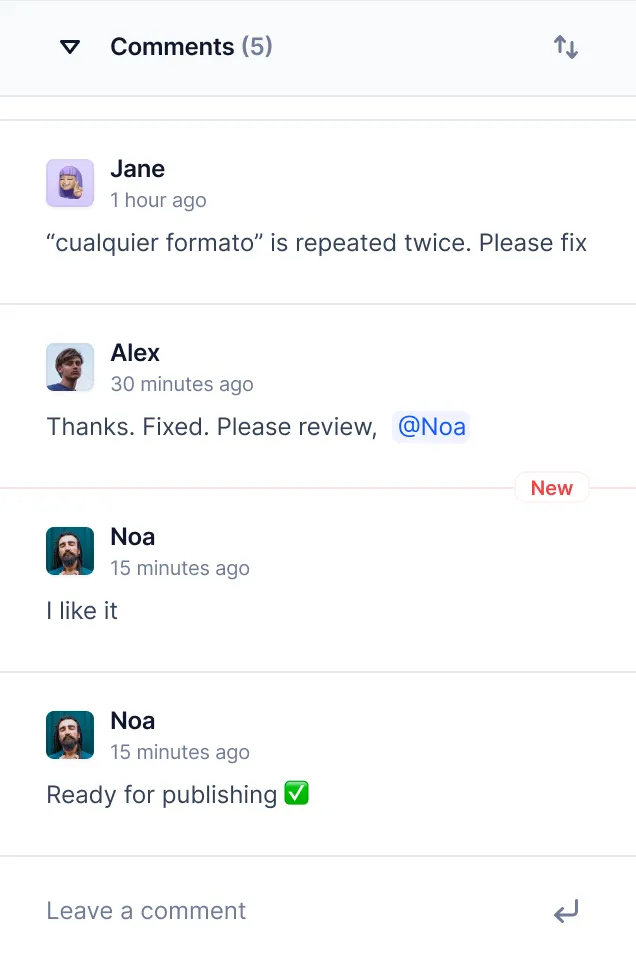
Finally, don't forget to encourage all team members to review translations, leave comments, and even share screenshots of your Vue app, if necessary.
See how simple it is? With Centus platform, Vue localization is more manageable now.
How to switch locales in Vue?
I've already created a language switcher dropdown before. But it's quite barebones, and we can do a much more robust version of the same. Let's start with creating a language switching component.
In the src/components directory, create a LanguageSwitch.vue file.
<template>
<div class="language-switch">
<select v-model="$i18n.locale">
<option v-for="locale in availableLocales" :key="locale.code" :value="locale.code">
{{ locale.name }}
</option>
</select>
</div>
</template>

<script>
export  default {
name: 'LanguageSwitch',
   data() {
return {
       availableLocales: [
{ code: 'en', name: 'English' },
{ code: 'es', name: 'Español' }
       ]
     }
   }
 }
</script>

<style scoped>
.language-switch {
margin: 10px  0;
 }
</style>
Now, modify the App.vue to import the LanguageSwitch.vue file like we did for NavMenu.vue
<template>
 <div id="app">
 <NavMenu />
 <LanguageSwitch />
 <!-- ... (rest of the content) ... -->
 </div>
</template>

<script>
import NavMenu from  './components/NavMenu.vue'
import LanguageSwitch from  './components/LanguageSwitch.vue'

export  default {
name: 'App',
  components: {
    NavMenu,
    LanguageSwitch
  },
 // ... (rest of the component) ...
}
</script>
You'll see another dropdown now with the two locales and that's it! You now have a language switcher module.
Listing available locales dynamically
Assuming that you won't limit yourself to just two locales, it makes sense to have some way to dynamically pull the available locales and show them on the dropdown.
I'll create an AVAILABLE_LOCALES constant that will hold the information now. Here's how I've modified the i18n.js file:
import { createI18n } from  'vue-i18n'
// ... (import statements) ...

export  const AVAILABLE_LOCALES = [
{ code: 'en', name: 'English' },
{ code: 'es', name: 'Español' }
]

const i18n = createI18n({
 // ... (i18n configuration) ...
})

export  default i18n
And in the LanguageSwitch.vue, we simply replace the script tag with the below:
<script>
import { AVAILABLE_LOCALES } from  '@/i18n'

export  default {
name: 'LanguageSwitch',
  data() {
 return {
      availableLocales: AVAILABLE_LOCALES
    }
  }
}
</script>
Retaining the user's selected locale preference
It's bad UX if your users have to switch the locale every time. Instead, we'll use Vue's built-in localStorage method to set and get the default locale.
Here's how I've updated our i18n.js:
import { createI18n } from  'vue-i18n'
// ... (import statements) ...

export  const AVAILABLE_LOCALES = [
{ code: 'en', name: 'English' },
{ code: 'es', name: 'Español' }
]

const savedLocale = localStorage.getItem('userLocale')
const defaultLocale = savedLocale || 'en'  // fallback to English if no saved preference

const i18n = createI18n({
  locale: defaultLocale,
fallbackLocale: 'en',
  messages: {
 // ... (messages remain the same) ...
  },
 // ... (number and date formats remain the same) ...
})

export  default i18n
Now, when the user sets their locale the first time, it will get stored locally, and every time the app is opened, we see if that locale is available before defaulting to English.
Setting locale based on the user's browser settings
You could further improve the experience by setting the language/locale to whichever language is set as default on their browser. To access this setting, we can use Vue's navigator.language and pass the result to set the locale.
Here's our i18n.js now:
import { createI18n } from  'vue-i18n'
// ... (import statements) ...

export  const AVAILABLE_LOCALES = [
{ code: 'en', name: 'English' },
{ code: 'es', name: 'Español' }
]

function  guessDefaultLocale() {
 const savedLocale = localStorage.getItem('userLocale')
 if (savedLocale) return savedLocale

 const browserLocale = navigator.language.split('-')[0] // 'en-US' -> 'en'
 return AVAILABLE_LOCALES.map(l => l.code).includes(browserLocale) ? browserLocale : 'en'
}

const defaultLocale = guessDefaultLocale()

const i18n = createI18n({
  locale: defaultLocale,
fallbackLocale: 'en',
  messages: {
 // ... (messages remain the same) ...
  },
 // ... (number and date formats remain the same) ...
})

export  default i18n
After all the code is ready, here's what will happen:
- Use the saved locale if available
- Otherwise, try to use the browser's language
- If the browser's language isn't in our list of available locales, fall back to English
How do you show locale code in your app URL?
You might've seen this quite commonly around the web—companies use the locale code in the URL, either as a subdomain or a subdirectory.
If you ask me, I'd always suggest going with the subdirectory approach, as it helps with Google rankings compared to a subdomain approach.
To set a subdomain, you'll need the Vue router:
npm install vue-router@4
Now, in the src directory, create router.js and include the below code:
import { createRouter, createWebHistory } from 'vue-router'
import Home from './views/Home.vue'
import About from './views/About.vue'
import Contact from './views/Contact.vue'
import { AVAILABLE_LOCALES } from './i18n'

const routes = [
  {
path: '/:locale',
    component: {
template: '<router-view></router-view>'
    },
    children: [
{ path: '', component: Home },
{ path: 'about', component: About },
{ path: 'contact', component: Contact },
    ]
  },
  {
path: '/:pathMatch(.*)*',
redirect: '/en'
  }
]

const router = createRouter({
  history: createWebHistory(),
  routes
})

export default router
And you're done. You'll notice the "template" key is where the locales are set in the URL. After this is correctly implemented, you should see the locale code right in the URLs.
How to lazy load Vue localizations?
Your translation files will grow larger with your app. If you allow the app to load everything in the beginning, it will slow down the app significantly and make your users jump off the page.
Lazy loading helps by loading only the most important elements on the page. Here's how I've modified my i18n.js file:
import { createI18n } from  'vue-i18n'

export  const AVAILABLE_LOCALES = [
{ code: 'en', name: 'English' },
{ code: 'es', name: 'Español' }
]

function  loadLocaleMessages(locale) {
 return  import(`./locales/${locale}.json`).then(messages => {
 return messages.default
  })
}

function  guessDefaultLocale() {
 // ... (same as before) ...
}

const defaultLocale = guessDefaultLocale()

const i18n = createI18n({
  locale: defaultLocale,
fallbackLocale: 'en',
  messages: {},
 // ... (number and date formats remain the same) ...
})

loadLocaleMessages(defaultLocale).then(messages => {
  i18n.global.setLocaleMessage(defaultLocale, messages)
})

export  async  function  setI18nLanguage(i18n, locale) {
 if (i18n.global.locale.value !== locale) {
 if (!i18n.global.availableLocales.includes(locale)) {
 const messages = await loadLocaleMessages(locale)
      i18n.global.setLocaleMessage(locale, messages)
    }
    i18n.global.locale.value = locale
 document.querySelector('html').setAttribute('lang', locale)
    localStorage.setItem('userLocale', locale)
  }
}

export  default i18n
And finally, replace the script in the LanguageSwitch.vue file with the one below:
<script>
import { AVAILABLE_LOCALES, setI18nLanguage } from  '@/i18n'

export  default {
name: 'LanguageSwitch',
  data() {
 return {
      availableLocales: AVAILABLE_LOCALES,
selectedLocale: this.$route.params.locale
    }
  },
  watch: {
    selectedLocale(newLocale) {
 this.switchLanguage(newLocale)
    }
  },
  methods: {
 async switchLanguage(locale) {
 const currentRoute = this.$route
 await setI18nLanguage(this.$i18n, locale)
 this.$router.push({
        params: { ...currentRoute.params, locale },
        query: currentRoute.query
      })
 this.$emit('language-changed', locale)
    }
  }
}
</script>
You should be all set now. The language files will be loaded ONLY if they're required instead of loading them all right in the beginning.
Wrapping up
That definitely was a lot to go through! But I hope you have a fully functional, localized Vue application at your disposal now.
If you want to scale your efforts and translate Vue apps into multiple languages, you need a more robust way of managing translation files. You need a professional localization management platform.
For a smooth Vue localization experience, try Centus now!
For more information on app localization, keep exploring our blog:
Get the week's best content!
By subscribing, you are agreeing to have your personal information managed in accordance with the terms of Centus Privacy Policy ->
Keep learning
21 min. read
Software Localization Guide for Developers

11 min. read
How to Perform Mobile App Localization: The Right Way

19 min. read
NodeJS Internationalization (i18n) and Localization
21 min. read
Nuxt i18n and Localization: Make Your App Multilingual

19 min. read
NextJS Internationalization: A Complete Walkthrough
7 min. read