How to Perform Mobile App Localization: The Right Way
Mobile app localization can help you increase downloads, improve user experience, boost in-app purchases, and improve user retention.
So how do you go about app localization? Most importantly, how do you handle regular app updates?
Sorry to be a party pooper, but the diff command and spreadsheet juggling won’t cut it. What you need is a refined app localization workflow. And I’m here to guide you through it.
Read on to learn how to localize your app into multiple languages, without wasting your time or team resources.
What is app localization?
App localization is the modification of text, UI, numbers, currencies, and graphics based on the user's location. A properly localized app aligns not only with the user’s language expectations, but also with local laws, regulations, and social norms. It feels just right.
Not only does it feel right to the user, but you can also expect a host of app localization benefits:
- Increased app downloads
- Improved user retention
- Higher in-app purchases (IAPs)
- Local law compliance
- Better user experience
- Competitive edge
What kind of localization do you need?
Localization falls under two categories: partial and full localization.
-
Partial localization or minimum viable localization (MVL): This entails making minor changes to make the product usable for your audience. The only disadvantage is that it doesn’t deliver the whole experience to users.
-
Full localization: As the name suggests, this involves context-relevant translation, technical modification, and the whole nine yards of adjustments. The only tradeoff is that you get to spend more time before your app hits the markets.
Which one is right for your organization?
MVL is the no-brainer option if you are in a rush to go to market or you have limited financial resources for full customization.
Conversely, full app localization sets your app apart from competitors, allowing you to penetrate different markets simultaneously, which increases potential revenue.
How to prepare your app for localization
The preparatory stage of app localization is so crucial that it has its own name–internationalization, or i18n for short. At this stage, you prepare your app’s code to support multiple languages.
Your main objective here is to separate user text from executable code. Later it can be extracted, localized, and reintegrated into your app without having to modify its code.
Here’s how to prepare your app for localization:
Identify translatable text
Review your code to identify user-visible text:
- Menu (home, inbox, chat)
- Navigation items (back, home, next)
- Field labels (username, password)
- Prompts (choose a file)
- Buttons (save, cancel, submit)
- Messages (invalid format, changes saved successfully)
- Page titles (dashboard, profile settings)
- Legal text (terms of service, privacy policy)
- Contact information
Create keys
Your code shouldn’t have hard-coded strings. After all, you don’t want to create multiple versions of your code for each locale. Ideally, your app already has keys that reference centralized localization files. But on the off chance that it doesn’t, here’s how to create them:
First, identify hardcoded strings that look like this:
const welcomeMessage = 'Welcome to my app!';
Then, replace them with keys using i18next.t function provided by i18n framework for JavaScript applications. It should look as follows:
const welcomeMessage = i18next.t('welcomeMessage');
The key welcomeMessage is now associated with the string ‘Welcome to my app!’
Note: Use gettext localization framework for C/C++ or NSLocalizedString for Swift.
Centralize app strings
Keeping all strings within a centralized localization file will simplify app translation and, especially, its future updates. Move all user-visible strings into a JSON, XML, PO, YAML, XLIFF, CSV, Apple strings, or other file, depending on your environment and framework.
If you want to localize an Android app, you might want to opt for eXtensible Markup Language (XML) file format. It’s highly compatible and can be easily validated against schemas to avoid errors.
Here’s how your XML localization file might look like:
<resources>

<string name="welcomeMessage"\>Welcome to my app!\</string>

</resources>
In iOS and macOS development, you’ll deal with Localizable.strings files looking as follows:
"welcomeMessage" = "Welcome to my app!";
The string should be associated with the corresponding key via NSLocalizedString macro:
let welcomeMessage = NSLocalizedString("welcomeMessage", comment: "Welcome message on the home screen")
Mark text not meant for translation
During app localization, some strings should remain in the original language. For example, you don’t need to translate the app name, promo codes, placeholders, or special symbols.
To label text that should remain untranslated, use an <xliff:g> tag. Here’s how to use it to mark a promo code that should be excluded from translation:
<string name="promo_code">Apply"<xliff:g id="promotion_code">NEWYEARMADNESS</xliff:g>"promo code for a discount.
</string>
Provide translation context
The word “set” has over 460 meanings, making its translation downright impossible without proper context. Do you see why you can’t just provide translators with bare strings and expect accurate translations?
To avoid misunderstandings, make sure to provide context for ambiguous strings. For example, while text boxes don’t always need context, it’s essential for all buttons.
Pro tip: Specify the maximum character length for buttons to avoid text overflowing.
The guiding principle here is the more context, the better. Here’s what it might look like:
<!-- Text for a button that adds items to a cart. Maximum length is 20 chars --\>

<string name="add_to_cart_button"\>Add to Cart\</string\>
How to localize your app
Here’s the thing about localization: users notice tiny details.
Your users will notice if currencies aren’t localized. They won’t miss overflowing button text. And they will definitely spot the absence of local payment options.
Essentially, app localization is all about usability. To give your users that positive experience and turn them into your app’s evangelists, make sure to localize its every aspect.
Here’s how to properly localize your app:
Translate app text
The first thing that comes up when discussing application localization is text translation. For smaller apps, this might be your only focus and it can suffice in many locales.
The rule of thumb here is it’s better to have no translation than an inaccurate one.
To get translations right, don’t leave them to machine translation engines. Despite recent advances, neither Google Translate nor DeepL is 100% accurate. What you need here are automatically translated strings that are meticulously reviewed by human translators.
The best way to organize the translation process is by using a localization management system, like Centus. It goes like this:
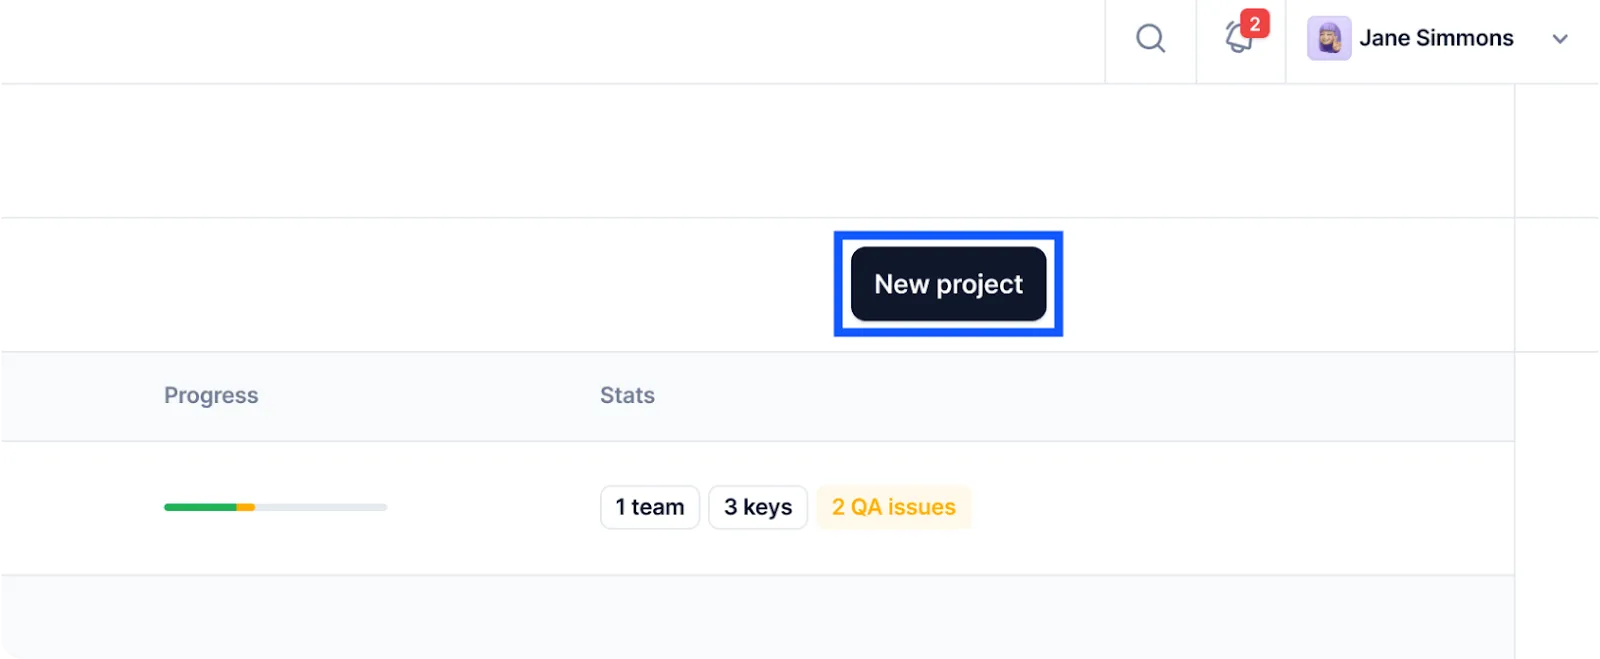
- Sign up to Centus and create a new project
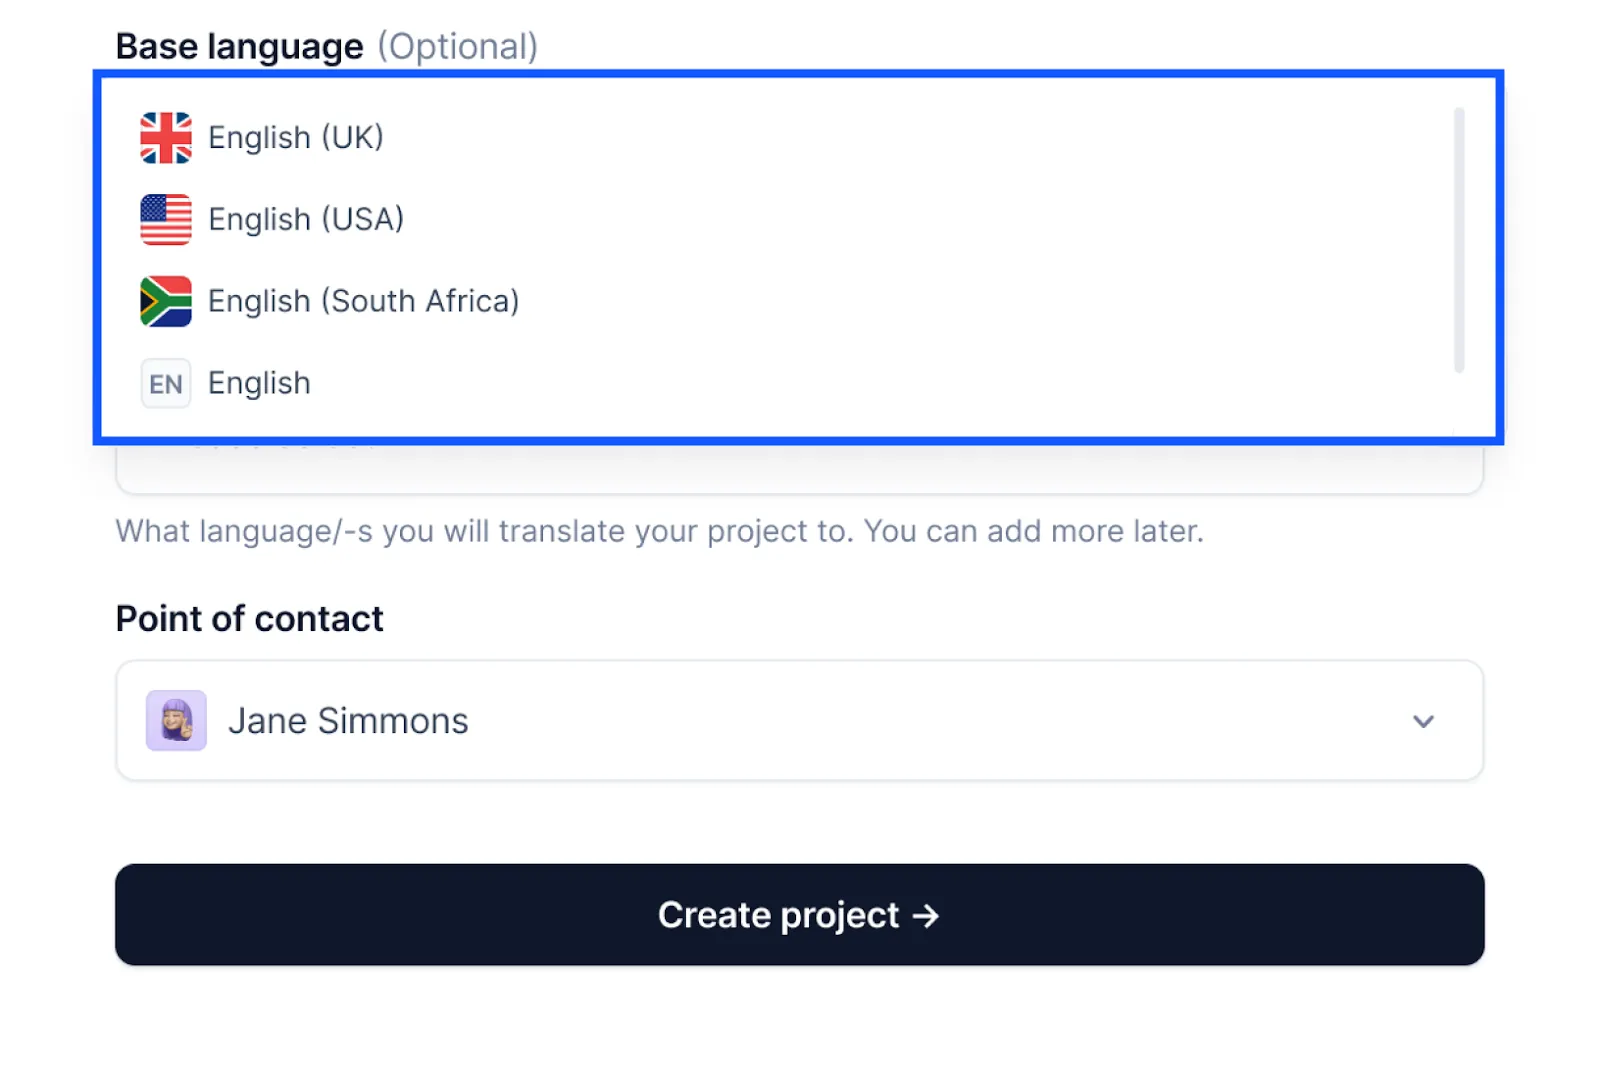
- Enter project details and select the base language
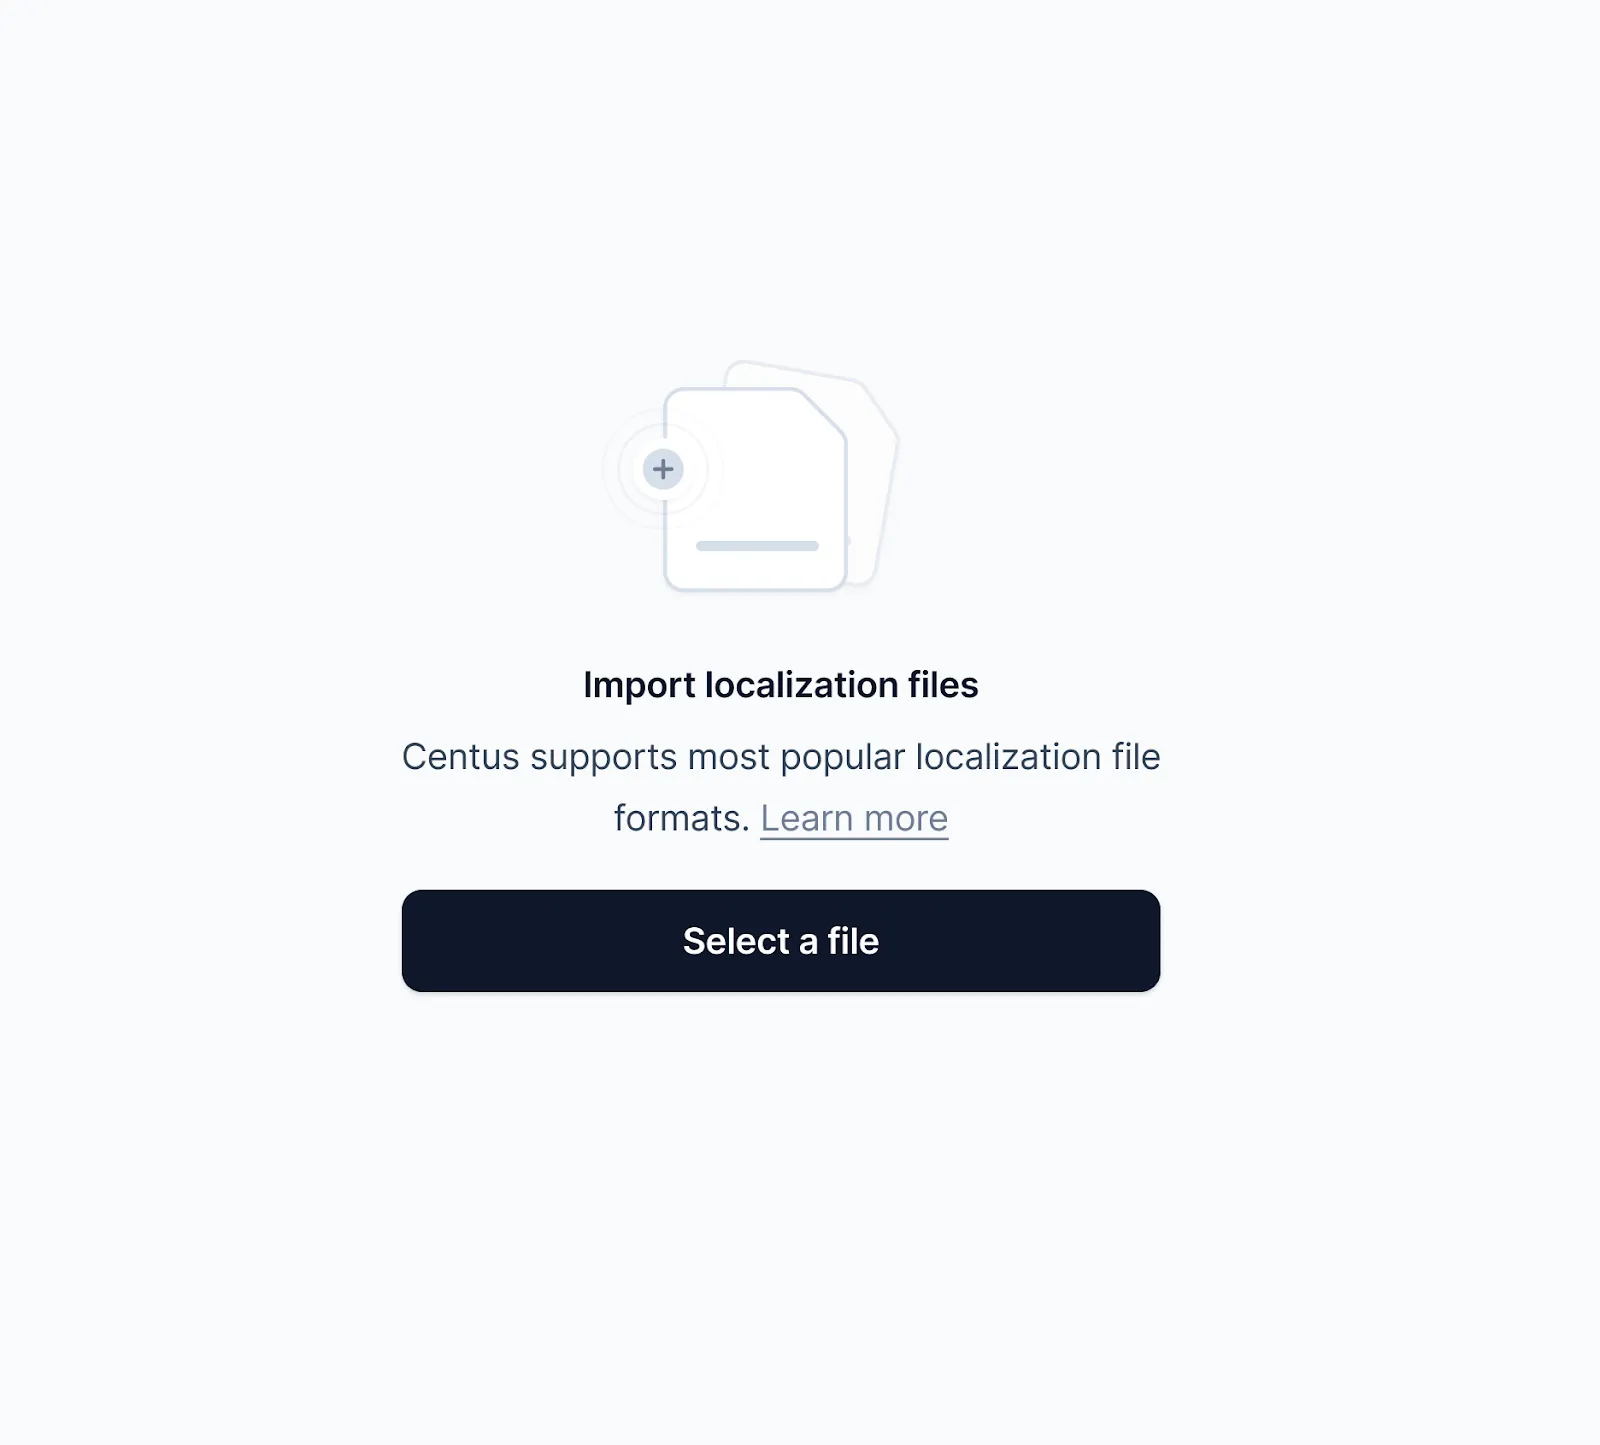
- In the Imports section, upload your JSON, XML, PO, YAML, XLIFF, CSV, Apple strings, or other localization files.
- In the Editor section, batch-translate strings using Google Translate, DeepL translate, or Microsoft Translate.
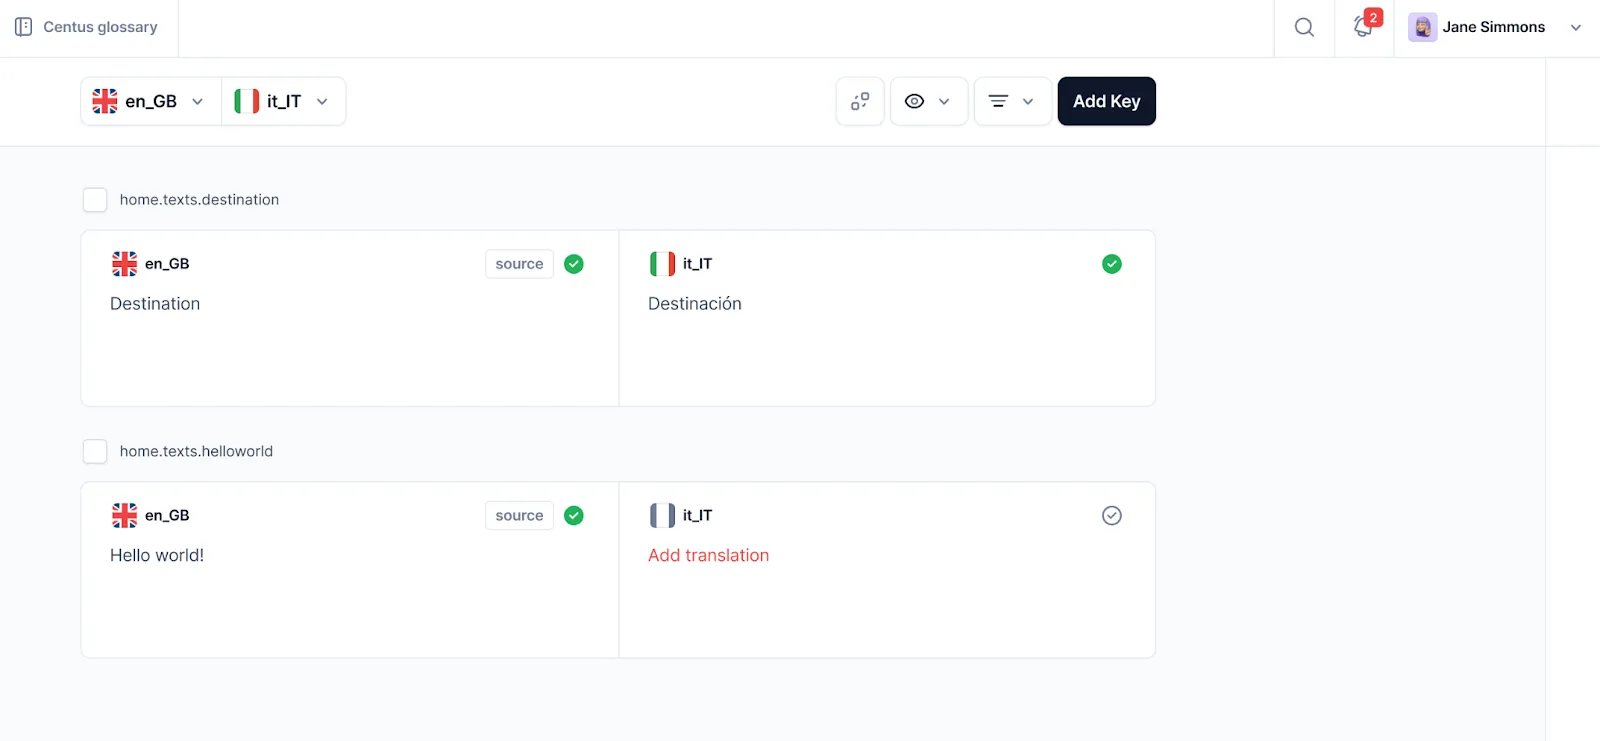
Now, ensure that translations are accurate. To this end, arrange a manual review by your team’s translators and editors. They can improve automatically-translated strings and shorten translations that don’t fit buttons.
To conduct a manual review, add your team’s reviewers to the project:
- In the Contributors section, click Add people
- Enter the reviewer’s details and choose their role
- Let the reviewer edit the translations and leave comments
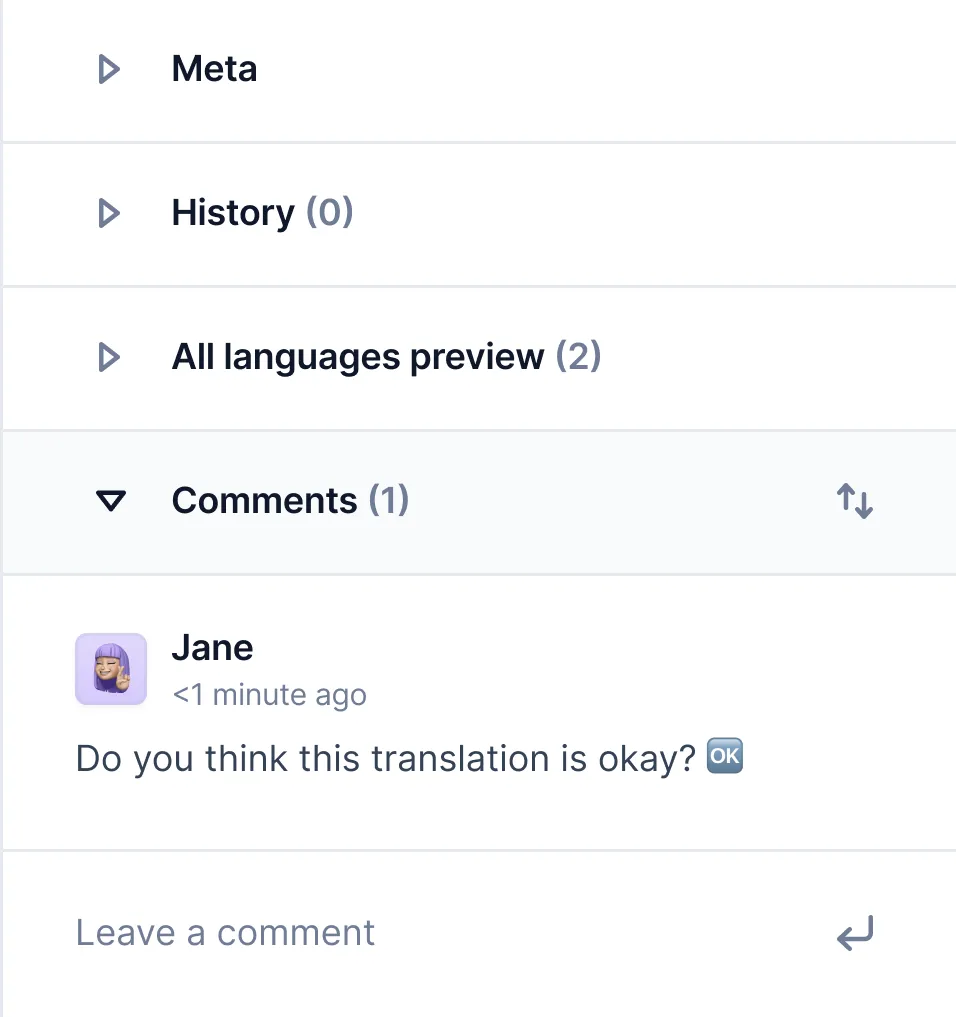
The best thing? Multiple contributors can work on your project to translate your app into multiple languages simultaneously.
To help your reviewers, provide them with app UI screenshots. The visual context will help reviewers understand where text is located in the layout and how it will be presented to the user.
- In the References section, click Upload reference
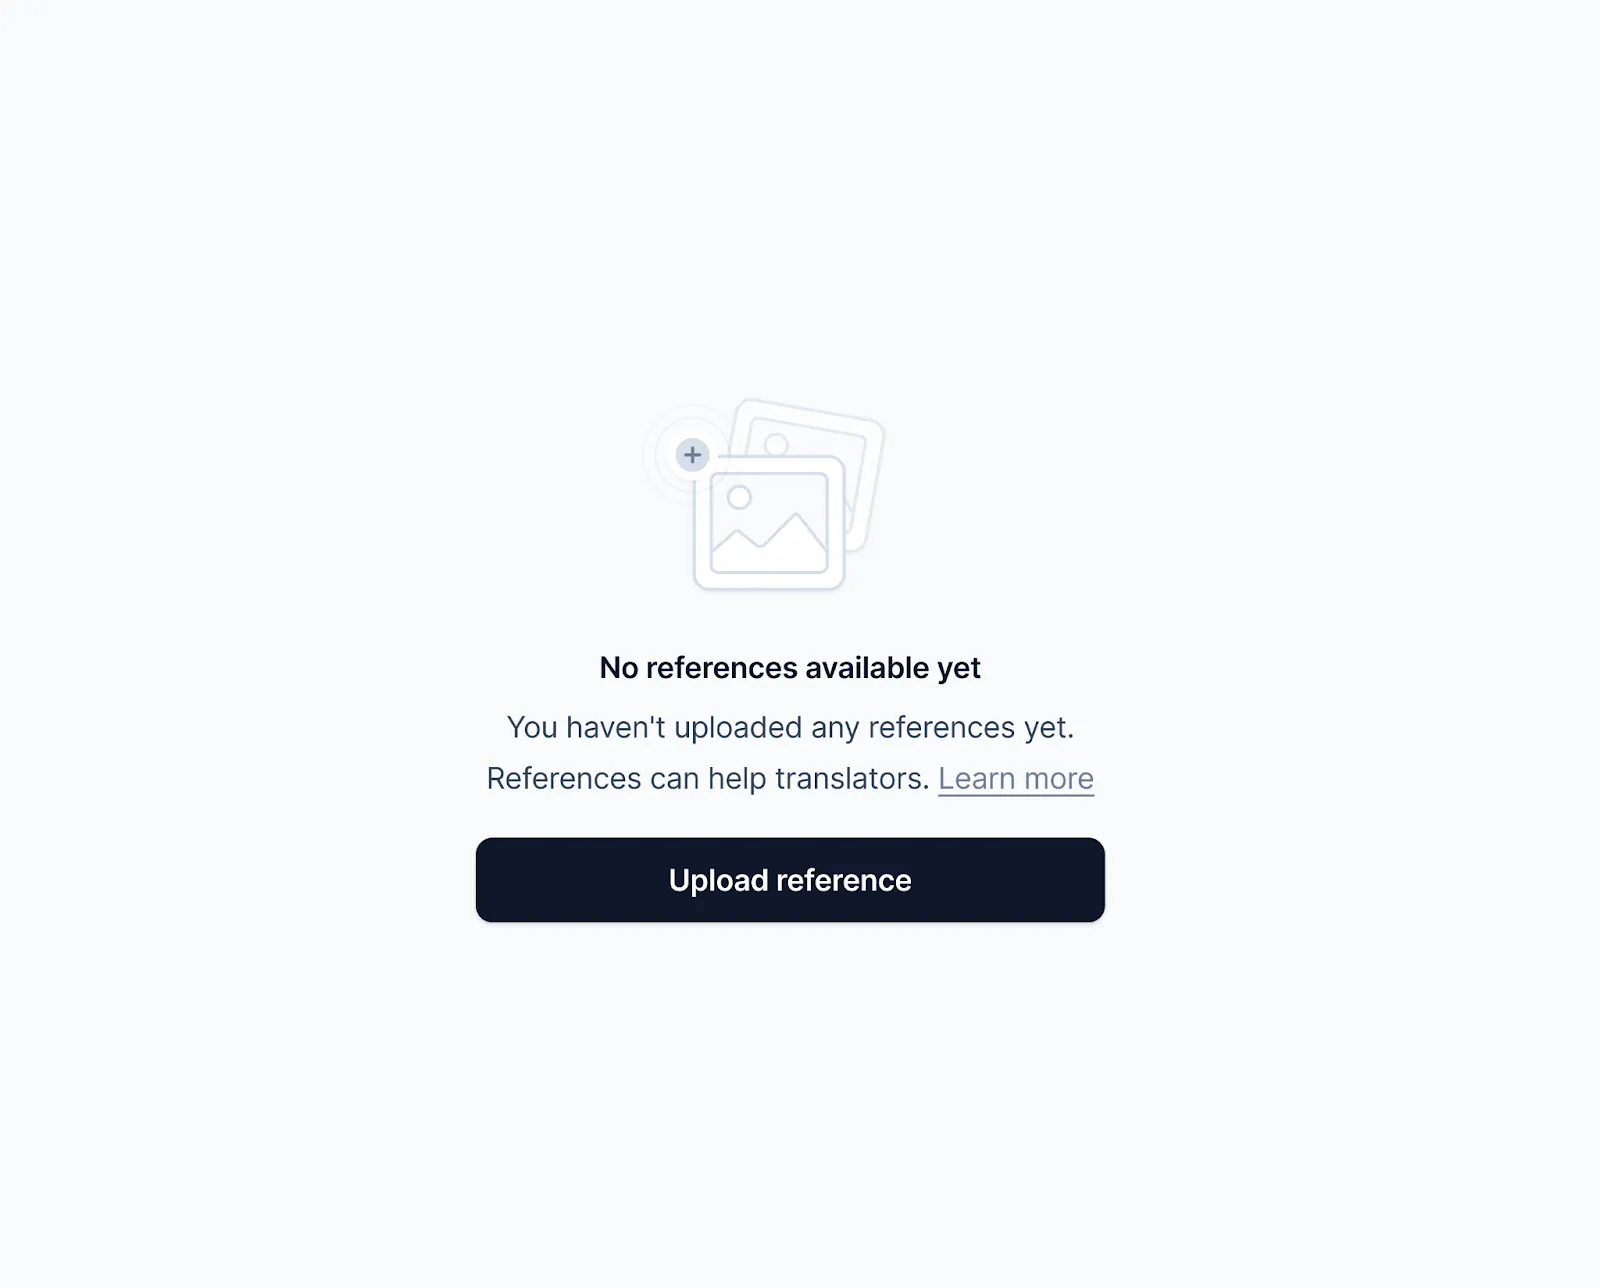
- Upload a UI screenshot from your computer
- Click Detect text to automatically link a screenshot with a string
- Click Attach key to manually link a screenshot with a key

- Click Upload reference
Let your language experts work their magic and pass the ball to your designers.
2. Localize UI and images
Localize UI for Latin, Cyrillic, and right-to-left alphabets. Also, consider changing the color scheme to suit regional differences. This tiny detail can affect your app’s reception amongst different user segments. For instance, red signifies danger in most cultures. But in Chinese culture, red means happiness and prosperity.
Quite unsurprisingly, visual localization is challenging.
If you don’t localize a small, bootstrapped app, your designer would need to manually copy hundreds of strings. Naturally, this leaves the door to potential errors wide open. And as for the time wasted? Don’t get me started.
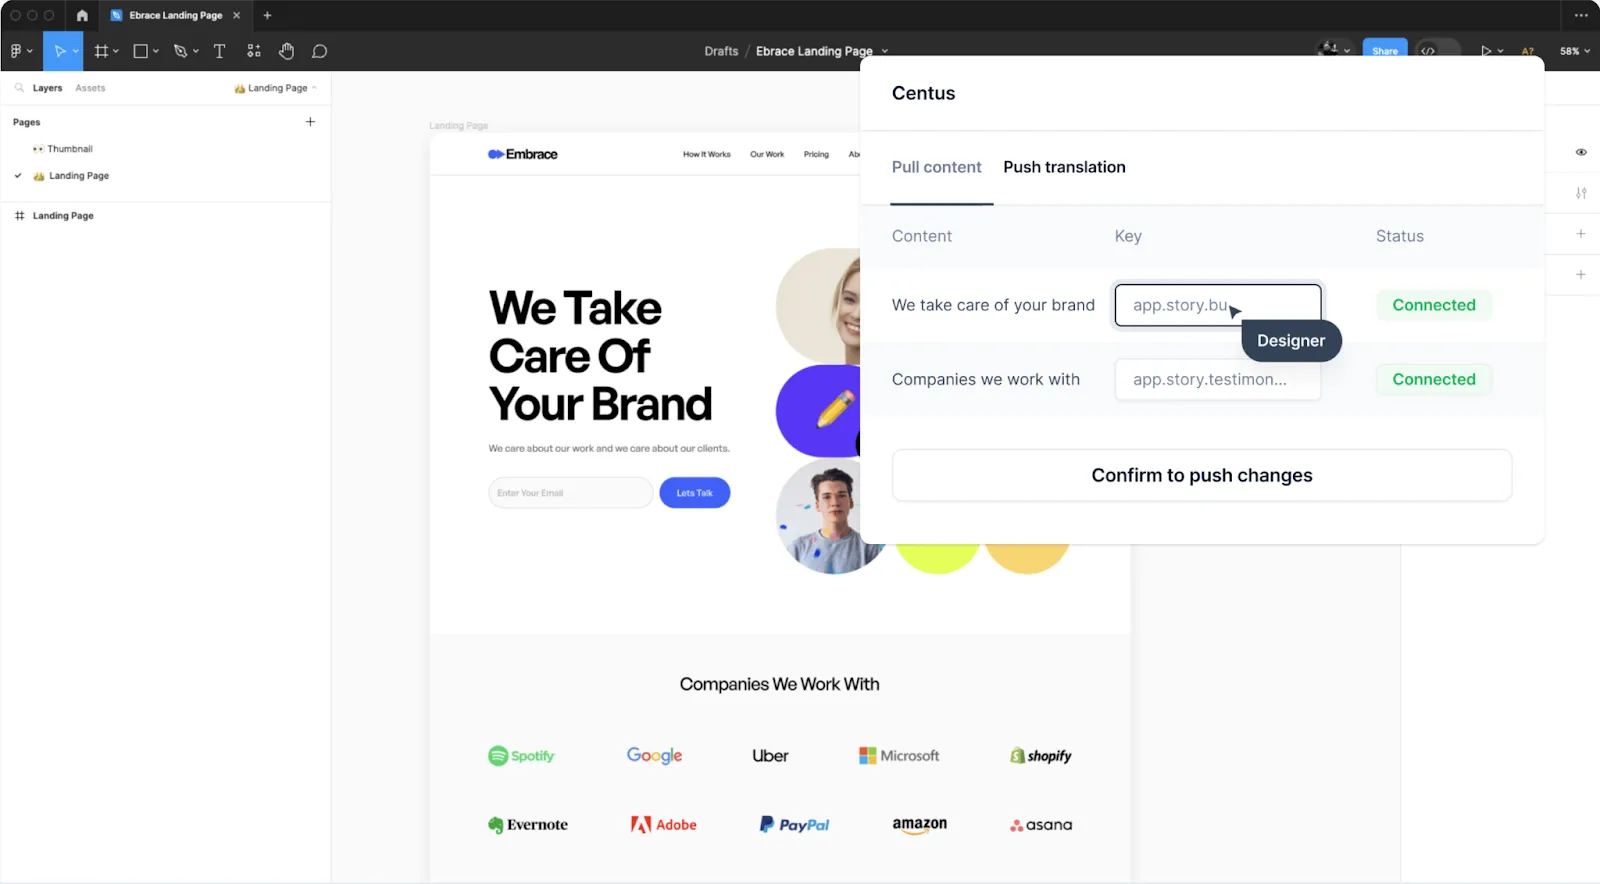
Fortunately, Centus once again comes to the rescue. Install the Centus plugin for Figma to automatically import translations into your designs. You can also use it in reverse to pull strings from Figma into Centus.
Your designers will appreciate it. A whole lot.
3. Localize numbers and units
It comes as no surprise that your local users prefer local formats for time, date, currencies, and units of measurement. Adap these elements to eliminate user confusion.
To learn how to localize percentages, dates, and other formats, refer to our Java localization guide.
4. Ensure legal and regulatory compliance
When performing application localization across regions, pay attention to compliance and regulatory standards.
Some restrictions include:
- Content age restriction
- Payment regulation (PCI DSS)
- Data governance and privacy (GDPR, CCPA, HIPAA, etc.)
- Industry-specific regulations
If your app doesn’t comply with these laws, local regulatory bodies will ban it or force you to pay fines.
5. Perform localization testing
Test your soon-to-be-released app to ensure it doesn’t contain errors or untranslated strings. Using Centus you can automatically detect a whole host of issues:
- Spelling, grammar, and punctuation errors
- Placeholder differences in the source and target text
- Leading and trailing whitespaces
- Bracket differences in the source and target text
- Number differences in the source and target text
- Email address differences in the source and target text
- URL differences in the source and target text
To enable automatic QA in Centus, follow these steps:
- In the dashboard, click More
- In the dropdown menu, select Settings
- Click QA/Review and select the Warning option
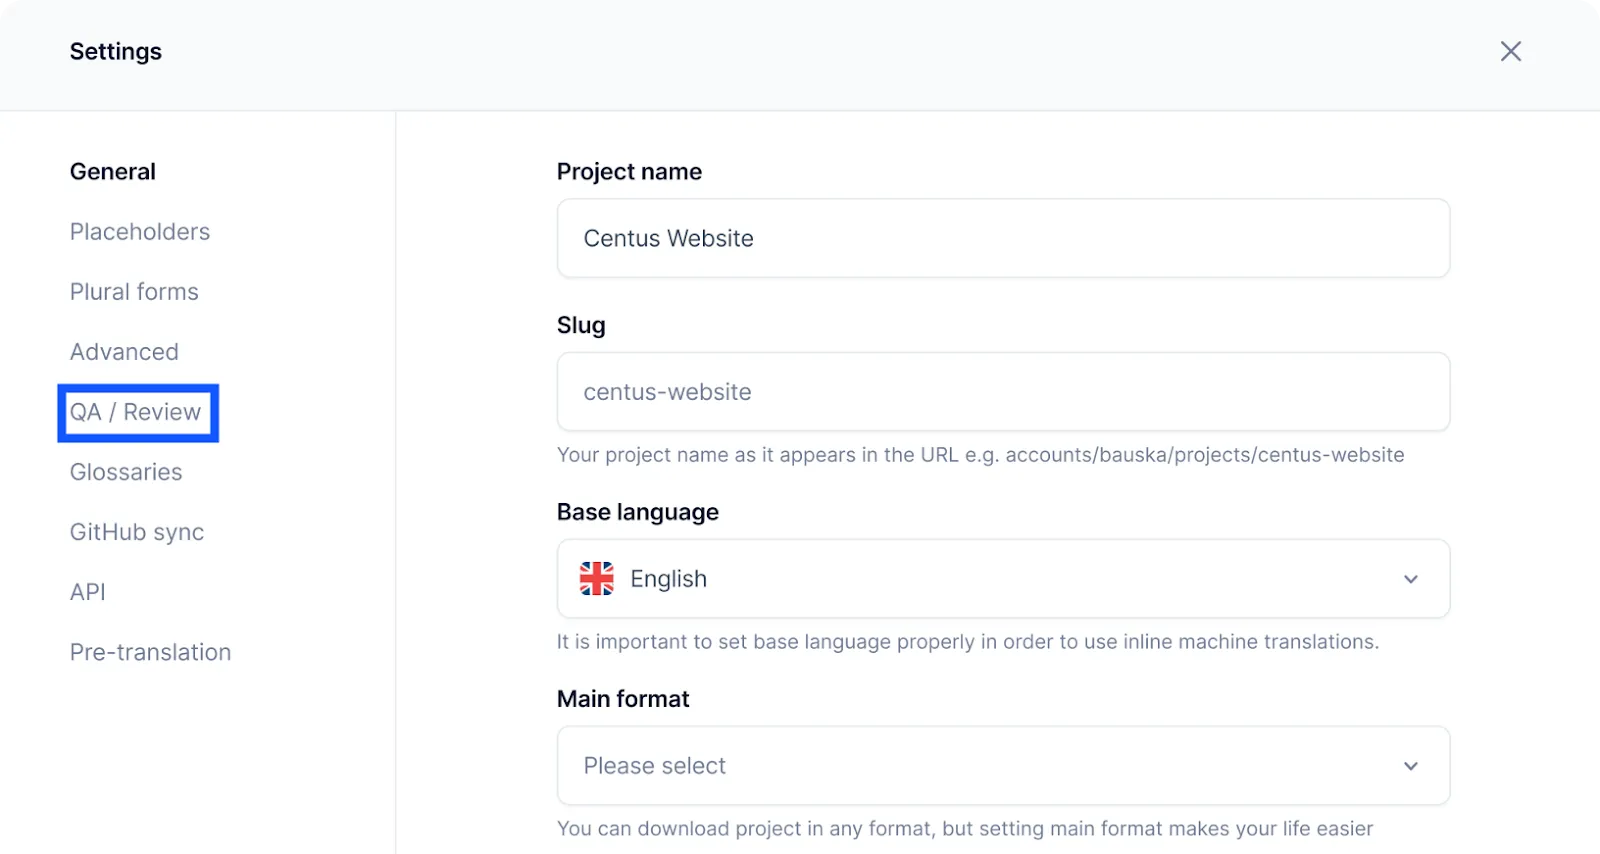
Now you can review automatically-detected issues to avoid embarrassing errors.
After reintegrating translations into the app, perform smoke testing to ensure it hasn’t been affected during the localization process. Find out more about quality assurance, in our localization testing guide.
6. Localize app store listings
App localization goes beyond your app content. It also covers your app store optimization (ASO) listings on the Apple App Store or Google Play.
Localize all your app store content including:
- Text: Ensure that the text in your app store listing is culturally appropriate for the target market. Adjust units of measurement, symbols, and cultural references that may not translate well in different markets. For example, the "thumbs up" sign is considered obscene in Iran.
- Keywords: Simply translating app store listing word-by-word isn't the best strategy since culture and language influence online search. Instead, you use research tools like Moz or Ahrefs to perform keyword research for each market. This will help app store users find your app when they search for related words or phrases in their language.
- Videos: Localize video content on your listing for the target market. During localization, make sure to adhere to the Google Play Store localization rules and Apple’s App Store localization content guidelines.
- Screenshots: Similar to videos, screenshots in your app store listing need to be understandable to users in the target market. Make sure that the screenshots are localized and show content that applies to that market.
- Positional information: If your app is location-specific, list positional information like city or region to help app stores index your app by location.
- Metadata: Localize app titles and descriptions to increase app visibility, downloads, ratings, and reviews.
- App previews: App previews should be localized to explain the app in a way that resonates with the target audience.
- In-app purchases: Another vital aspect of app store optimization is in-app purchase pop-ups. People cannot buy what they don’t understand.
Localizing your app store content for both iOS and Android apps makes it more discoverable and appealing to local users, helping you increase app downloads.
Parting thoughts
Phew! Let’s wrap it up.
Mobile app localization can be a time-consuming and costly process. Unless, of course, you follow our app localization tips and use the right app localization system.
Using Centus, you can streamline your entire localization process, from importing and exporting localizable strings to managing localization teams, monitoring progress, and conducting quality assurance tests. All within a single dashboard.
Get the week's best content!
By subscribing, you are agreeing to have your personal information managed in accordance with the terms of Centus Privacy Policy ->
Keep learning
21 min. read
Software Localization Guide for Developers

12 min. read
How to Build a Localization Workflow

11 min. read