Your Python app’s way too... monoligual? Let’s change that.
Python localization is easy, given the simple syntax. And the gettext library makes it even more straightforward.
I’ll walk you through the process of taking your Python app with hard-coded English strings and turning it into a completely localized app where you can add as many new languages as needed without making any changes to the code.
Let's begin!
What makes Python gettext module a good choice for localization?
There are four reasons to consider gettext for your Python localization project:
- Built in Python support: Gettext is part of the standard library, so using it doesn’t require you to add new dependencies to your app.
- Time-tested reliability: People have been using gettext for over 25 years now to localize their apps across many different languages.
- Complete tool chain: Gettext has matured over time, adding a comprehensive toolset for extracting strings, managing translations, and compilation.
- Language complexity handling: Irrespective of the language and the grammatical nuances that you want to support, gettext has the required tools to handle them built into the library.
These reasons make gettext an obvious choice for me. And unless you have a niche requirement that you know gettext cannot handle, I would recommend picking gettext as the default choice for Python localization.
How to use Python gettext module for app translation
Let’s create a simple command-line application with hard-coded English strings, and we'll go step by step to localize it.
Step 0: Create a basic Python app
Here's a basic Python application with hardcoded English text that we'll evolve throughout this guide:
# app.py

def greet_user():
    name = input("Please enter your name: ")
    print(f"Hello, {name}! Welcome to our application.")

def show_menu():
    print("\nMain Menu:")
    print("1. View account information")
    print("2. Update settings")
    print("3. Check notifications")
    print("4. Log out")

    choice = input("Please select an option (1-4): ")

    if choice == '1':
        print("Your account is in good standing.")
    elif choice == '2':
        print("Settings page is currently under maintenance.")
    elif choice == '3':
        print("You have no new notifications.")
    elif choice == '4':
        print("Logging out. Thank you for using our application!")
    else:
        print("Invalid option. Please try again.")

if __name__ == "__main__":
    greet_user()
    show_menu()
The app is English only, but it gets the job done. The next step is to turn this functional app into a localized one.
Step 1: Marking translation strings
With the app ready, our first step is to start identifying all user-facing strings and mark them as translatable.
Gettext uses a simple convention: wrap strings in a function call, typically like _() (underscore).
# app.py
import gettext

# Initialize gettext with a placeholder function
# We'll replace this with actual translation logic later
_ = gettext.gettext

def greet_user():
    name = input(_("Please enter your name: "))
    print(_("Hello, {}! Welcome to our application.").format(name))

def show_menu():
    print("\n" + _("Main Menu:"))
    print(_("1. View account information"))
    print(_("2. Update settings"))
    print(_("3. Check notifications"))
    print(_("4. Log out"))

    choice = input(_("Please select an option (1-4): "))

    if choice == '1':
        print(_("Your account is in good standing."))
    elif choice == '2':
        print(_("Settings page is currently under maintenance."))
    elif choice == '3':
        print(_("You have no new notifications."))
    elif choice == '4':
        print(_("Logging out. Thank you for using our application!"))
    else:
        print(_("Invalid option. Please try again."))

if __name__ == "__main__":
    greet_user()
    show_menu()
We still have the English strings, but you will now notice that they are wrapped in a gettext-able function.
That tells gettext that the strings are replaceable and that’s the groundwork we need to lay to make translations easier later down the line.
Step 2: Creating translation files
Now we need files where we stored the translation messages so gettext can fetch the required message and display it to the user. Gettext uses the PO file format for translations. Here are the steps we’ll be following:
- We extract strings to a POT (Portable Object Template) file
- Then we create PO (Portable Object) files for each language
- Finally, we compile those into binary MO (Machine Object) files
Let's start by extracting our marked strings using the xgettext tool:
# Extract strings from app.py into a messages.pot file
xgettext --language=Python --keyword=_ --output=messages.pot app.py
This creates a template file (messages.pot) with all our translatable strings. Now let's create language-specific PO files for Spanish and French:
# Create directory structure
mkdir -p locale/es/LC_MESSAGES
mkdir -p locale/fr/LC_MESSAGES

# Initialize Spanish PO file
msginit --input=messages.pot --locale=es --output=locale/es/LC_MESSAGES/messages.po

# Initialize French PO file
msginit --input=messages.pot --locale=fr --output=locale/fr/LC_MESSAGES/messages.po
Now, the above commands will create two directories for Spanish and French and initialize the required PO files.
Both files will be empty and will have entries like this that need translation:
msgid "Please enter your name: "
msgstr ""
Start by adding the translated text to the empty message string field for each language. For example, here's a string that I added for the Spanish file.
msgid "Please enter your name: "
msgstr "Por favor, ingrese su nombre: "
And for French:
msgid "Please enter your name: "
msgstr "Veuillez entrer votre nom : "
Now, Python gettext doesn't directly use PO files. We need to compile them to MO files, which Python can read at runtime.
# Compile Spanish translations
msgfmt locale/es/LC_MESSAGES/messages.po -o locale/es/LC_MESSAGES/messages.mo

# Compile French translations
msgfmt locale/fr/LC_MESSAGES/messages.po -o locale/fr/LC_MESSAGES/messages.mo
After running the above commands, you should see the messages.mo files created in the respective locale directories.
Step 3: Loading translation files in your app
The MO files are created and Python gettext can now read those files at runtime. We need to configure the app so it can fetch the required translation strings based on the user's language preference:
# app.py
import gettext
import os

# Set up localization
def setup_localization(language):
    # Define the path to the locale directory
    localedir = os.path.join(os.path.abspath(os.path.dirname(__file__)), 'locale')

    # Install the selected language
    translation = gettext.translation('messages', localedir, languages=[language], fallback=True)
    translation.install()

    # Return the translation function
    return translation.gettext

def greet_user():
    name = input(_("Please enter your name: "))
    print(_("Hello, {}! Welcome to our application.").format(name))

def show_menu():
    print("\n" + _("Main Menu:"))
    print(_("1. View account information"))
    print(_("2. Update settings"))
    print(_("3. Check notifications"))
    print(_("4. Log out"))

    choice = input(_("Please select an option (1-4): "))

    if choice == '1':
        print(_("Your account is in good standing."))
    elif choice == '2':
        print(_("Settings page is currently under maintenance."))
    elif choice == '3':
        print(_("You have no new notifications."))
    elif choice == '4':
        print(_("Logging out. Thank you for using our application!"))
    else:
        print(_("Invalid option. Please try again."))

if __name__ == "__main__":
    # For now, hardcode to Spanish for testing
    language = 'es'

    # Set up localization
    _ = setup_localization(language)

    greet_user()
    show_menu()
Our setup_localization function configures Gettext to load translations from our locale directory. When set to Spanish, all our marked strings will be displayed in Spanish at runtime.
Step 4: Adding a simplistic language switcher
Now, if you run the app, you should notice that the application now displays the Spanish language at runtime. But you still cannot change the language.
Let's add a language switcher who are CLI.
# app.py
import gettext
import os

# Define supported languages
LANGUAGES = {
   '1': {'code': 'en', 'name': 'English'},
   '2': {'code': 'es', 'name': 'Español (Spanish)'},
   '3': {'code': 'fr', 'name': 'Français (French)'}
}

# Set up localization
def setup_localization(language):
   # Define the path to the locale directory
   localedir = os.path.join(os.path.abspath(os.path.dirname(__file__)), 'locale')

   # Install the selected language
   translation = gettext.translation('messages', localedir, languages=[language], fallback=True)
   translation.install()

   # Return the translation function
   return translation.gettext

def select_language():
   print("Select your preferred language:")
   for key, lang in LANGUAGES.items():
       print(f"{key}. {lang['name']}")

   choice = input("Enter your choice (1-3): ")

   if choice in LANGUAGES:
       return LANGUAGES[choice]['code']
   else:
       print("Invalid choice. Using English as default.")
       return 'en'

def greet_user():
   name = input(_("Please enter your name: "))
   print(_("Hello, {}! Welcome to our application.").format(name))

def show_menu():
   global _
   print("\n" + _("Main Menu:"))
   print(_("1. View account information"))
   print(_("2. Update settings"))
   print(_("3. Check notifications"))
   print(_("4. Log out"))
   print(_("5. Change language"))

   choice = input(_("Please select an option (1-5): "))

   if choice == '1':
       print(_("Your account is in good standing."))
   elif choice == '2':
       print(_("Settings page is currently under maintenance."))
   elif choice == '3':
       print(_("You have no new notifications."))
   elif choice == '4':
       print(_("Logging out. Thank you for using our application!"))
   elif choice == '5':
       # Change language
       language = select_language()
       _ = setup_localization(language)
       print(_("Language changed successfully."))
   else:
       print(_("Invalid option. Please try again."))

   # Return to the menu unless logging out
   if choice != '4':
       show_menu()

if __name__ == "__main__":
   # Let the user select a language at startup
   language = select_language()

   # Set up localization
   _ = setup_localization(language)

   greet_user()
   show_menu()
Now our application allows users to select their preferred language at startup and change it at any time through the menu.
ninad@Phantom (~/python-gettext-demo) ⇒ python3 app.py


Select your preferred language:
1. English
2. Español (Spanish)
3. Français (French)
Enter your choice (1-3): 3

Veuillez entrer votre nom : Ninad
You have a fully functional localized app now. You can’t change language once it is set, but that’s a limitation that comes with the simplicity of the app.
For UI-based apps, it’s easy to turn our command-line language input into a dropdown menu that fetches translation strings in real time.
Advanced localization methods with Python gettext
Was that it?
- Yes, if you only want basic translation.
- No, if you want to go deeper, provide a more nuanced localization experience.
Here are some advanced localization techniques for handling complex linguistic features with Python gettext.
Handling plural forms with ngettext
English has two plural forms (singular and plural). But that’s not the same with other languages. Many other languages have more complex rules. Arabic has six, while Japanese has none!
Gettext provides the ngettext function to handle this complexity:
def show_notification_count(count):
    message = ngettext(
        "You have {count} notification.",
        "You have {count} notifications.",
        count
    ).format(count=count)
    print(message)
In our PO files, we define plural forms for each language. Here’s an example of how I’ve defined plurals for our Spanish file.
# Spanish
msgid "You have {count} notification."
msgid_plural "You have {count} notifications."
msgstr[0] "Tienes {count} notificación."
msgstr[1] "Tienes {count} notificaciones."
Here’s an example usage for the function:
show_notification_count(0)
show_notification_count(1)
show_notification_count(5)
Call this function in your app and you’ll see the ngettext library fetch the appropriately pluralized sentence based on the number of notifications passed to it.
Gender-specific translations with context
Similar to plurals, different languages have different rules for gendered sentences.
For example, in English, we retain most of the sentence irrespective of the gender. But in Spanish, for example, the verb changes based on the gender of the subject in the sentence.
So in English, if you need to welcome your user, you’d use the word “Welcome” irrespective of male, female, or neutral.
But in Spanish, it becomes bienvenido, bienvenida, bienvenido/a.
def greet_user_with_gender(name, gender):
    if gender.lower() == "female":
        message = pgettext("female", "Welcome, {}!").format(name)
    elif gender.lower() == "male":
        message = pgettext("male", "Welcome, {}!").format(name)
    else:
        message = pgettext("neutral", "Welcome, {}!").format(name)
    print(message)
Our PO files would include context-specific translations:
# Spanish
msgctxt "male"
msgid "Welcome, {}!"
msgstr "Bienvenido, {}!"

msgctxt "female"
msgid "Welcome, {}!"
msgstr "Bienvenida, {}!"

msgctxt "neutral"
msgid "Welcome, {}!"
msgstr "Bienvenido/a, {}!"
Here’s how you can call this function:
greet_user_with_gender("Maria", "female")
greet_user_with_gender("Carlos", "male")
greet_user_with_gender("Alex", "neutral")
Formatting numbers, dates, and currencies
Beyond text translation, proper localization includes formatting numbers, dates, and currency according to local conventions. Python's locale module works well with Gettext for this purpose:
import locale

def show_locale_examples():
    # Format a number
    number = 1234567.89
    formatted_number = locale.format_string("%.2f", number, grouping=True)
    print(_("Formatted number: {}").format(formatted_number))

    # Format currency
    try:
        currency = locale.currency(number, grouping=True)
        print(_("Formatted currency: {}").format(currency))
    except:
        print(_("Currency formatting not available on this system"))

    # Format date
    today = datetime.datetime.now()
    # Use a simpler approach that works on more systems
    try:
        date_format = locale.nl_langinfo(locale.D_FMT)
        formatted_date = today.strftime(date_format)
    except:
        # Fallback date format if nl_langinfo isn't available
        formatted_date = today.strftime("%Y-%m-%d")

    print(_("Today's date: {}").format(formatted_date))
Here’s an example usage of this function:
show_locale_examples()
When run with the French locale, this would display numbers with a space as the thousands separator (1 234 567,89) and dates in day-month-year format (19/04/2025).
This is what the output looks like for each of our locales:
--- Setting language to en ---
Formatted number: 1,234,567.89
Formatted currency: $1,234,567.89
Today's date: 04/20/2025

--- Setting language to es ---
Formatted number: 1234567,89
Formatted currency: 1.234.567,89 Eu
Today's date: 20/04/2025

--- Setting language to fr ---
Formatted number: 1234567,89
Formatted currency: 1 234 567,89 Eu
Today's date: 20.04.2025
Automating the localization workflows
Managing translations manually becomes unwieldy as your application grows. Here's how to streamline the process:
Creating a makefile for localization tasks
A Makefile can automate common localization tasks.
# Localization Makefile

# Define variables
DOMAIN = messages
LOCALE_DIR = locale
LANGUAGES = es fr de ja

# Extract translatable strings
extract:
	xgettext --language=Python --keyword=_ --keyword=ngettext:1,2 --keyword=pgettext:1c,2 --output=$(DOMAIN).pot app.py

# Update PO files
update:
	@for lang in $(LANGUAGES); do \
		echo "Updating $$lang translations..."; \
		msgmerge --update $(LOCALE_DIR)/$$lang/LC_MESSAGES/$(DOMAIN).po $(DOMAIN).pot; \
	done

# Compile MO files
compile:
	@for lang in $(LANGUAGES); do \
		echo "Compiling $$lang translations..."; \
		msgfmt $(LOCALE_DIR)/$$lang/LC_MESSAGES/$(DOMAIN).po -o $(LOCALE_DIR)/$$lang/LC_MESSAGES/$(DOMAIN).mo; \
	done

# Create a new language
create-language:
	@if [ -z "$(LANG)" ]; then \
		echo "Usage: make create-language LANG=<language-code>"; \
		exit 1; \
	fi
	@mkdir -p $(LOCALE_DIR)/$(LANG)/LC_MESSAGES
	@msginit --input=$(DOMAIN).pot --locale=$(LANG) --output=$(LOCALE_DIR)/$(LANG)/LC_MESSAGES/$(DOMAIN).po

# Full localization workflow
localize: extract update compile
With this Makefile, you can run commands like:
- make extract to extract translatable strings
- make update to update all PO files
- make compile to compile all PO files to MO files
- make create-language LANG=de to add support for a new language
- make localize to run the full workflow
Remember, you still need to add the translation strings, as this automation only creates the translation files.
How to translate Python app strings
The easiest way to translate Python strings is with the help of translation management systems, like Centus. Using Centus, your team can translate Python files automatically and work side-by-side to refine them.
The best part?
Translators don’t need access to the codebase to add new translations. And developers can pull the polished translations directly into their code repo in the preferred format.
Here’s how it works:
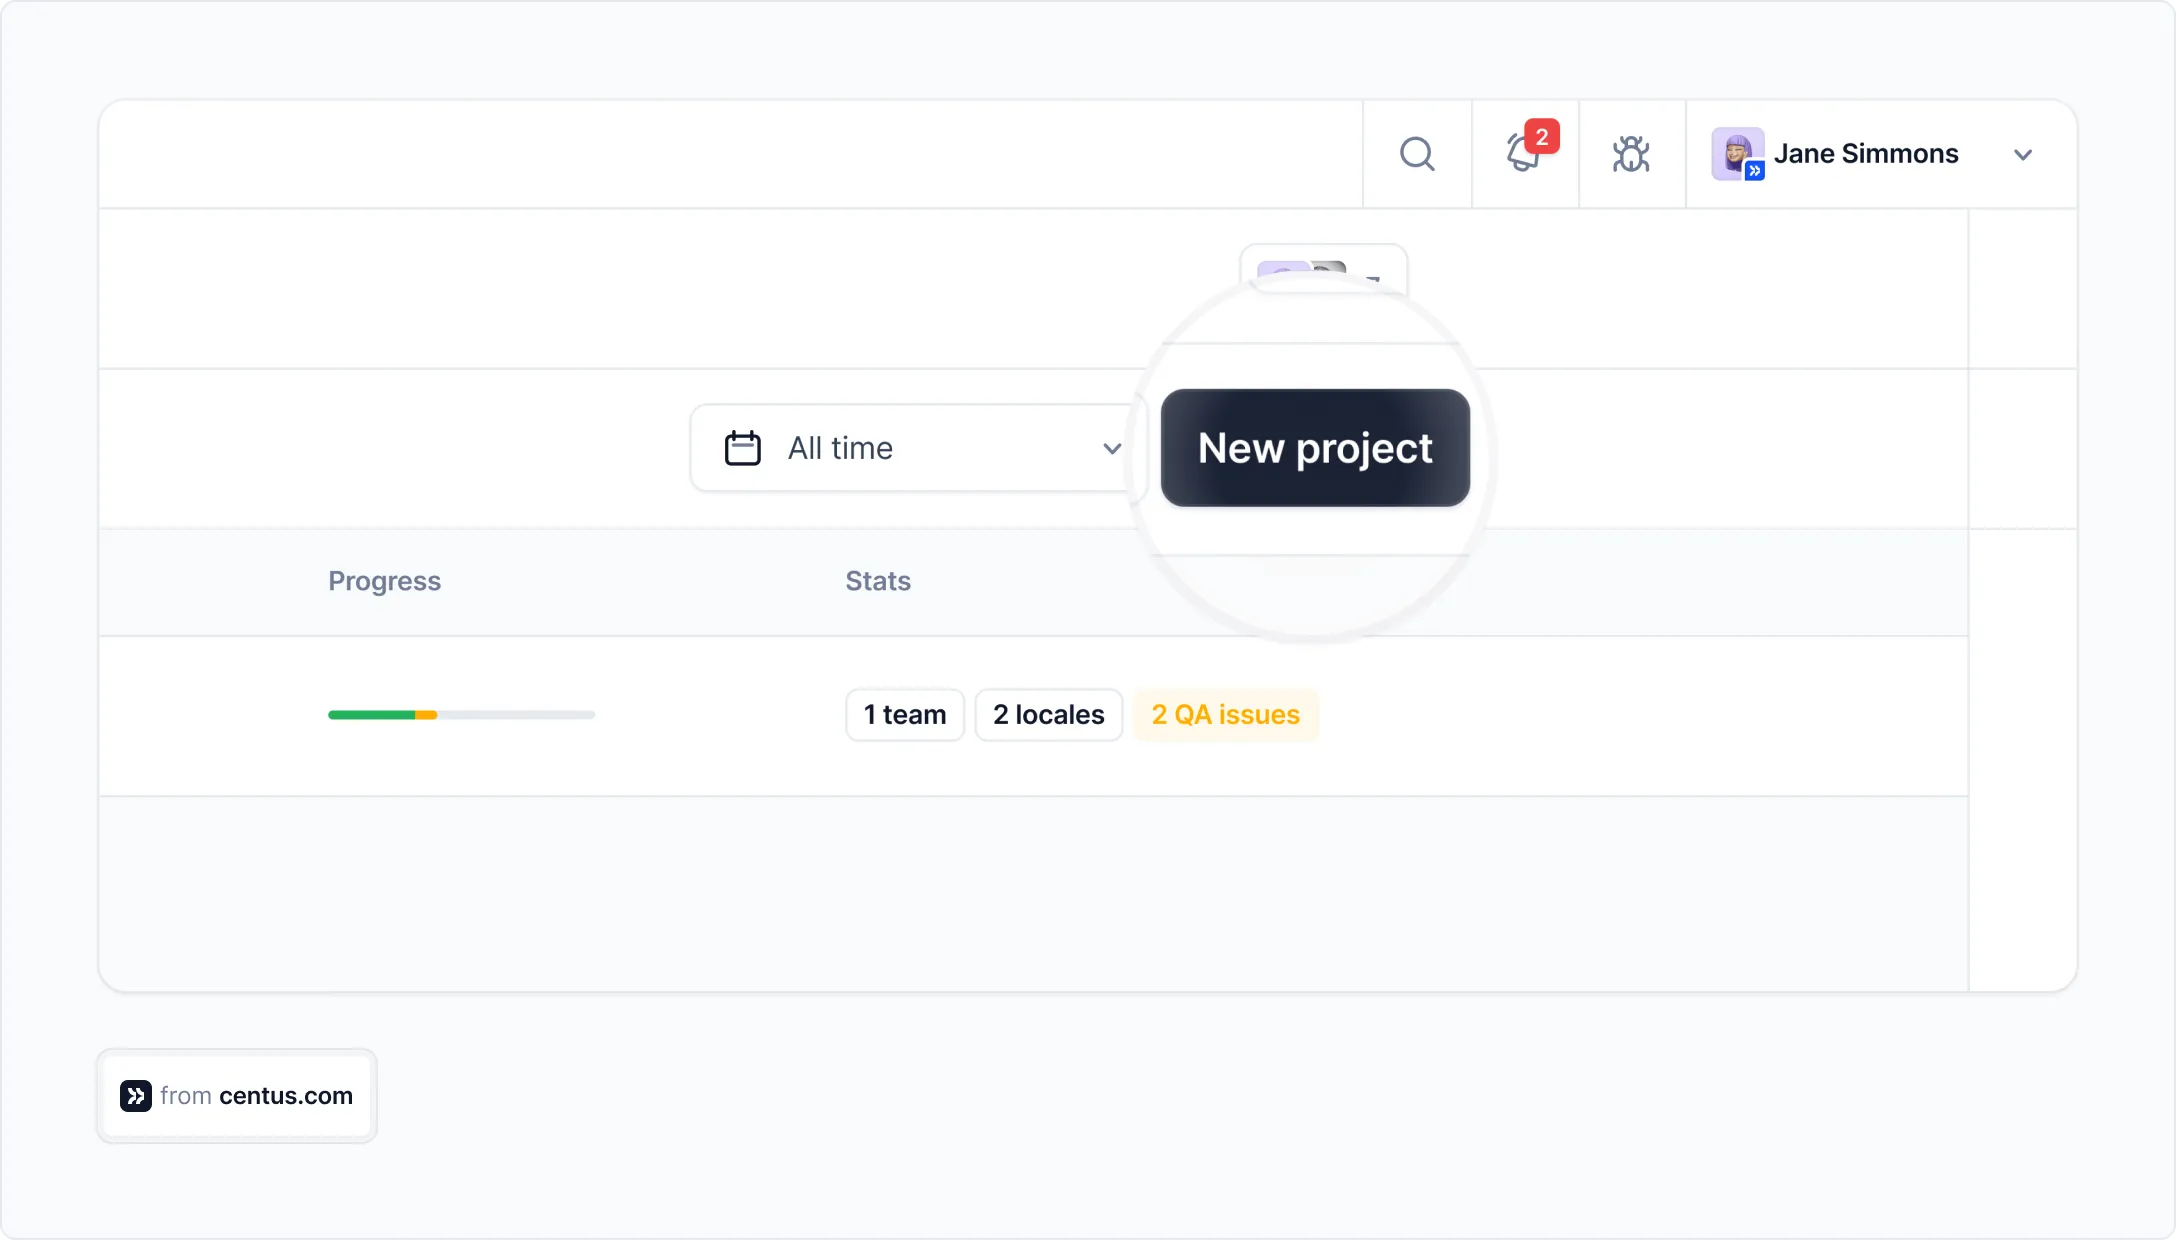
- Sign up to Centus and click New project
- Navigate to the Imports section and click Select a file
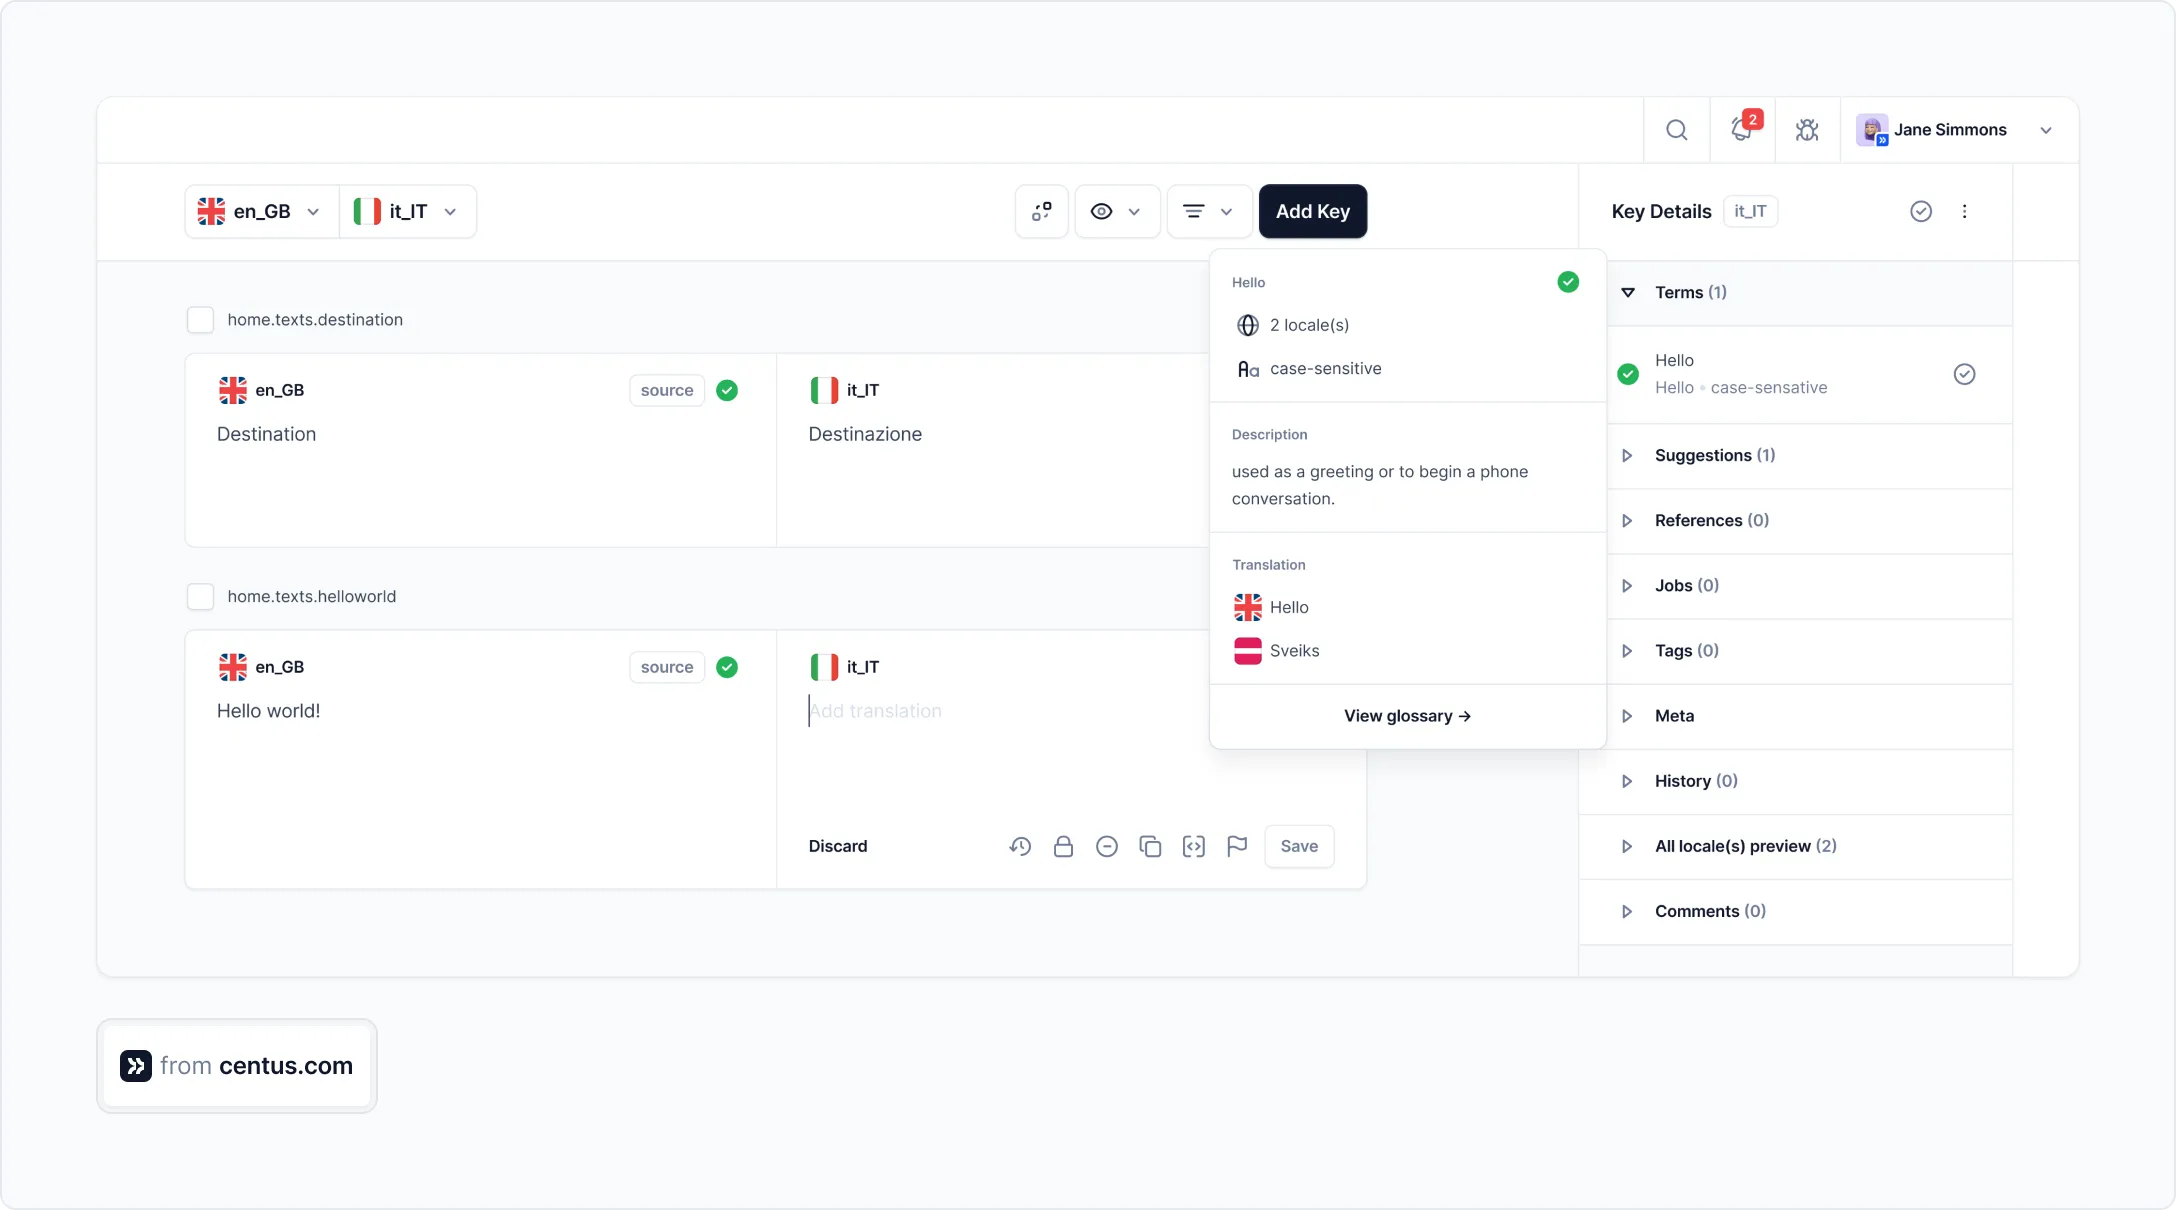
- Upload one or multiple PO files

Note: Use Centus to translate other localization file formats, including XML, YAML, JSON, PHP, and many more.
One of the biggest perks of localizing PO files in Centus is the convenient Editor, where your team can translate Python files without worrying about disrupting tags or file structure.
Start by automatically translating PO files using Google Translate, DeepL, or Microsoft Translate. After generating translations, your linguists can fine-tune them manually for higher clarity and accuracy.
This combined approach to translation reduces app translation time and costs by up to 90%, helping you launch localized projects faster.
And because Centus is a cloud-based platform, multiple translators can work on your PO files simultaneously, helping you prepare your app for dozens of markets at once. Conventional translation methods can’t keep up.
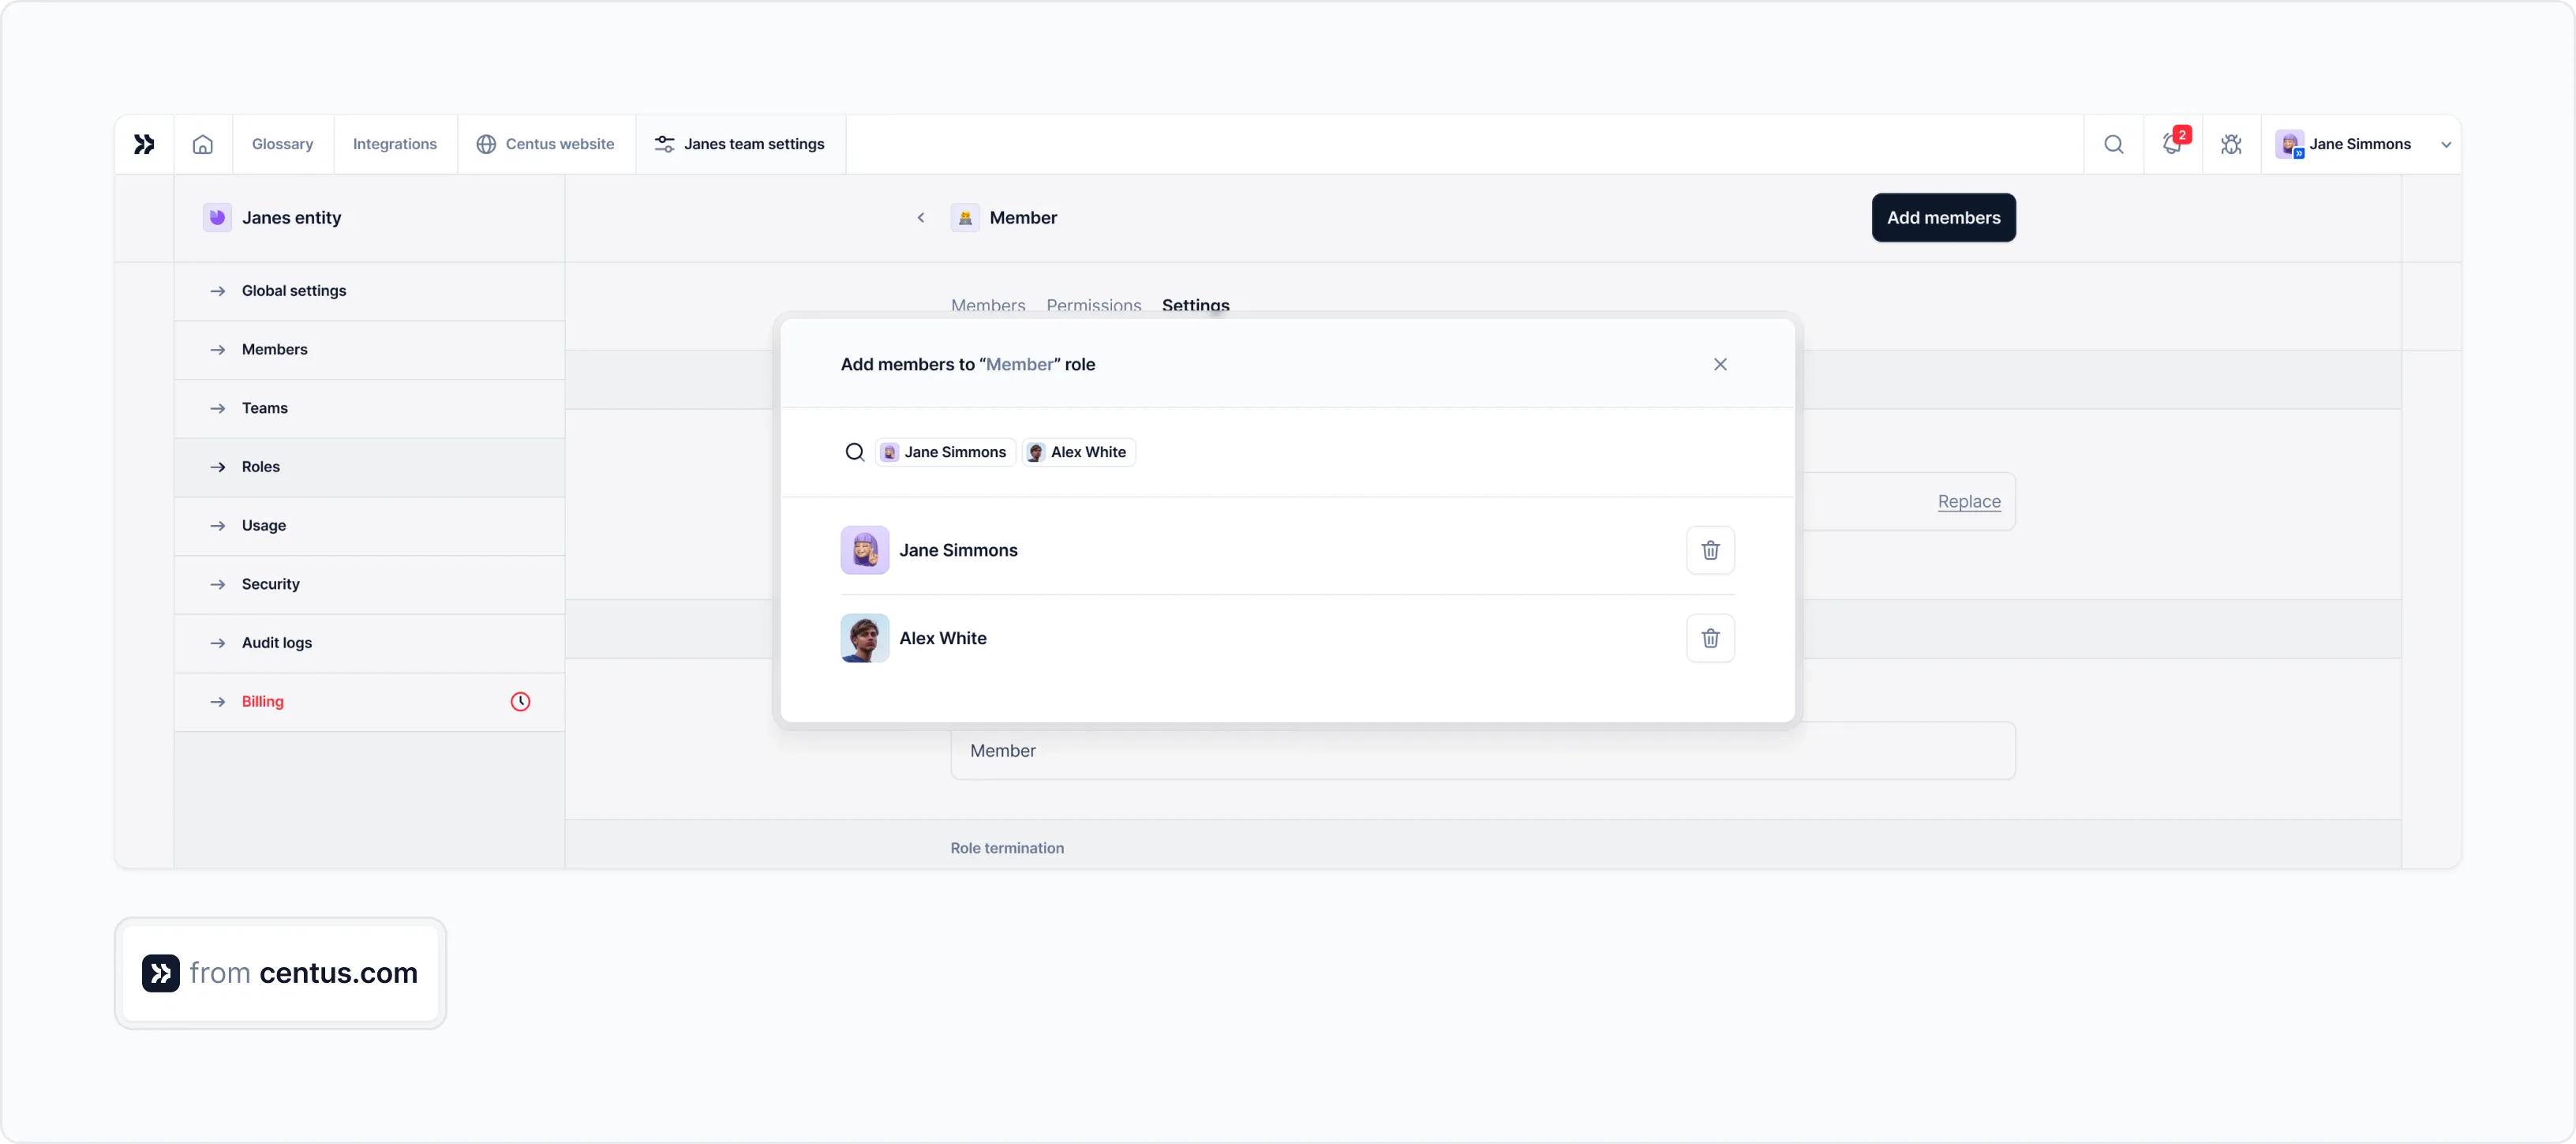
Here’s how to add team members to your project:
- In the Collaborators section, click Invite collaborators
- Enter the team member’s details
- Choose the team member’s role from the dropdown menu
- Click Add collaborator
Congratulations! Now your team has everything it needs to deliver accurate Python translations. You can monitor their progress in the dashboard.

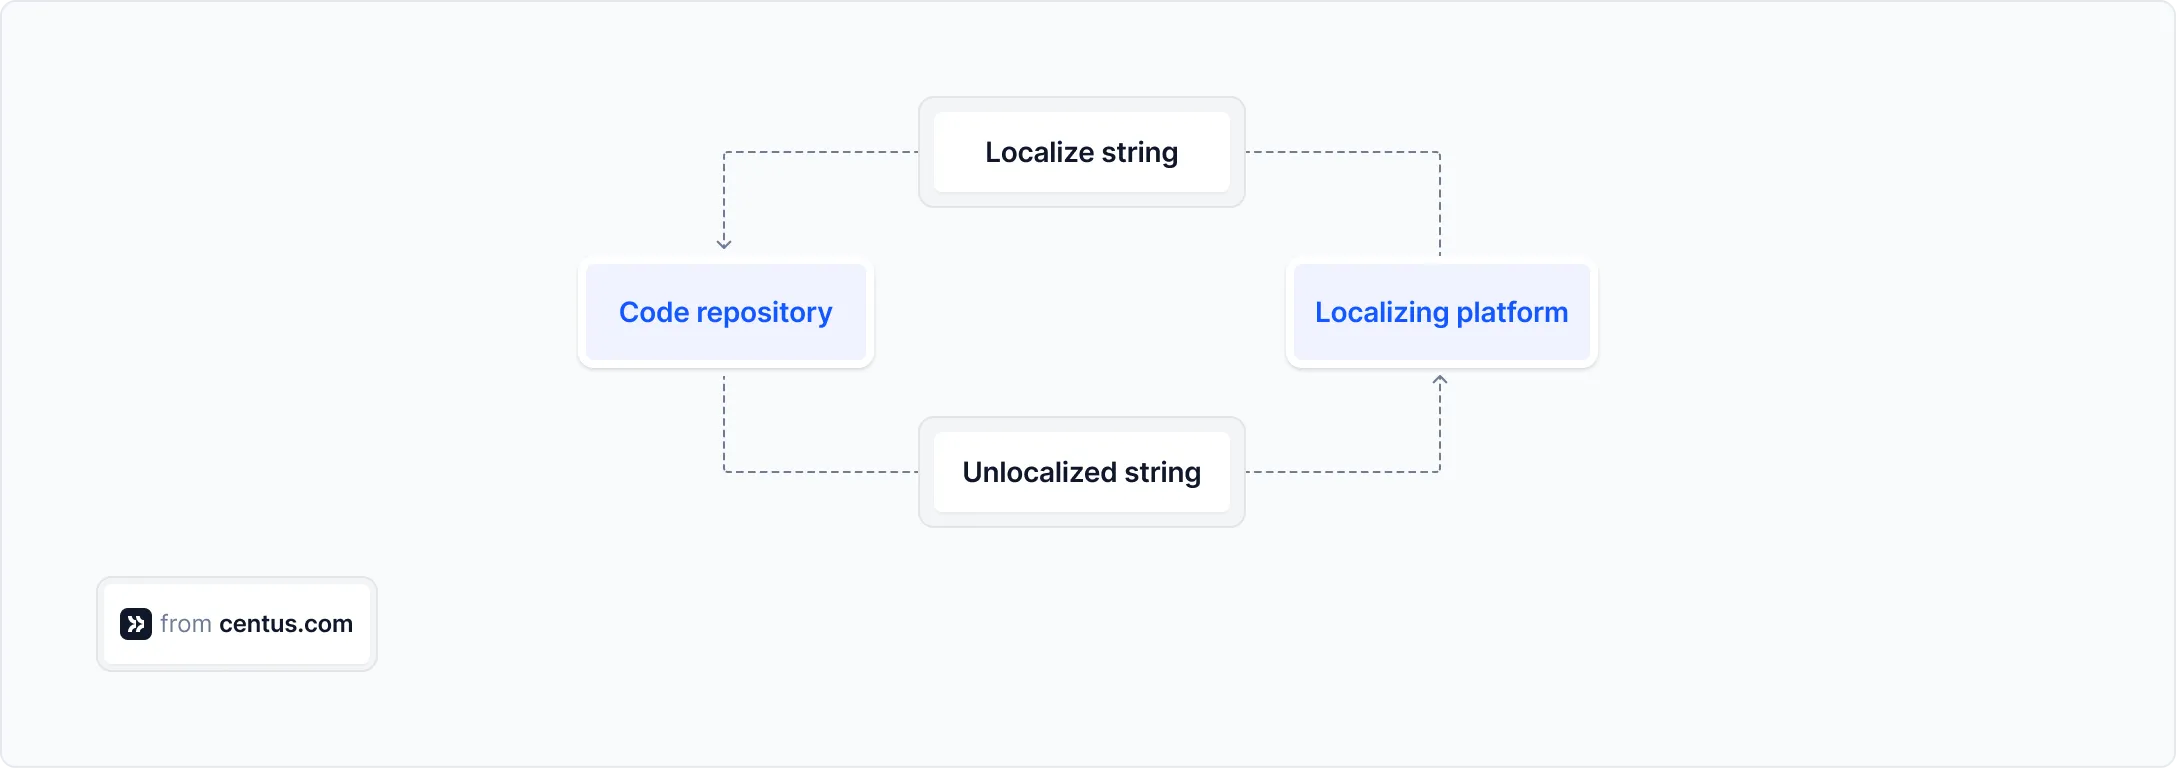
When translations are ready, push them to your code repository using Centus-GitHub integration.
To download files manually, go to the Export section and click Export files.
Python Localization challenges
During my years implementing localization in Python applications, I've encountered several common challenges. Here are practical solutions for each:
Challenge 1: Handling string concatenation
One common localization pitfall is string concatenation. Consider this code:
# BAD: Don't do this!
message = _("Hello") + ", " + name + "! " + _("Welcome to our application.")
This approach breaks localization because word order varies between languages. Instead, use format strings:
# GOOD: Do this
message = _("Hello, {}! Welcome to our application.").format(name)
This allows translators to rearrange words as needed for their language.
Challenge 2: Handling dynamic content
Another challenge is handling dynamic content like rich text or HTML:
# Challenging to translate as a whole
def show_formatted_message(username, item_count, total_cost):
    message = f"<b>{username}</b> has purchased <i>{item_count}</i> items for ${total_cost}."
    return message
The solution is to separate the structure from the content:
# Better approach
def show_formatted_message(username, item_count, total_cost):
    # Translators can rearrange the placeholders as needed
    template = _("<b>{username}</b> has purchased <i>{item_count}</i> items for ${total_cost}.")
    message = template.format(
        username=username,
        item_count=item_count,
        total_cost=total_cost
    )
    return message
Challenge 3: Maintaining context for translators
Translators often lack context about how and where strings are used. Add comments to your PO files to provide context:
# In your code:
# Translators: This appears on the login screen
login_prompt = _("Enter your credentials")

# In the PO file:
#. Translators: This appears on the login screen
msgid "Enter your credentials"
msgstr ""
These comments help translators make appropriate choices based on the context.
Beyond gettext: Modern localization approaches
While Gettext remains a solid choice for Python localization, newer approaches are gaining popularity:
Fluent by Mozilla
Fluent is a modern localization system designed to handle complex linguistic features more naturally. It uses a dedicated syntax for translations and supports advanced features like variants and adaptive patterns:
# Example Fluent file (en.ftl)
welcome = Welcome, { $name }!

notifications = { $count ->
    [0] You have no notifications.
    [1] You have one notification.
   *[other] You have { $count } notifications.
}
ICU MessageFormat
ICU (International Components for Unicode) MessageFormat handles plurals, gender, and selections with a compact syntax:
# Example ICU message
notifications = {count, plural,
    =0 {You have no notifications.}
    =1 {You have one notification.}
    other {You have # notifications.}
}
These newer systems may be worth exploring for projects with complex localization needs, though they typically require additional dependencies.
Make your Python application truly global
Look at that: your Python app just went from "monolingual college freshman" to "sophisticated international diplomat" in less than 500 lines of code!
But let's be honest, manually managing translation files isn’t exactly the best use of your time for a small app, let alone a professional one.
To localize your Python apps effortlessly, use Centus. With it, you can ship fully-localized apps up to 90% faster, while avoiding manual routines and budget blowouts. Try Centus now!
Get the week's best content!
By subscribing, you are agreeing to have your personal information managed in accordance with the terms of Centus Privacy Policy ->
Keep learning

11 min. read
How to Perform Mobile App Localization: The Right Way
12 min. read
How to Translate JSON Files: A Simple Guide
22 min. read